Shopify App Overview
Contents
Quickly integrate Marigold Engage by Sailthru into your Shopify store workflow with the Sailthru Marketing Automation Shopify app.
Features
- Sync purchase data.
- Attribute purchases originating from email campaigns
- Send Abandoned Cart emails for incomplete purchases
- Gather your customers' product page views, and user interest data using Horizon.
- Update product information directly into your Content library.
- Add users that make a purchase.
Installation
Best Practice: Connecting your account with a third party vendor requires a 3rd party API Key and Secret. For your account security, you should use a different Key and Secret for each integration. Contact support to request an integration-specific Key and Secret. A 3rd party API key is especially recommended if you are using IP restrictions.- Install the app.
- Connect your account.
1. Install the app
Install the app by visiting this url. You be asked to log in to your Shopify account.
Once logged in, confirm that you want to install the app.
Note: You can also search for the app in the Shopify App store.2. Configure Your Settings
Now that the app is installed you can enable the JavaScript and add your API keys. Most customers should select Sailthru Script tag from the dropdown. This is the latest version of our JavaScript tag and supports our JavaScript API. New customers should not use Horizon JS as this is legacy code and will be deprecated in the future.Note: If you are using an external tag manager you can leave the Sailthru Javascript field empty.
- API Key and Secret (available in My Sailthru in Settings > Setup > API & Postbacks)
- Add your Customer Id, also available in My Sailthru->Settings->Setup->API & Postbacks.
Once installed and configured, the Shopify app will pass all purchase data as it happens.
In order to import your historical purchase data, consult your Project Manager or Customer Success Manager. They can advise you on the proper route for importing this data, typically using the Job API.
Note: If you use Sailthru's Allowed IPs feature, you will need a 3rd-party API Key to complete Shopify setup. Contact your CSM or Support for assistance.
Content Management
Tags on your content items are required for Personalization Engine to be able to measure individual user interests. The Shopify app will use your existing Shopify tags to build interest profiles for each user. Tags are managed within Shopify on each product using the Shopify admin. To manage tags for a specific product you can browse to the product page and adjust the "Tags" field.
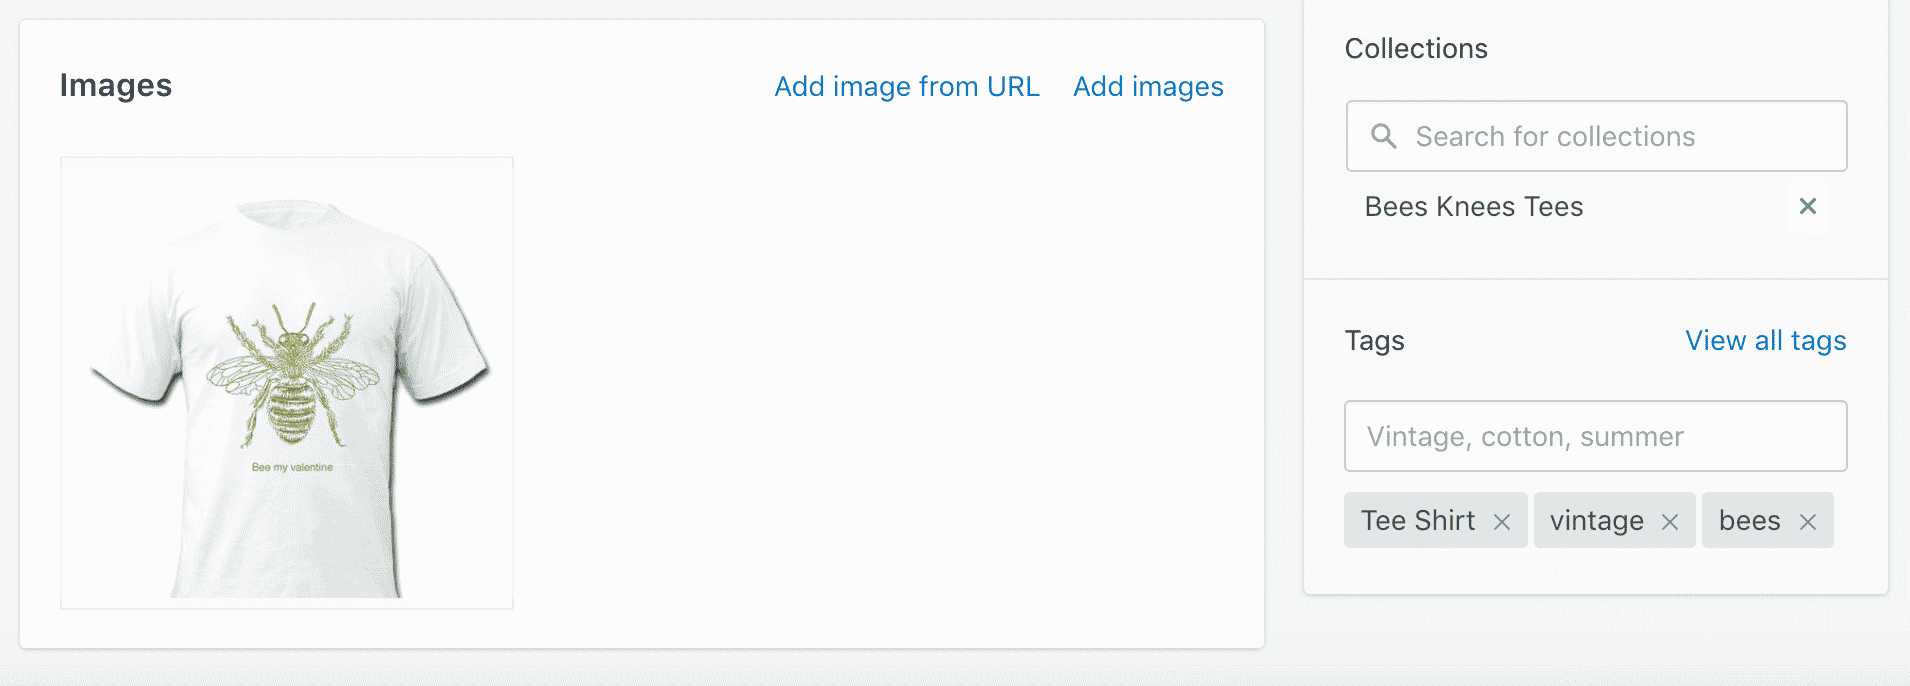
When the product is saved the Content API call is saved and the tags that were applied to the product in Shopify will be visible in your Content Library for that product and used as interest tags. For more information about how interest tags are used see our documentation on Content in Sailthru.
Tags are used for personalization , but can also be used to create/filter a feed for email campaigns and Site Personalization Manager. Please note that tags will be automatically converted to dashed-lowercase-format for consistency.
For example the tag "Vintage Tee Shirt" in Shopify would be converted to "vintage-tee-shirt", so if you are creating feeds or using Zephyr with tags remember to use the tags from the Content Library and not your Shopify tags to filter content.
Customer Information in Sailthru
In order to allow for the flow of customer data from Shopify to Sailthru (and to import your historical customer data), please work with Support or with your Project Manager to request that process. You will need to provide the account ID and Shopify store domain for each store and account where you would like the data to be sync'd.
When your customers create an account, check out, or are added via automatic customer import, the system adds the following fields to profiles for building templates and audiences.
| Name | Description |
| first_name | The customer's first name. |
| last_name | The customer's last name. |
| shopify_tags | Tags that have been attached to the customer's account by the shop owner. |
| shopify_state | The state of a customer's account with a shop. Valid states are:
|
| shopify_created_date | The date and time when the customer's account was created. |
| shopify_updated_date | The date and time the customer's account was last updated. |
| shopify_note | A note about the customer. |
| shopify_addresses | The ten most recently updated addresses for the customer. |
| shopify_phone | The customer's phone number. |
- When uploading a CSV file of users, you must include a column titled Accepts Marketing. This column must be set to true for all users.
- If you have multiple Shopify accounts hooked up to one account, the user's profile data will be based on the Shopify store they have most recently engaged with.
- In addition to the member fields, users will also be automatically added to a natural list named Shopify Customers.
Automate a User Flow with the Shopify Customers List
- From the Lifecycle Optimizer List page (Messaging > Lifecycle Optimizer), select New Flow.
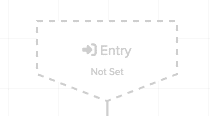
- Select the unconfigured Entry on the Builder canvas to open the Edit Entry panel.
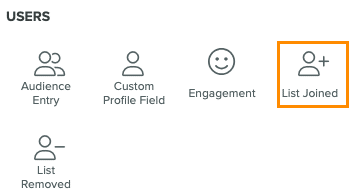
- Select the List Joined Entry from the Users section in the Edit Entry panel.
- Search for or select the Shopify Customers list in the Choose a list dropdown menu.

- Complete configuration of the Lifecycle Optimizer flow.
- Launch your flow immediately or set up a schedule for it. Save your flow to save your settings.
Abandoned Checkout Messaging
Bring users back to their abandoned shopping experience through Shopify Abandoned Checkout and Lifecycle Optimizer. Using zephyr, change the messaging you use in Lifecycle Optimizer flows dynamically to send either a Checkout Abandonment message or a Cart Abandonment message.
To get started with checkout abandonment, turn on re-entry in your Lifecycle Optimizer flow and update your message templates with two new fields:
abandon_typerestore_urlThis is available if theabandon_typefield is checkout. Withrestore_url, your users will go right back to where they left off their shopping experience.
The following sample shows a template using zephyr to change your messaging dynamically.
<h1>
{if profile.purchase_incomplete.vars.abandon_type == "checkout"}
You Didn't Finish your Purchase! Click <a href="{profile.purchase_incomplete.vars.restore_url}">here</a> to continue!
{else}
You Left Items in your Cart!
{/if}
</h1>
Subprocessors
By using this integration, you consent to the use of the following sub-processors, as described on this page, for the purposes of providing the processing and maintaining the reliability of the integration:
Heroku RedisLabs
The use of sub-processors is further detailed in Sailthru's Data Protection Addendum. If you have any questions or need to execute the DPA, please contact privacy@sailthru.com.