Integrating Sailthru JavaScript with Google Tag Manager
Contents
Add the Sailthru JavaScript Tag
No matter which JS API functions you will include, you will need to create a tag that includes the external Sailthru JavaScript.- In Google Tag Manager, click New Tag, then change the tag's name from "Untitled Tag" to "Sailthru JS".
- Click Tag Configuration, then select the tag type Custom HTML, which allows HTML and/or JavaScript code.
- If you intend to use all of the default functionality--no additional functions to manually track pageviews, add tags to content, or exclude content from being spidered--then copy the default code below and paste it into the HTML box.
<script src="https://ak.sail-horizon.com/spm/spm.v1.min.js"></script> <script> Sailthru.init({"customerId":'<Your Customer ID>'}); </script> - If you require any of the non-default "configured behaviors" specified in the Personalization Engine Setup page, you may need to add additional parameters to the object you are passing in Sailthru.init, along with some additional functions covered on that page. For example, if you will want to manually track pageviews, you can disable automatic pageview tracking by pasting the following code into the HTML box, instead.
You would then need to follow our instructions for the additional required Sailthru.track tag on the Manually Track Pageviews page.<script src="https://ak.sail-horizon.com/spm/spm.v1.min.js"></script> <script> Sailthru.init({"customerId":'<Your Customer ID>', "autoTrackPageview":false}); </script>
- If you intend to use all of the default functionality--no additional functions to manually track pageviews, add tags to content, or exclude content from being spidered--then copy the default code below and paste it into the HTML box.
- In the newly pasted code, replace <your customer id> with your Sailthru Customer ID, which you can find on the API and Postbacks Settings page in My Sailthru.
- Click Save.
- Select the Add Trigger option and click the default All Pages trigger.
 The tag will load on all pages across your site that contain the Google Tag Manager tag.
 - At the top-right, click Save.
Additional Configuration for Function Examples
To run the examples in this section using Google Tag Manager, we have created a simple JS function to capture button clicks for forms that contain a CSS class called ajax. The code will load jQuery and some additional code to fun the functions used in the examples. Note that all the Sailthru JS functions support onSuccess and onError methods so that you can validate the tags are working as expected. We have included a simple displayMessage function that will log these messages to the console. Code to Capture Button Clicks Using the instructions below, add this code to your site to enable testing with Sailthru's examples. On your own web site you may have an existing JavaScript library or event handler. You may adjust all examples accordingly to meet your needs.- In Google Tag Manager, click New Tag, then change the tag's name from "Untitled Tag" to "Sailthru JS".
- Click Tag Configuration, then select the tag type Custom HTML, which allows HTML and/or JavaScript code.
- Copy the code sample below and paste it into the HTML box.
<script src="https://ajax.googleapis.com/ajax/libs/jquery/2.2.4/jquery.min.js"></script> <script type="text/javascript"> function displayMessage(title, message) console.log(title + message); } $(function() { /* --------------------------------------------------------- * For this demo every example uses a button to fire the test * to define if a button should make an ajax request add a * css class "ajax" to the button. */ $("button").click(function(e){ // check the button has an Id if (e.target.id.length > 0) { var btn = '#'+e.target.id; if ($(btn).hasClass('ajax')) { e.preventDefault(); console.log('Ajax Request'); var req = $.ajax( "/gtm/form" ) .done(function() { console.log("Form submitted for a 200 response"); }); } } }); }); </script> - Click Save.
- Select the Add Trigger option and click the default All Pages trigger.
The tag will load on all pages across your site that contain the Google Tag Manager tag.
- At the top-right, click Save.
- From your Workspace screen, click Variables in the navigation menu on the left.
- Click the Configure button.
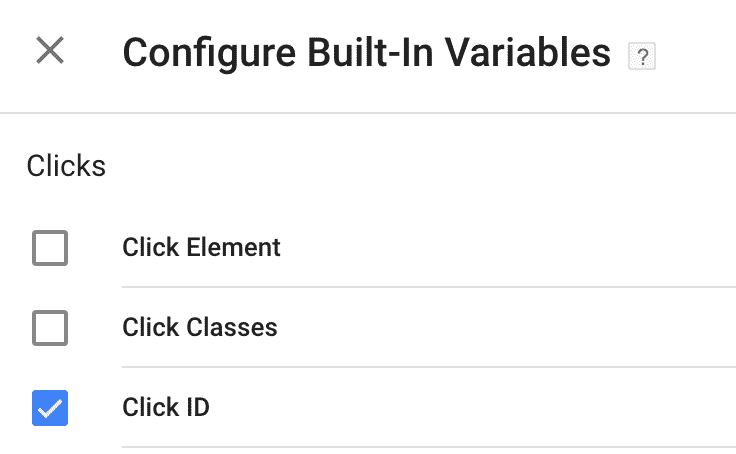
- Scroll down to the Clicks section and ensure that Click ID is selected.