Example: Fire a Custom Event to Start a Lifecycle Optimizer Flow with Sailthru JS and Google Tag Manager
This page offers an example implementation of the JavaScript Library‘s customEvent call. Your requirements and preferred method for implementing the function may vary. For more information, see the function documentation.
With the customEvent call, you can use Google Tag Manager to capture an event on page and directly pass that event to initiate a Lifecycle Optimizer flow. The function used here automatically reads the value of the sailthru_hid cookie to identify you as a user. If you’re using Chrome you can install the extension Edit This Cookie to check/edit cookies during testing. Note: This example requires that you have followed the instructions to Add the JavaScript Tag and implemented the Additional Code for Function Examples or your own event handler.1. Create the HTML
For this example we’re just going to use a simple “Complete Purchase” button click to initiate the call. The purchase function automatically reads the value of the sailthru_hid cookie to identify the user. If you’re using Chrome you can install the extension Edit This Cookie to check/edit cookies during testing. Include the following code on your site.<form>
<button type="button" class="btn btn-default ajax" id="sailthru-custom-event">Fire Event</button>
</form>2. Add customEvent Function as a Tag and Set Trigger
- In Google Tag Manager, click New Tag, then change the tag’s name from “Untitled Tag” to “Sailthru – customEvent”.
- Click Tag Configuration, then select the tag type Custom HTML, which allows HTML and/or JavaScript code.
- Copy the code sample below and paste it into the HTML box.
<script type="text/javascript"> Sailthru.integration('customEvent', { name: "GTM Event", }); </script> - Scroll down below the HTML field and click within the Triggering box to add a new trigger, so that Google Tag Manager knows when to fire the tag.
- At the top-right, click
 to add a new trigger.
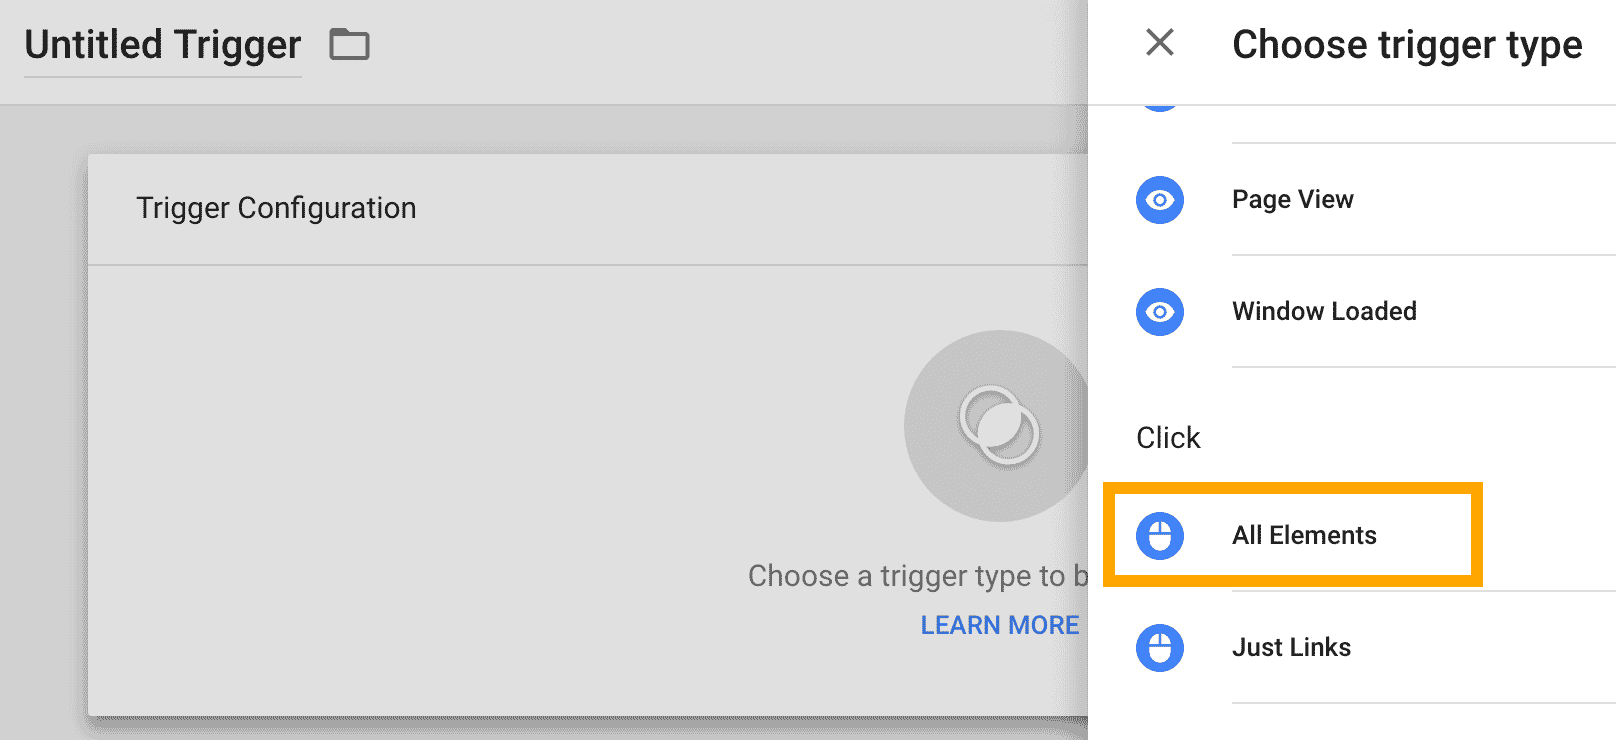
 - Click the Trigger Configuration box, then select the trigger type All Elements.
- Remember those IDs that you set on the HTML elements? Now’s the time to use the button and its ID to trigger the firing of the tag. We will instruct Google Tag Manager to listen for any click events that happen on a HTML element with an id of sailthru-custom-event (your form button).
- Under This trigger fires on, select Some Clicks.
- Select the options Click ID and contains, and enter the ID sailthru-custom-event in the last field.
- You can optionally give your new trigger a name in the top-left corner.
- Click Save.
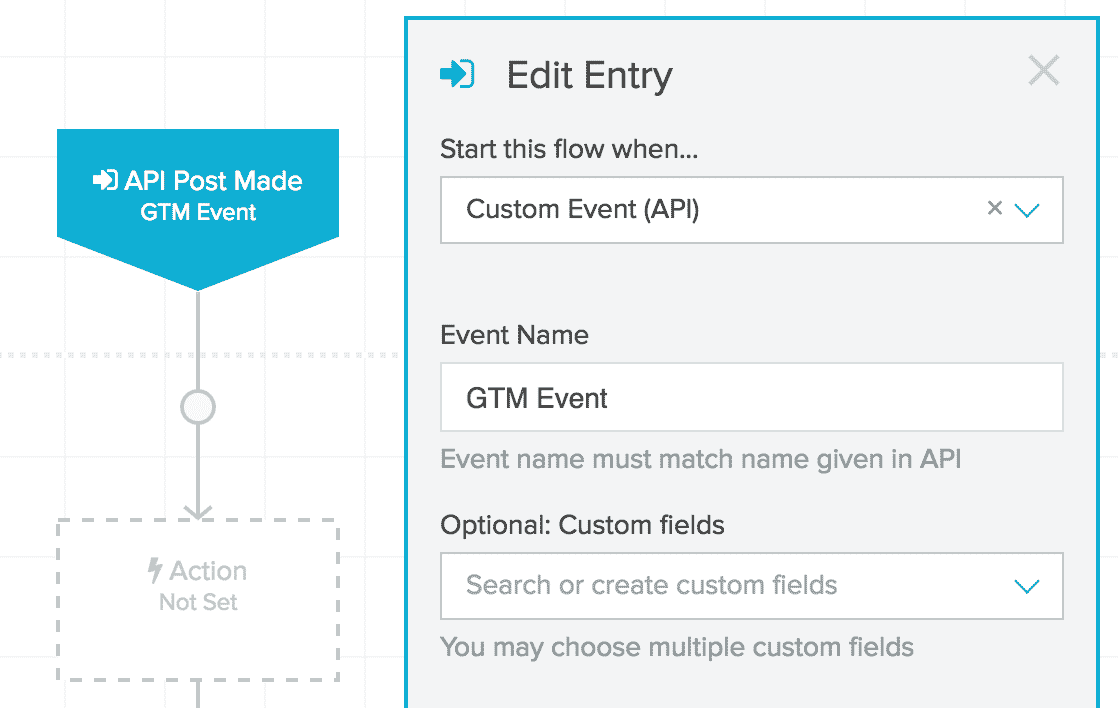
3. Configure the Lifecycle Optimizer Flow
In Lifecycle Optimizer, you need to create a new flow and set it to start whenever an event named GTM Event is submitted.
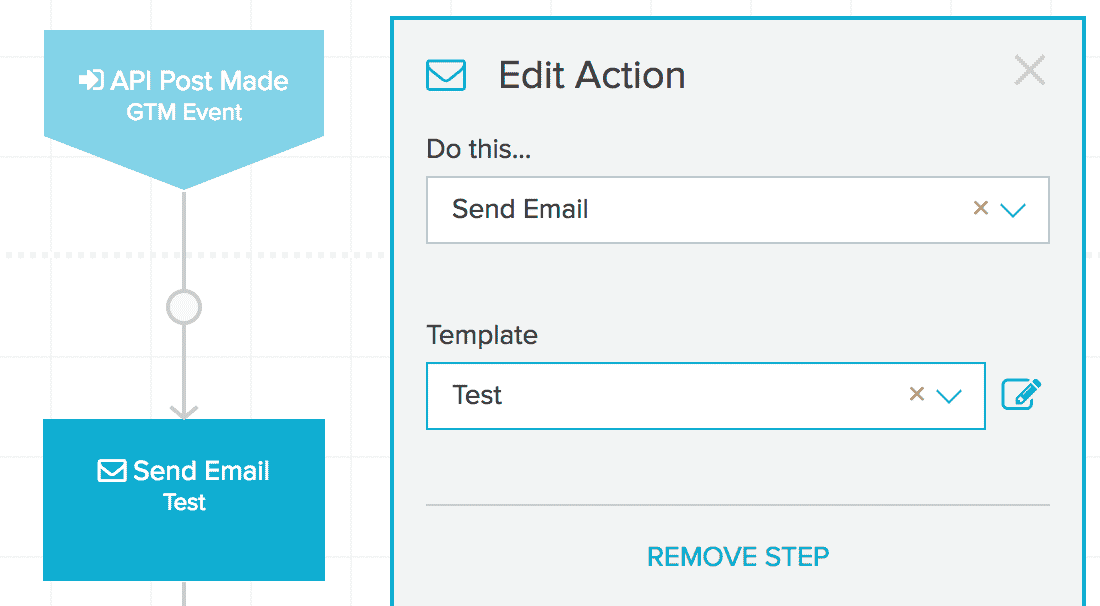
You can set the flow Action to send an email to the associated user using a Test template.
4. Test
You’ll first need to ensure you have a cookie in your browser that matches the ID of your test user. The sailthru_hid cookie will be present in a user’s browser after they have clicked a link to your site in an email. For testing purposes, you can click such a link, or set the cookie value manually with the EditThisCookie browser extension. Each Sailthru user has a static ID that is used. You can find the value for your test user with the Sailthru API test tool. Log in to your account at my.sailthru.com, click the settings icon, and click API Test. Then make a GET request for the user API endpoint, specifying a test email address. If the test user does not yet exist, you can make an identical POST request first.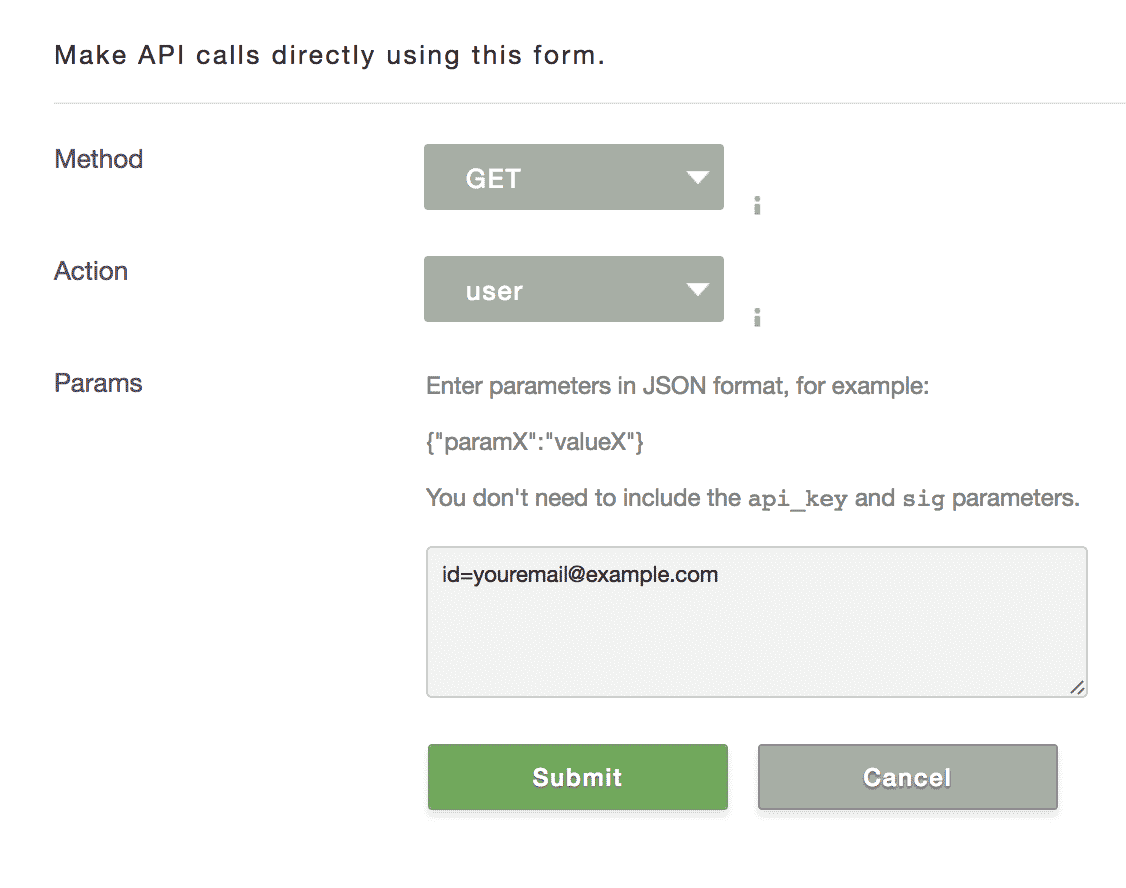
Once the cookie exists in your browser, open your test site and click the Fire Event button. You can then wait for the email to arrive (that you configured to send when this event is called), or check the Lifecycle Optimizer interface and note your incremented metric for this new flow.