Add Notification Buttons
Adding buttons to push notifications is a great way to encourage users to engage with your messages by adding additional options that are relevant to the content being displayed. The Mobile SDK automatically creates several default button options for you to choose from, as well as allowing you to specify custom buttons you have set up in your app.
A guide to setting up custom buttons can be found here. Note: The default categories in the SDK are available from the following versions:- iOS – 9.0.0
- Android – 10.0.0
Selecting Buttons
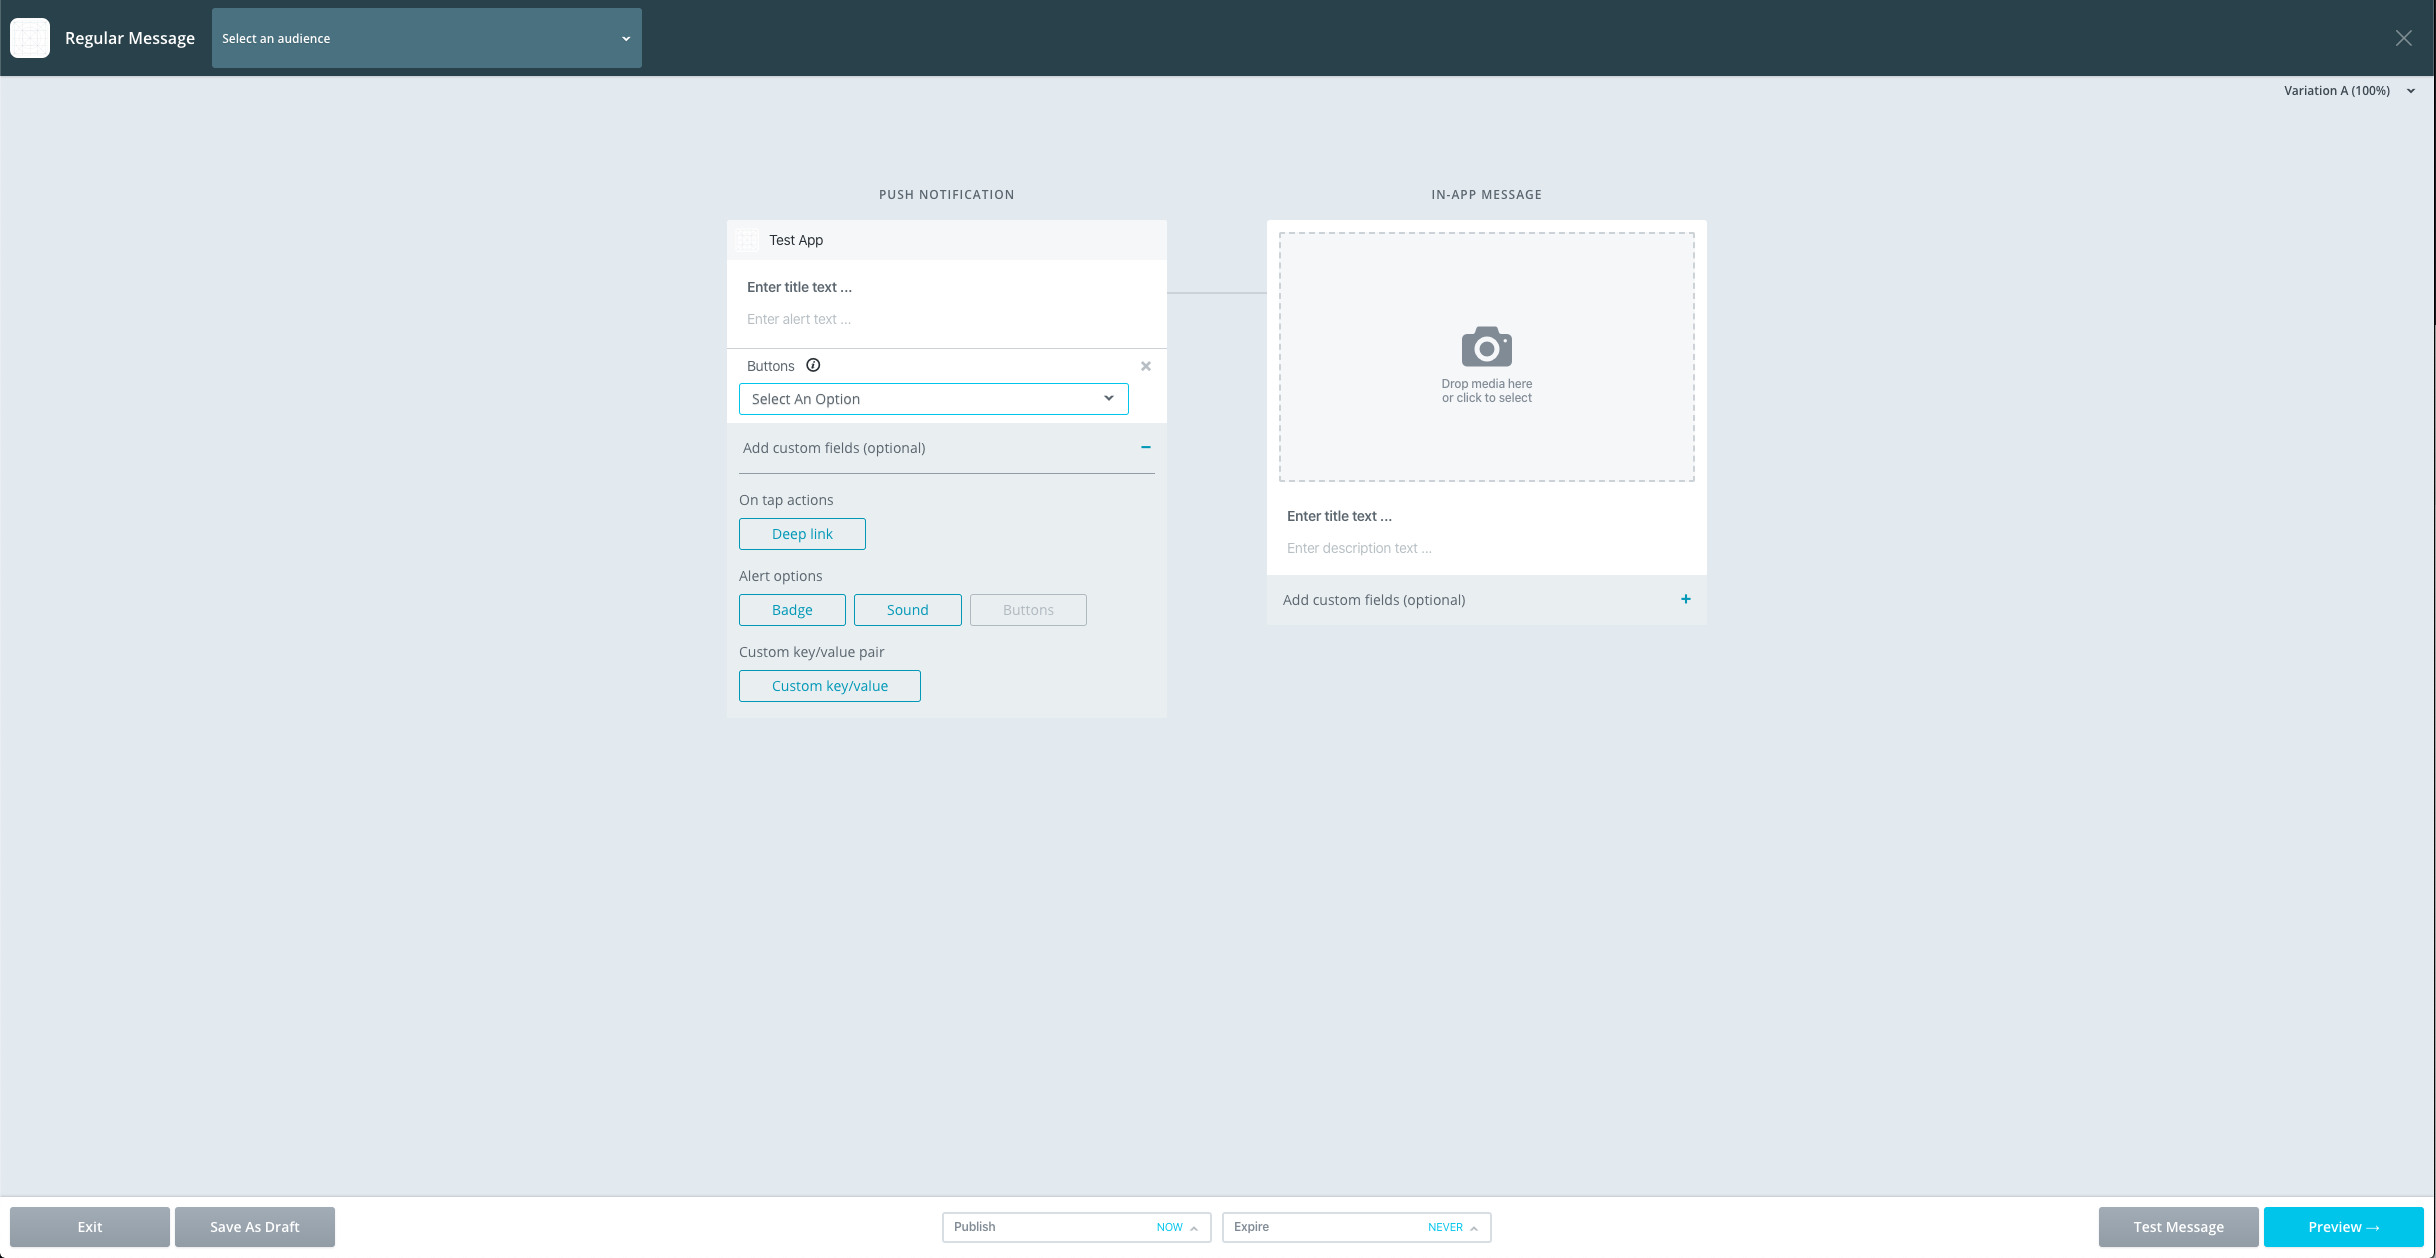
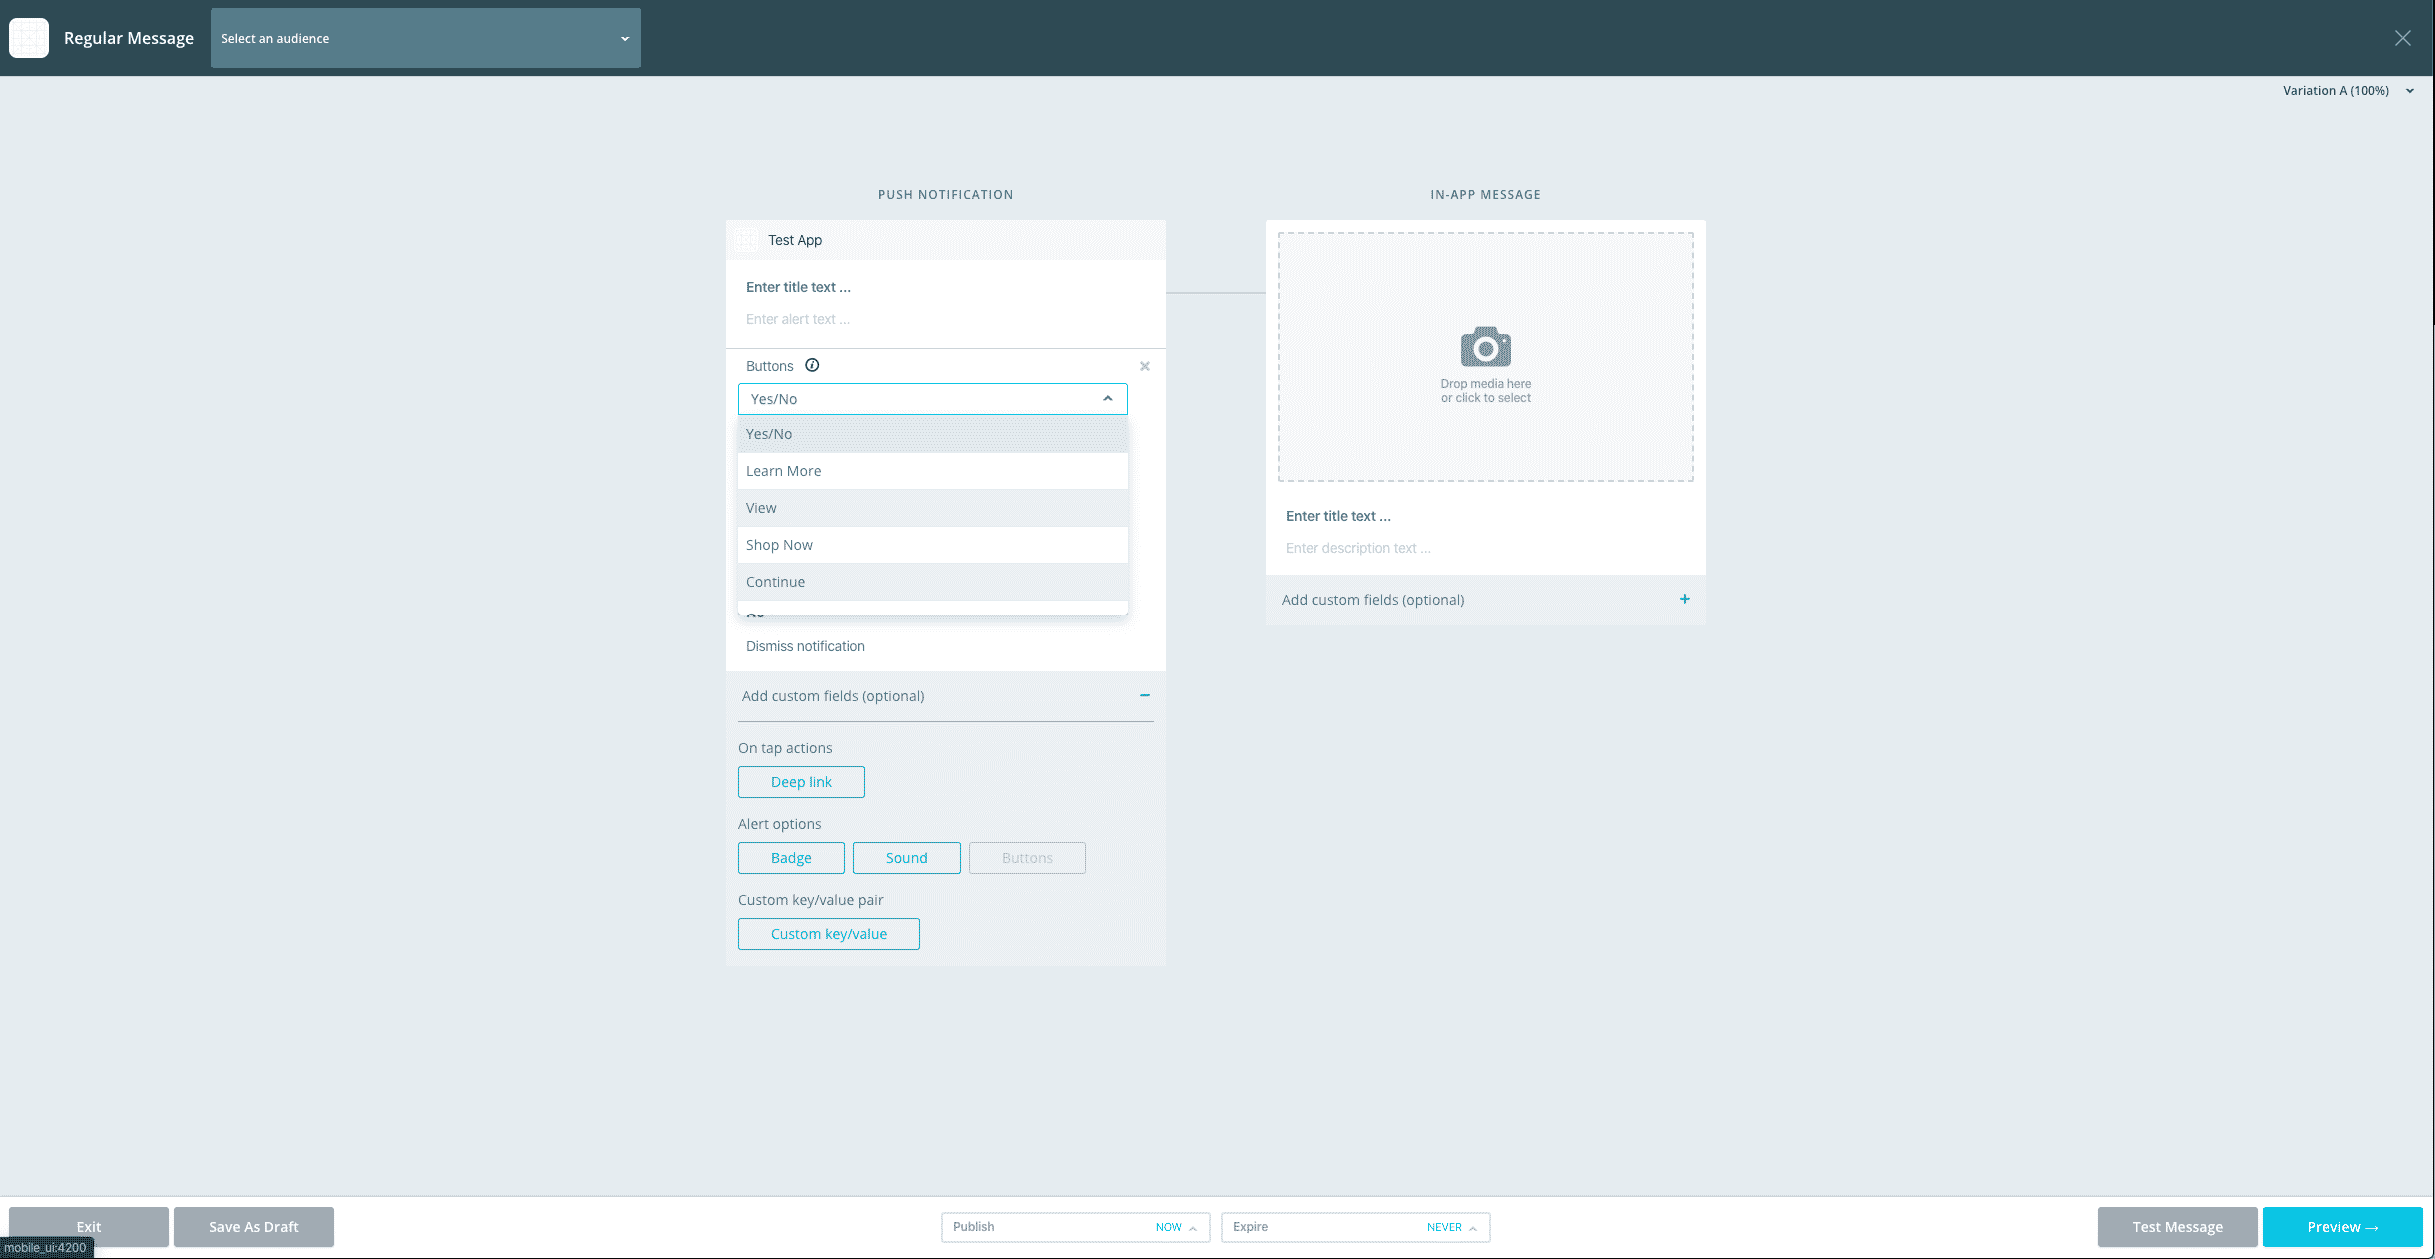
You can select which buttons when creating your notification by selecting the ‘Buttons’ option from the custom fields options. You can then select which buttons you want from the dropdown list.
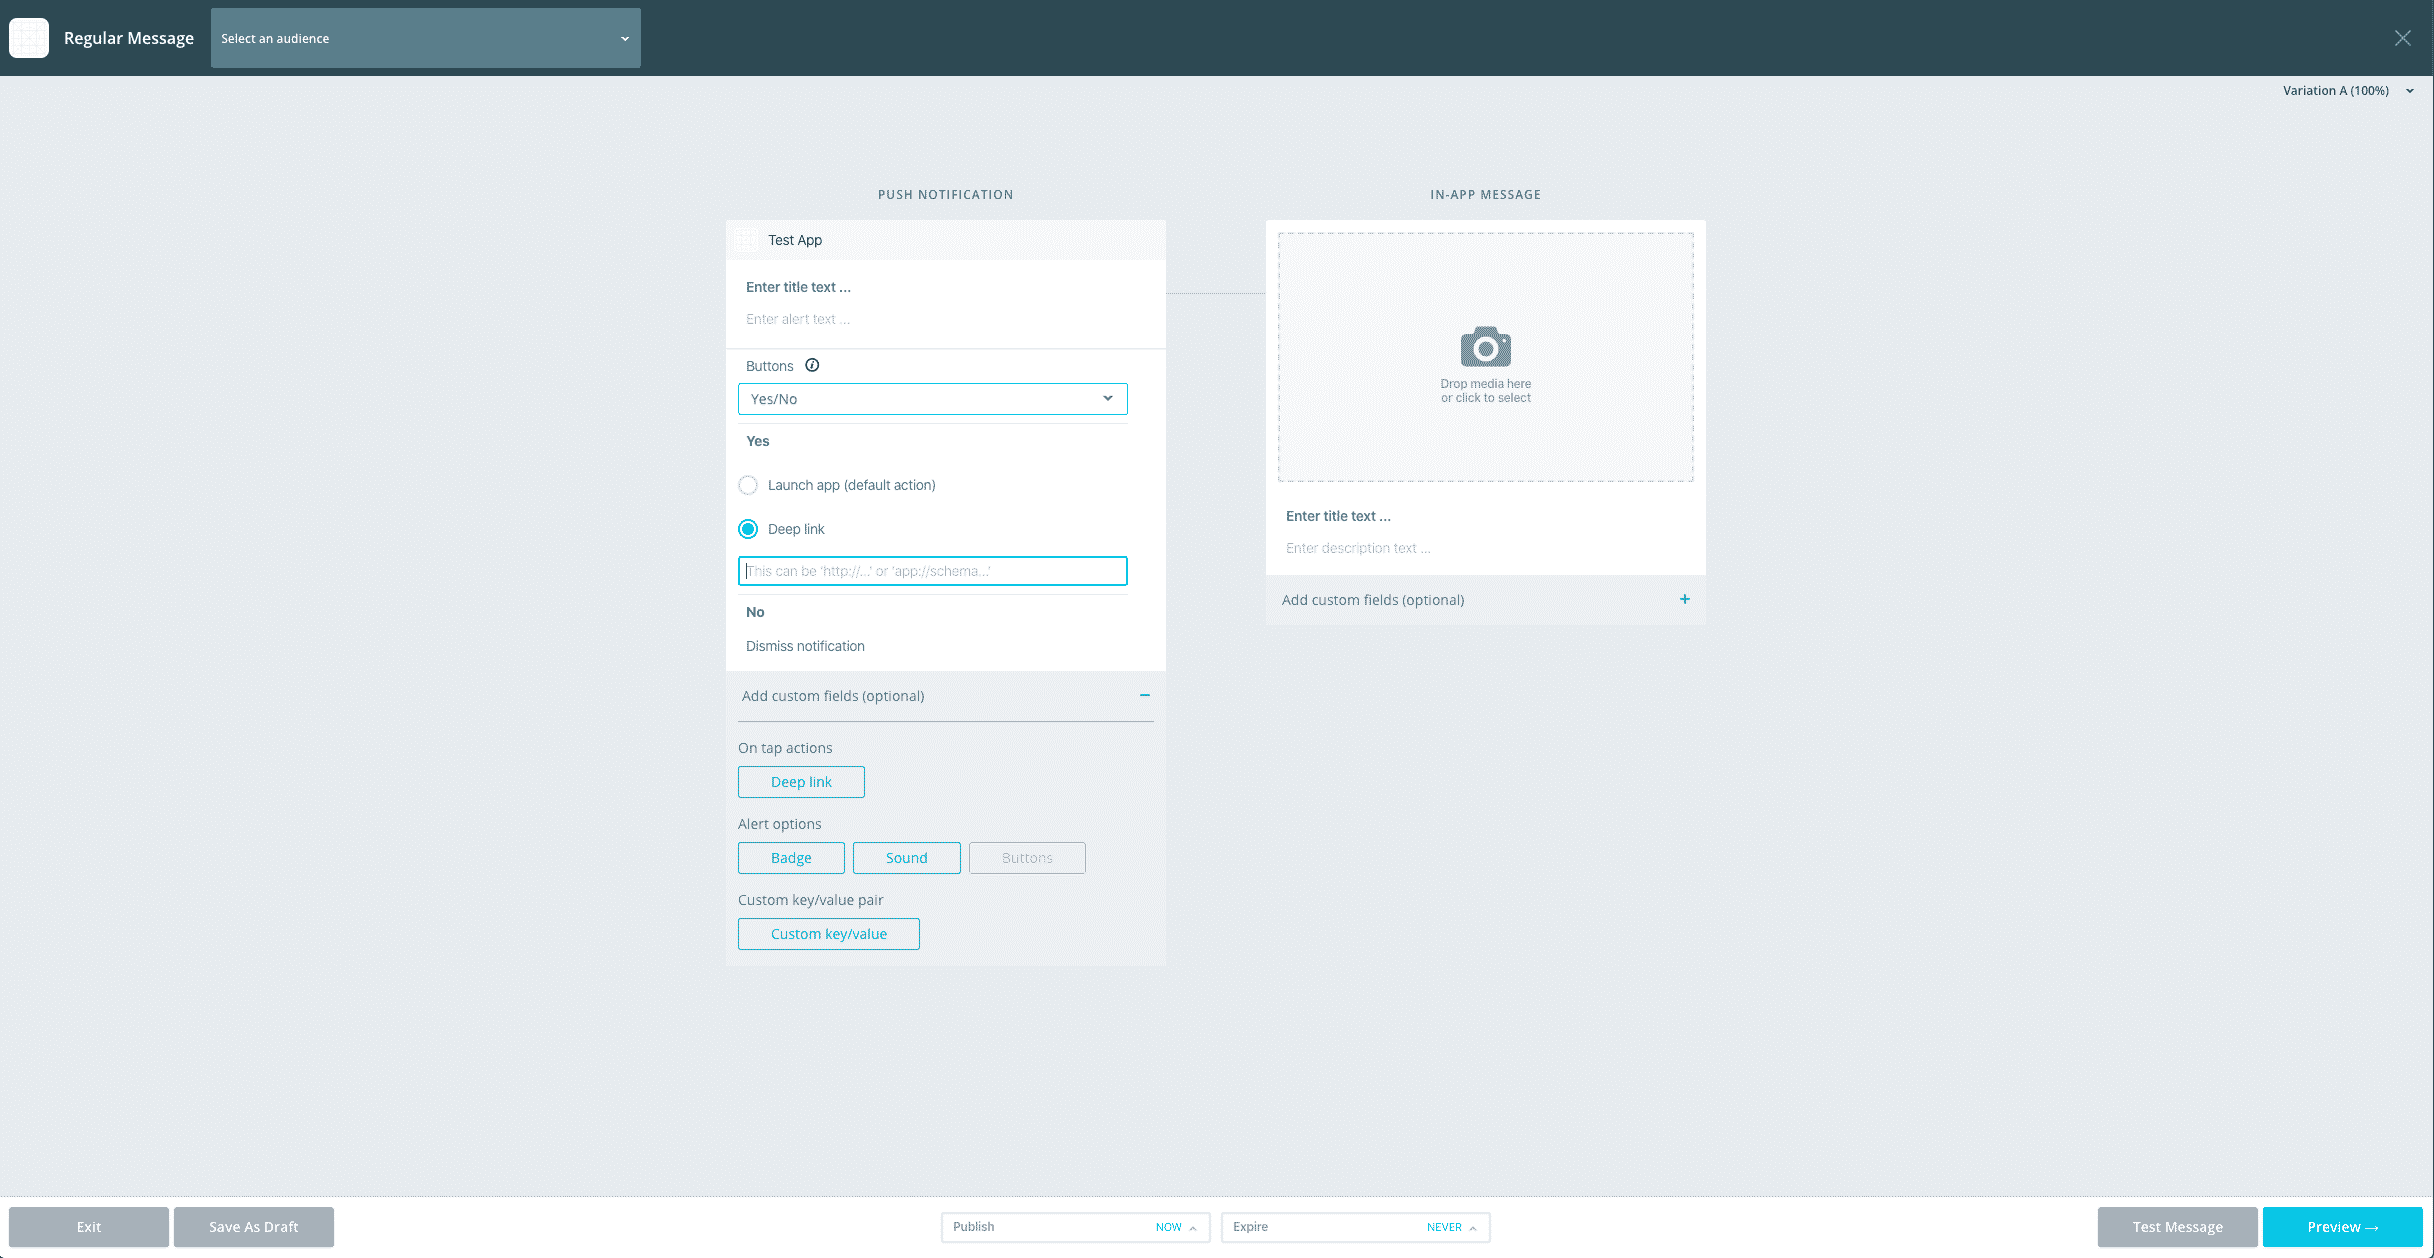
 By default positive actions will launch the app to the foreground, the same as tapping the main notification body. Negative actions will clear the notification without launching the app. Positive actions can also have a deeplink applied to them which will override the default behaviour. To add this, simply select the ‘Deep link’ radio button and enter the desired link.
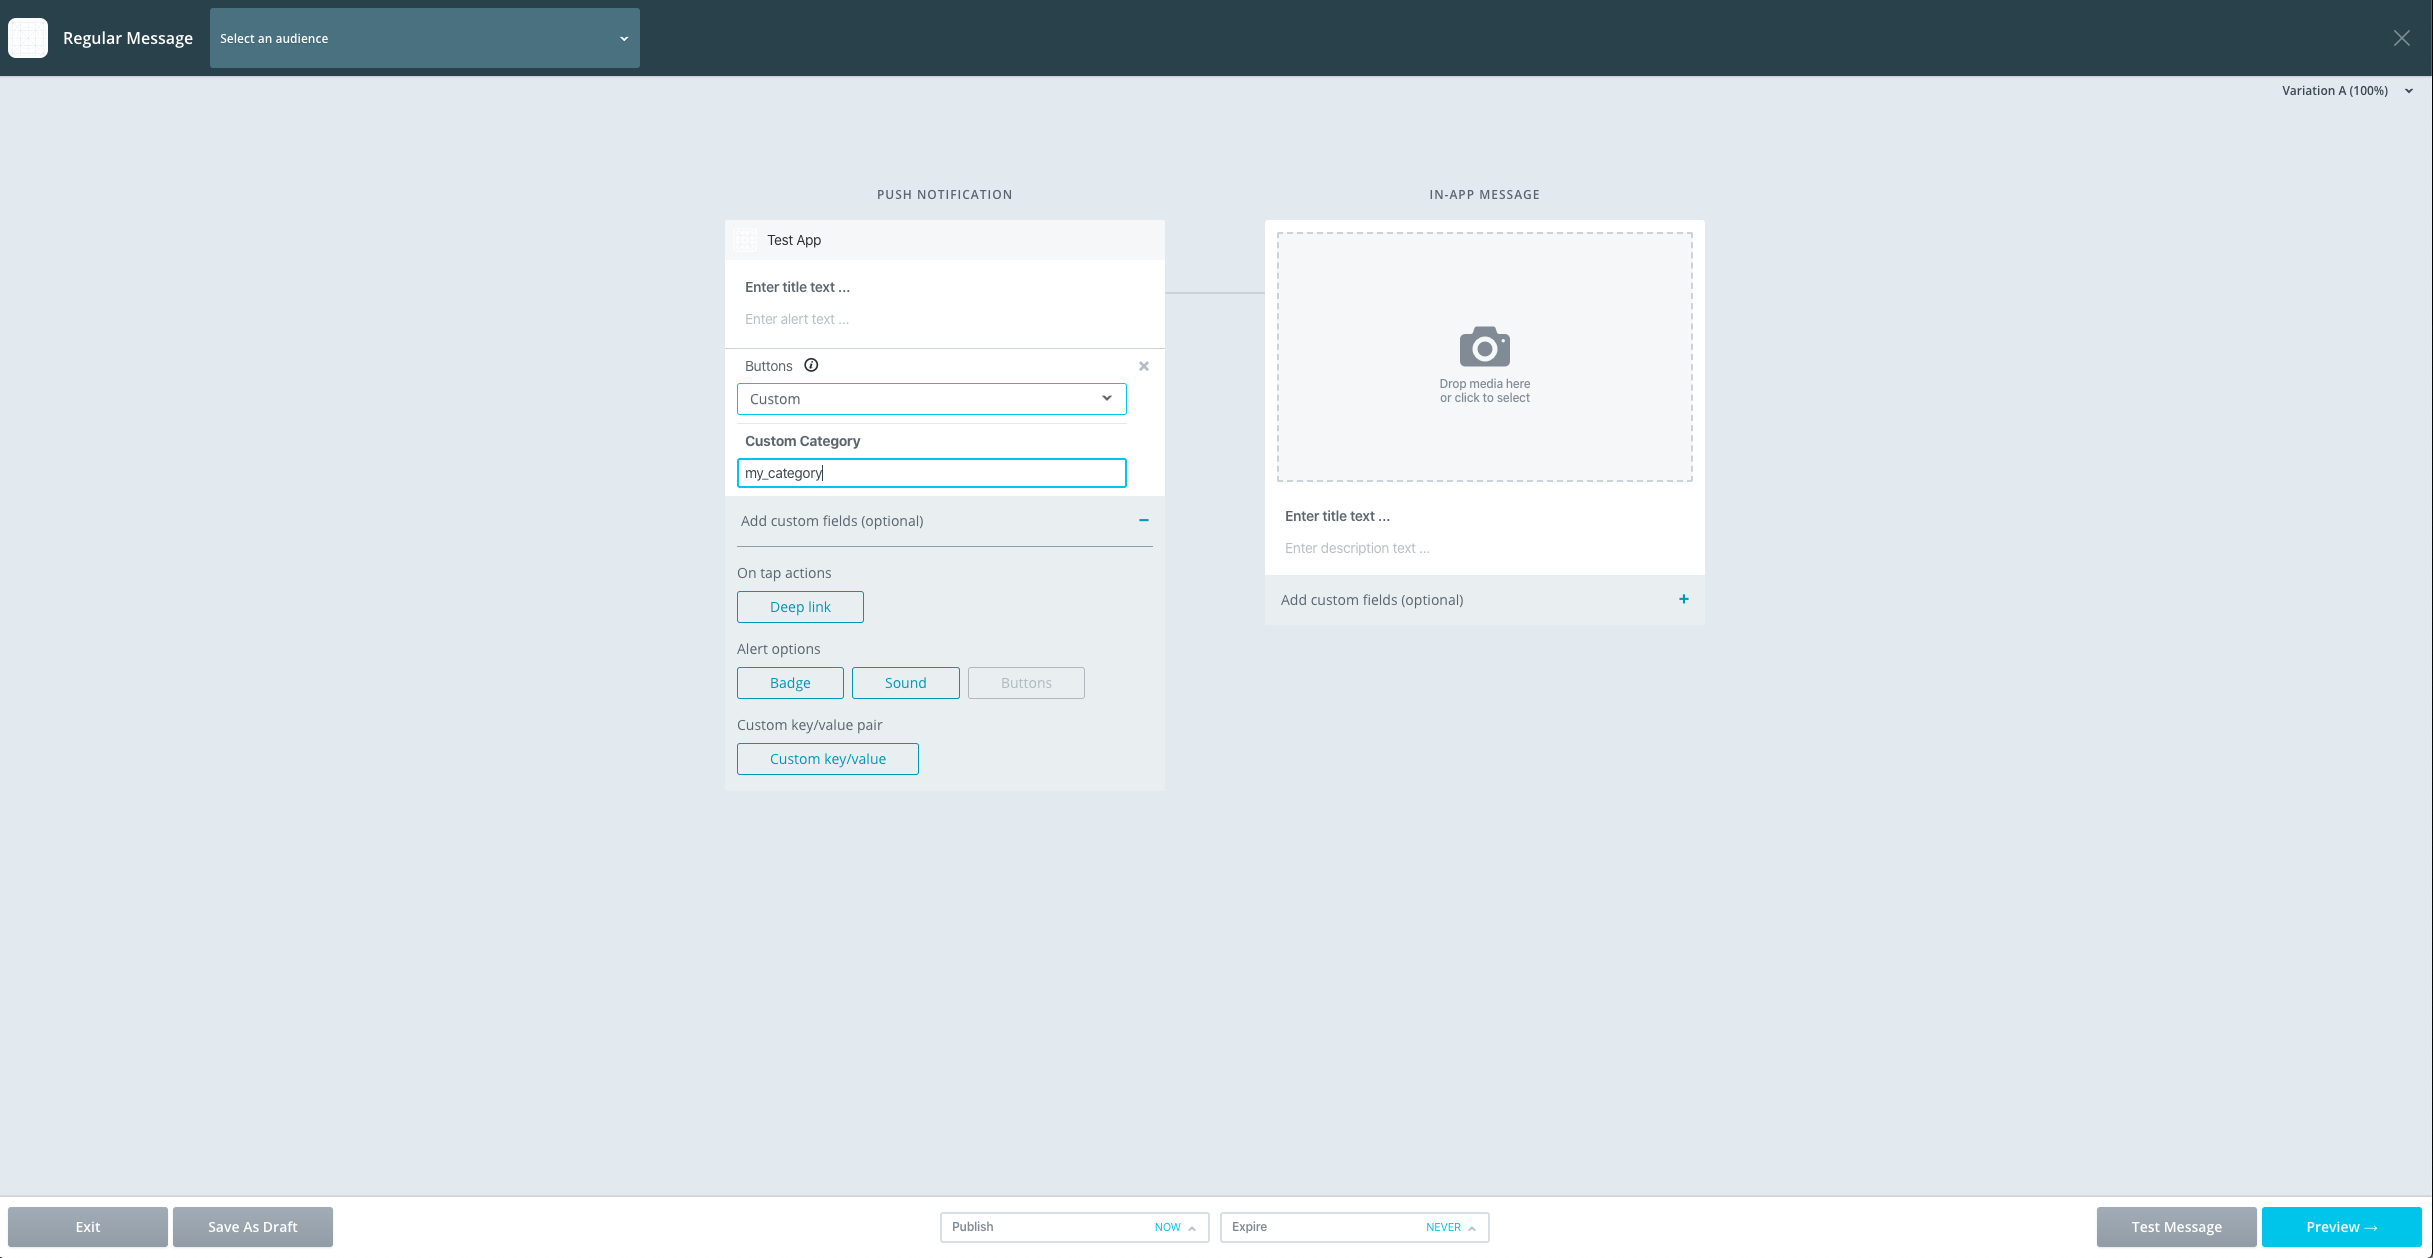
 Custom buttons can be used by selecting ‘Custom’ from the dropdown and entering the category ID.

Handling Actions
It’s possible to add custom behaviour in your app when particular buttons are tapped.iOS
The category and button selected will be passed back to the app in theUNUserNotificationCenterDelegate userNotificationCenter:didReceiveNotificationResponse:withCompletionHandler: method. You can retrieve them from the UNNotificationResponse actionIdentifier field. Mobile default buttons are returned in the format <category_name>&<button_title>.
iOS (Objective-C)
- (void)userNotificationCenter:(UNUserNotificationCenter *)center didReceiveNotificationResponse:(UNNotificationResponse *)response withCompletionHandler:(void (^)(void))completionHandler {
    NSArray *components = [response.actionIdentifier componentsSeparatedByString:@"&"];
    if ([components count] == 2) {
        NSString *category = [components objectAtIndex:0];
        NSString *title = [components objectAtIndex:1];

        // Handle button tapped
    }
}
iOS (Swift)
func userNotificationCenter(_ center: UNUserNotificationCenter, didReceive response: UNNotificationResponse, withCompletionHandler completionHandler: @escaping () -> Void) {
    let components = response.actionIdentifier.components(separatedBy:"&")
    if (components.count == 2) {
      let category = components[0]
      let title = components[1]

      // Handle button tapped
    }
}
Android
You can add aNotificationActionTappedListener instance to the SDK which will be notified when the user taps an action.
Android (Java)
new SailthruMobile().addNotificationActionTappedListener(new NotificationActionTappedListener() {
    @Override
    public void onNotificationActionTapped(Context context, Bundle bundle, String title, String category, NotificationActionState actionState) {
      // handle button tapped
    }
});
Android (Kotlin)
SailthruMobile().addNotificationActionTappedListener { context, bundle, title, category, actionState ->
    // handle button tapped
}
Default Categories
From version 9.0.0 of the iOS SDK and version 10.0.0 of the Android SDK, the following categories will be automatically created in the SDK. You can use these by choosing them from the dropdown, if available, or you can just send the category ID directly in the ‘Custom Category ID’ field.| Category ID | Positive Action | Negative Action |
|---|---|---|
| st_cat_yes_no | Yes | No |
| st_cat_accept_decline | Accept | Decline |
| st_cat_learn_more | Learn More | – |
| st_cat_next_step | Next Step | – |
| st_cat_view | View | – |
| st_cat_shop_now | Shop Now | – |
| st_cat_add | Add | – |
| st_cat_watch | Watch | – |
| st_cat_subscribe | Subscribe | – |
| st_cat_share | Share | – |
| st_cat_continue | Continue | – |