iOS Integration
Contents
Integration instructions for iOS Apps using Objective-C or Swift.
iOS minimum version
The following steps assume you are targeting a minimum of iOS 8.0+. Mobile will not work on earlier versions of iOS.Import the SDK into your project
There are four ways to integrate the Mobile SDK into your Xcode project:- Swift Package Manager (from SDK version 12+)
- CocoaPods
- Carthage
- Manually.
Swift Package Manager Integration
- If you're using Swift Package Manager, you can integrate the SDK by adding the iOS SDK repo URL as a package repository for your project.
Extension SDK
If you're using the extension SDK you should add it to your main app target during the Swift Package Manager setup. You can then manually link it to your extension targets in the 'General' -> 'Frameworks and Libraries' settings.CocoaPods Integration
- If you're using CocoaPods, you can integrate the SDK simply by adding the following line to your Podfile:
pod 'SailthruMobile' # optional: add the extention SDK (should be added to main app target and any extension targets that require it) pod 'SailthruMobile-Extension' - Run
pod installto install.
Carthage Integration
- Install Carthage 0.17.0 or later.
- Add
github "carnivalmobile/carnival-ios-sdk"to your Cartfile. - Run
carthage update - Drag SailthruMobile.framework (and optionally the SailthruMobileExtension.framework) from the appropriate platform directory in Carthage/Build/iOS to the "Linked Frameworks and Libraries" section of your Xcode project's "General" settings.
- On your application targets' "Build Phases" settings tab, click the "+" icon and choose "New Run Script Phase". Create a Run Script with the following contents:
/usr/local/bin/carthage copy-frameworks - Add the paths to the frameworks you want to use under "Input Files", e.g.:
$(SRCROOT)/Carthage/Build/iOS/SailthruMobile.framework. This script works around an App Store submission bug triggered by universal binaries.
Manual Integration
If you don't use any of the dependency managers above, you can integrate the SDK manually.- Download the latest release of the SDK from Github and extract it.
- Select
SailthruMobile.xcframeworkin Finder and drag and drop it into your Xcode project. Make sure "Copy items if needed" is selected, and click "Finish" - Add
SailthruMobile.xcframeworkto embedded binaries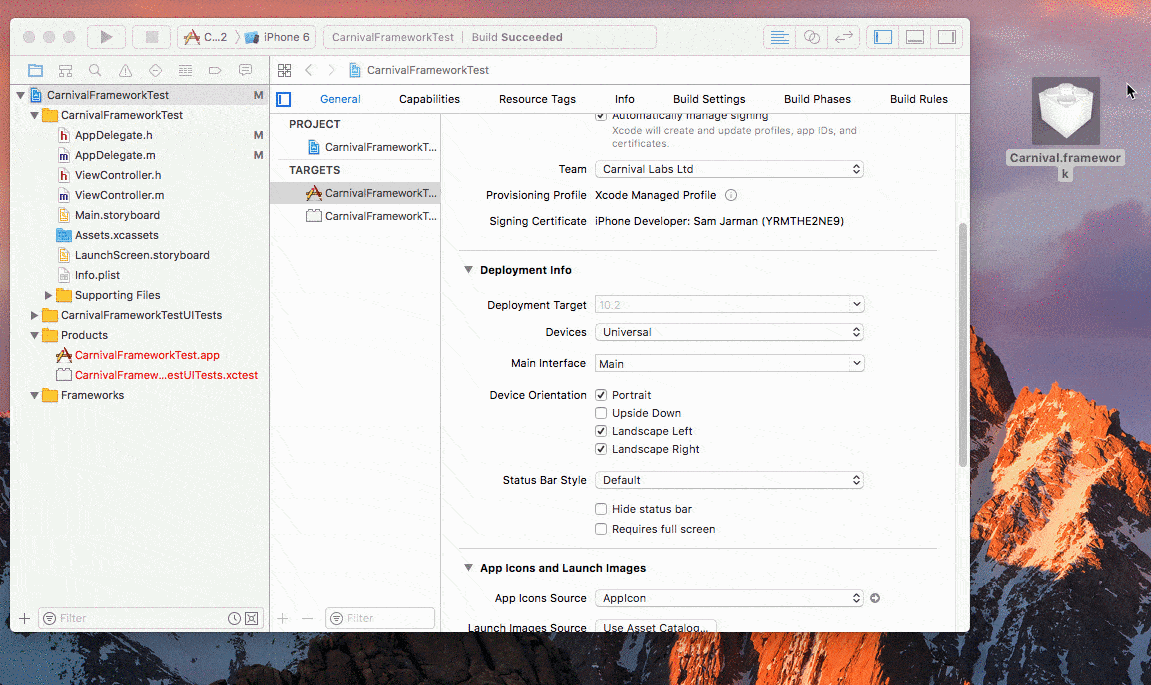
- To work-around this app store submission bug download the file on our Framework stripping page and place it in the root of your project. Note: this is only required below SDK version 12.0.0, XCFrameworks do not require this workaround.
- In your target's build settings screen, build phases, add a new run script and enter
bash $SRCROOT/strip-frameworks.shin the text box.
Upgrading the SDK
To upgrade to the latest version of the SDK, simply repeat the steps above. If you're using Cocoapods, simply runpod update SailthruMobile which will use the latest version (unless you've specified a version in your Podfile). If you're using Carthage, use the update commands. Alternatively, download and drag in the updated SailthruMobile.framework to your project. Swift Package Manager allows the version settings to be updates in the project settings under 'Swift Packages'.
Integrate the initialization code
Import the SailthruMobile header file#import <SailthruMobile/SailthruMobile.h> into Objective-C files where you wish to call Sailthru Mobile. For Swift applications, you'll need to add #import <SailthruMobile/SailthruMobile.h> to your bridging header.
#import <SailthruMobile/SailthruMobile.h>
- (BOOL)application:(UIApplication *)application didFinishLaunchingWithOptions:(NSDictionary *)launchOptions {
  [[SailthruMobile new] startEngine:SDK_KEY]; // Obtain SDK key from your Sailthru Mobile app settings
  return YES;
}
SwiftUI Integration
When creating a SwiftUI project from scratch Xcode doesn't create an AppDelegate class automatically as it does for older projects. The following are details on how to set up an AppDelegate in SwiftUI and callstartEngine from it.
First create a custom class that inherits from NSObject and conforms to the UIApplicationDelegate protocol, like this:
class AppDelegate: NSObject, UIApplicationDelegate {
    func application(_ application: UIApplication, didFinishLaunchingWithOptions launchOptions: [UIApplication.LaunchOptionsKey : Any]? = nil) -> Bool {
        SailthruMobile().startEngine(SDK_KEY)
        return true
    }
}startEngine but you can also implement any other methods you need here as well.
Now in your App scene, use the UIApplicationDelegateAdaptor property wrapper to tell SwiftUI it should use your AppDelegate class for the application delegate.
@main
struct SwiftUI_TestApp: App {
    @UIApplicationDelegateAdaptor(AppDelegate.self) var appDelegate
    var body: some Scene {
        WindowGroup {
            ContentView()
        }
    }
}startEngine method at the earliest possible opportunity, calling it later in the app lifecycle can have unintended consequences.
Push Authorization Options
By default, callingstartEngine: will request push authorization to display Alerts, Badges and Sounds to the user. This will display a popup to the user requesting their permission to display these notification options. We recommend that you delay this popup and provide an introductory flow to display the value of your app's push notifications before prompting the user for permission. If you want to do that you can use another method that allows you to specify which push authorizations you would like to request.
Objective-C
#import <SailthruMobile/SailthruMobile.h>

- (BOOL)application:(UIApplication *)application didFinishLaunchingWithOptions:(NSDictionary *)launchOptions {
  [[SailthruMobile new] startEngine:SDK_KEY withAuthorizationOption:STMPushAuthorizationOptionProvisional]; // Obtain SDK key from your Sailthru Mobile app settings
  return YES;
}
Swift
func application(application: UIApplication,
didFinishLaunchingWithOptions launchOptions: [NSObject: AnyObject]?) -> Bool {
  SailthruMobile().startEngine(SDK_KEY, with: .provisional) // Obtain SDK key from your Sailthru Mobile app settings
  return true
}| Option | Description |
|---|---|
| STMPushAuthorizationOptionNoRequest | This option will not request any push authorization permissions for the device. Note that a push token will still be requested. No prompt is required. |
| STMPushAuthorizationOptionProvisional | This option will request provisional push authorization, allowing push notifications to be sent to the notification center. No prompt is required. Available iOS 12+, defaults to STMPushAuthorizationOptionNoRequest behavior for earlier versions. |
| STMPushAuthorizationOptionFull | This option will request full push authorization for alerts, sounds and badges. Note that this will prompt the user for permission. |
Test your integration
To make sure it's working, launch your app in your simulator or on your iOS device. Log in to Mobile, click on your app, settings and then click on the Developer tab where you should see your device listed. This device log will also show if push notifications are enabled.
Next Steps
- Setup Push Notifications for iOS to ensure your users can receive push notifications when the app is closed.
- Setup in-app messages to enable Mobile's rich In-App Messages
- Collect user data to help in segmenting and targeting your users based on their activity.