Setup iOS Push Notifications
Contents
Set up Push Notifications with Mobile
Enable Push Notifications on Your App ID
Each iOS application that uses the APNS must have a unique application ID. To get started, sign into the iOS Developer Program and click on Certificates, IDs & Profiles.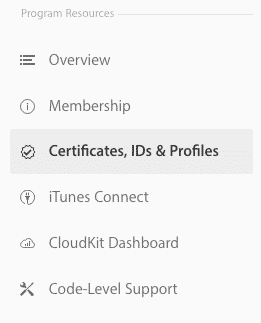
Create or reuse an App ID
You need to create a new App ID or to reuse one you previously created. If you are reusing an existing App ID, you can skip this section and just make sure it's enabled for Push Notifications. If you are creating a new App ID, click on App IDs under Identifiers.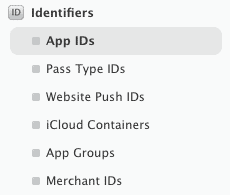

.cer files you generated. When asked, make sure to save them into the Login keychain.
You should have two certificates: Development (Apple Development iOS Push Services) and Production (Apple Push Services). You will need to update these two certificates to Mobile later in the process.
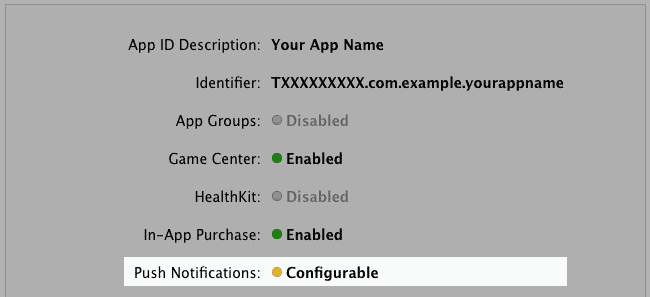
Check push notifications are enabled for your App ID
Click on your app name in the App IDs, then click Edit. Make sure that your Push Notification section looks like this: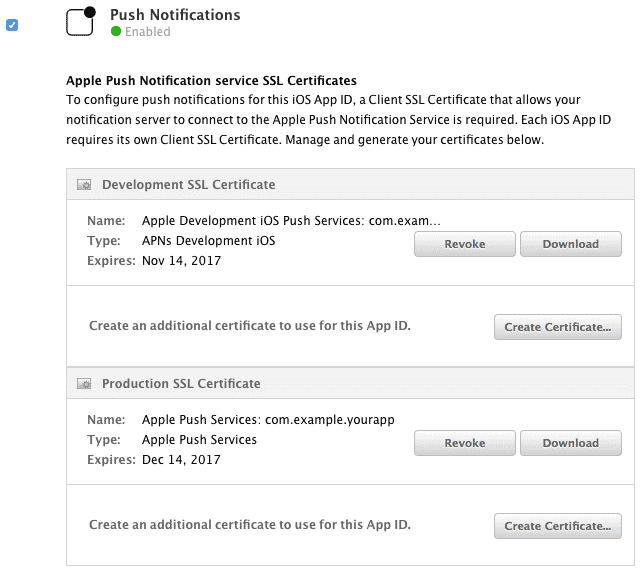

Export and Upload Push Certificates to Mobile
On your Mac, open Keychain Access and find the development and production push certificates generated in the first step. Select the certificate named Apple Development IOS Push Services (your.bundle.id). Right click on the item and select Export "Apple Development IOS Push Services (your.bundle.id)". Save each certificate in p12 format onto your Mac with no password. Repeat these steps for the certificate named Apple Push Services: (your.bundle.ID).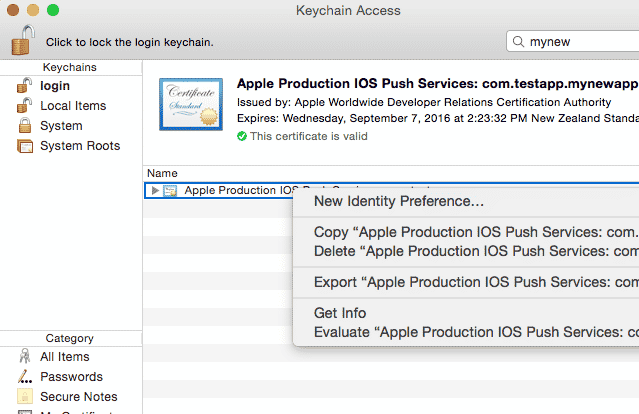
Upload your certificates to Mobile
Mobile needs your push certificates in order to send push notifications to your app. Log into Mobile, then navigate to Settings -> Developer. In the iOS section, drag and drop your Development certificate into the Apple Push Certificate (Development) box. Your Production Certificate goes into the Apple Push Certificate (Production) section.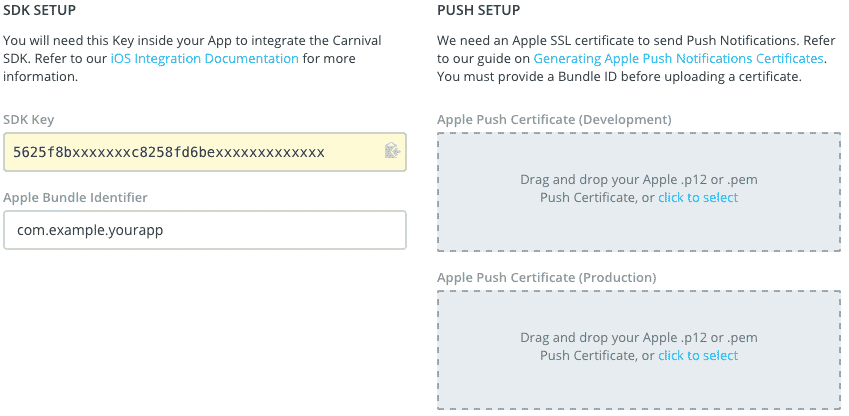
Create a Push-Enabled Provisioning Profile
The next step is to create a provisioning profile so that your application can be installed onto a real device for testing push notifications. If you haven't already done so, sign into the iOS Developer Program and click on Certificates, IDs & Profiles. In the Certificate section, choose All.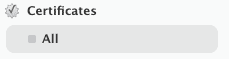 Create a new certificate by clicking the Add sign in the right hand side of the page. In the next screen, choose App Store and Ad Hoc. If you plan on shipping the App to the App Store, like any production testing, you will first need to use an Ad Hoc build to test release mode.
Click Continue, then follow the instructions on the page.
When done, head over to Provisioning Profiles, then click Distribution. If you are testing, select Ad Hoc. If you are distributing your app to the public, select App Store. Follow the instructions to download the provisioning profile.
When creating a new profile ensure that you reference the App ID setup earlier.
For existing provisioning profiles, you will need to re-generate the profile in order to support push notifications.
The latest Xcode can automatically manage signing for you. However, you can still retain control over your profiles and certificates by doing the following:
Create a new certificate by clicking the Add sign in the right hand side of the page. In the next screen, choose App Store and Ad Hoc. If you plan on shipping the App to the App Store, like any production testing, you will first need to use an Ad Hoc build to test release mode.
Click Continue, then follow the instructions on the page.
When done, head over to Provisioning Profiles, then click Distribution. If you are testing, select Ad Hoc. If you are distributing your app to the public, select App Store. Follow the instructions to download the provisioning profile.
When creating a new profile ensure that you reference the App ID setup earlier.
For existing provisioning profiles, you will need to re-generate the profile in order to support push notifications.
The latest Xcode can automatically manage signing for you. However, you can still retain control over your profiles and certificates by doing the following:
-
- From your Apple Developer Portal, head over to Provisioning Profiles, then click Distribution
- Download the .mobileprovision profile you created before to import it into Xcode.
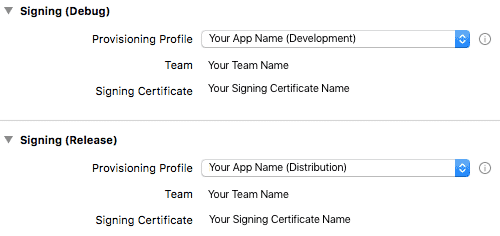
- In Xcode, select your project file, then click General. Deselect Automatically manage signing
- In the Signing (Debug) section, select your debug or development provisioning profile
- In the Signing (Release) section, select your development provisioning profile you created in the previous step.
App Store and Distribution provisioning profiles
After you have enabled and tested push notifications, you will need to generate a new provisioning profile. Failing to do so prior to releasing the App Store will mean that Push Notifications will not work with your application. More information is available in the iOS Release Checklist.Confirming Push Setup
Confirm Development Devices are Receiving Device Tokens
-
-
- Launch your app on your iOS device, ensuring that you have built your app using a development provisioning profile with push enabled.
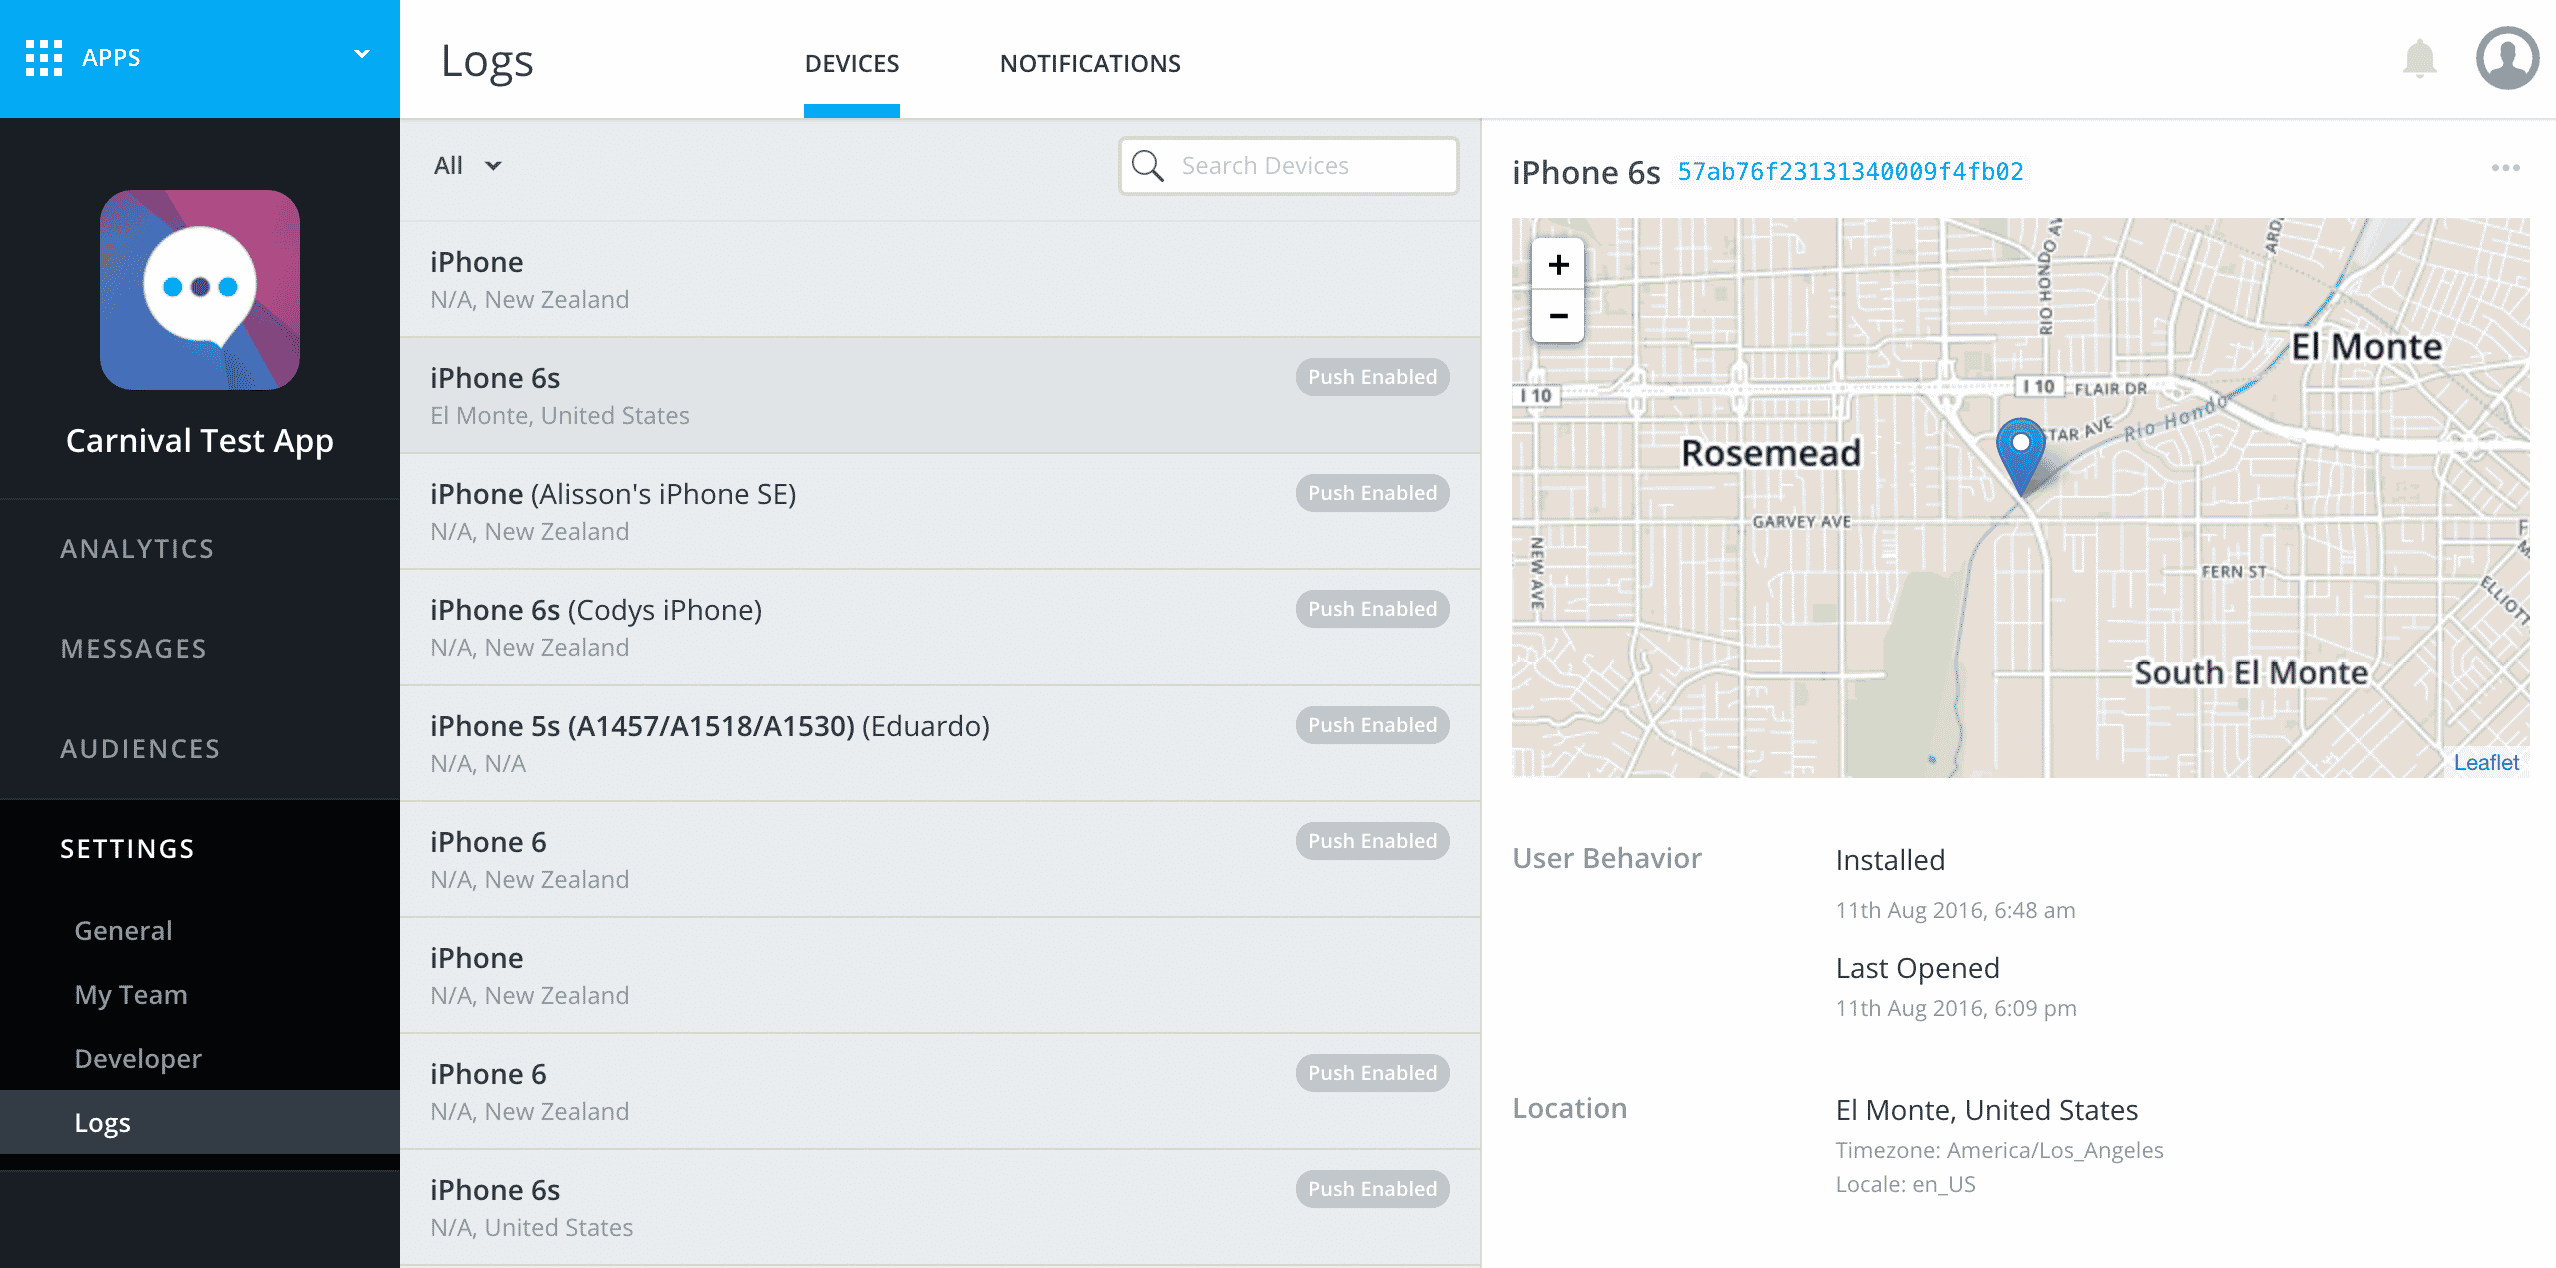
- Log in to Mobile, click on your app, settings and then click on the Developer tab where you should see your device listed.
- This device log also shows whether push notifications are enabled. If you do not see a push enabled device, review this troubleshooting guide which works through common integration issues.
-
Confirm Production Devices are Receiving Tokens
-
-
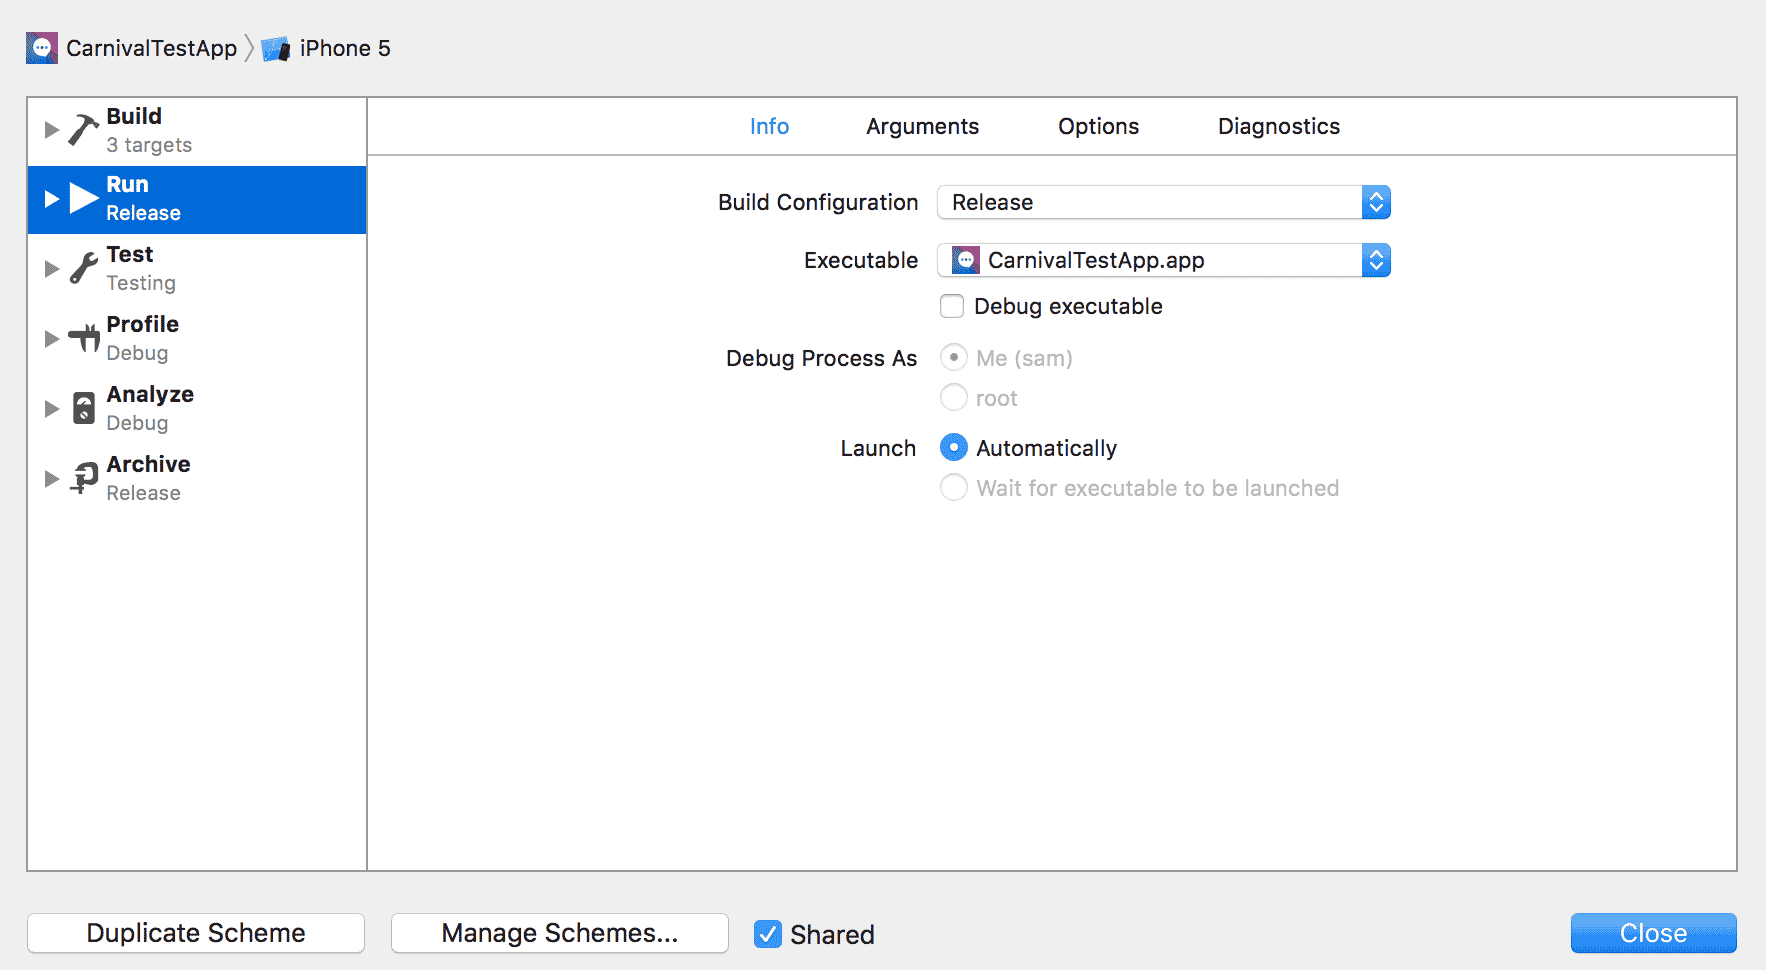
- In Xcode, edit your scheme from Product -> Scheme -> Edit Scheme and put your build into release mode.
- Repeat the same steps as above. You should see your device token change as it receives a production gateway token from APNS.
-