Verified Sending Domain
Contents
Verified sending domains ensure that your messaging is only sent from confirmed domains. Verified sending domains can be used for From and Reply-to email addresses in your messaging.
Add a Verified Sending Domain
To add or delete a verified sending domain to your account, contact your Customer Success Manager.Add a Verified Email Address
Once the verified sending domain has been added to your account, add email addresses using that domain for From and Reply-To addresses.- From the application, navigate to the Verify Email Address page. (Settings > Setup > Verified Email)
- Select the
 icon on the top of the grid.
 - Enter an email address in the Email textbox.

- Select Submit. A confirmation email is sent to the address.
- Click the link in the email to confirm the email address and add it to your list of verified email addresses.
- Use the verified email address as the From and/or Reply-To email address in your messaging.
Delete a Verified Email Address
Delete a verified email address from the Verify Email Address page.- Locate the email address you wish to delete on the page.
- Select the
 icon in the grid opposite the email address.
 - Select Delete from the Delete Verified Email modal.
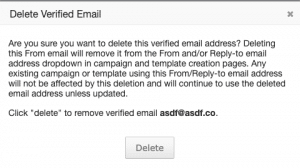
- The email address is removed from the list of verified emails.