Link an Okta Application to Marigold Engage by Sailthru
Contents
This guide walks you through configuring an Okta application to enable SAML-based Single Sign-On from Okta for Marigold Engage by Sailthru. In this scenario, the Okta application is the SAML Identity Provider.
Create a new Okta application
- In Okta, click Admin.

- Open Applications.

- Click Add Application.

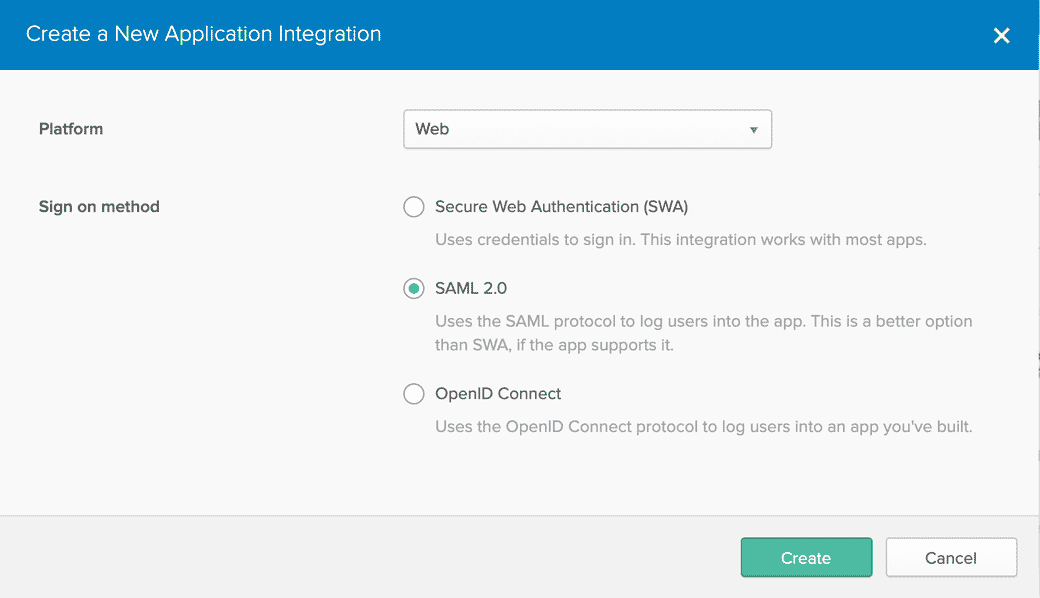
- Select Create New App.

- Select Web as the platform and SAML 2.0 as the sign-on method. Click Create.
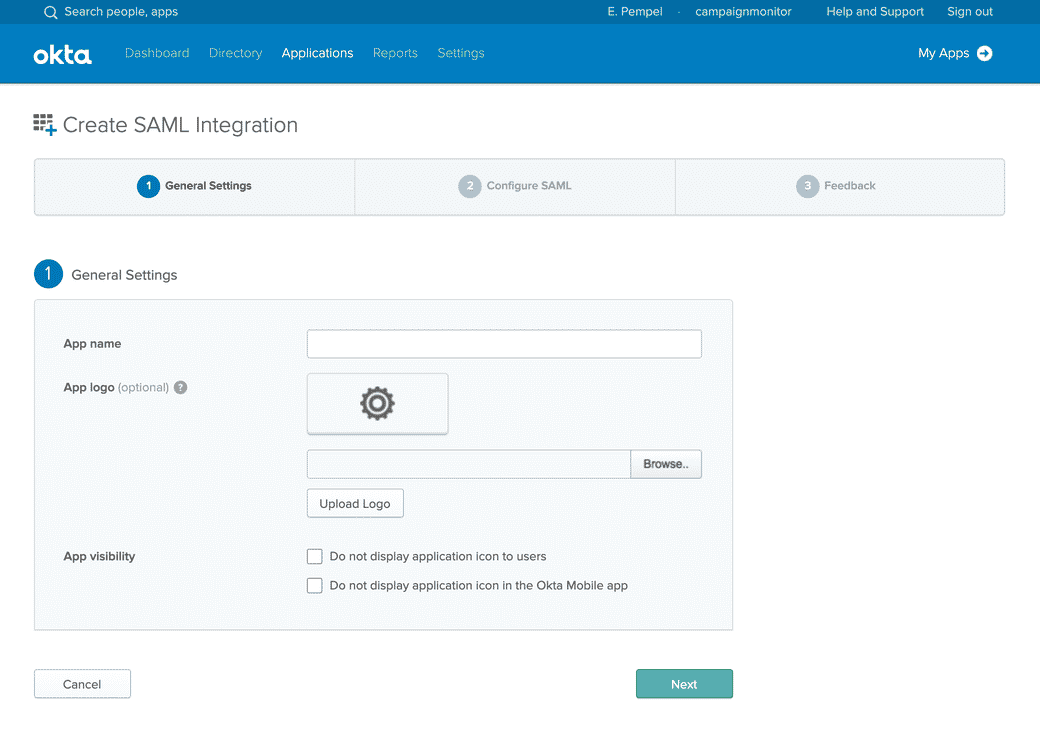
- Specify a name identifier for the application, for example, Marigold Engage by Sailthru. Select Do not display application icon to users and Do not display application icon in the Okta Mobile app. Click Next.
- Decide the name of the SAML connection that will be used by Marigold Engage by Sailthru. This should be in the format of "saml-<companyname>", e.g. "saml-sailthru". In the following steps you'll insert this name in place of
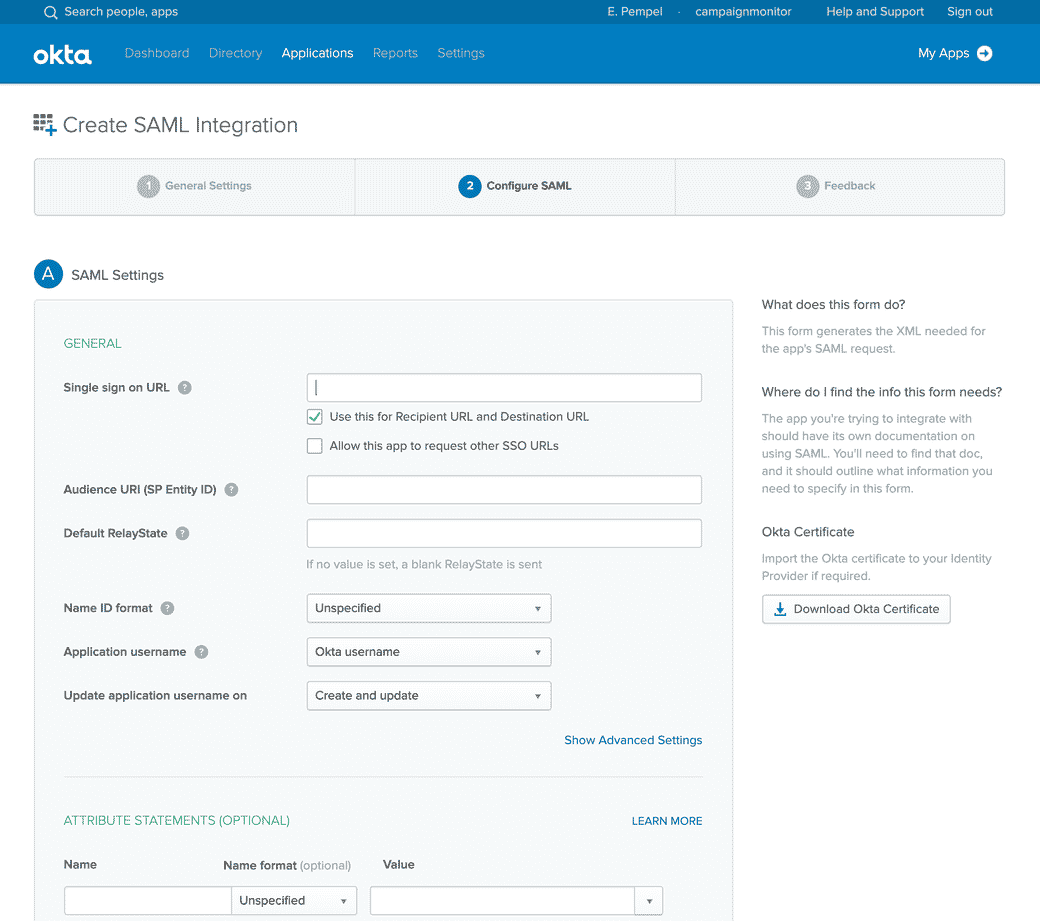
SAML_CONNECTION_NAME. - On the SAML Settings page
- Specify the user's email address as the value for Application username. There are several options to do it. You can select the "Okta username" option if the user's email address is used as the Okta username. Or you can select the "Custom" option and use any Okta expressions to make the user's email address dynamic. See more details about available expressions here. Note: The value in the Application username field will be used by Marigold Engage by Sailthru to identify the authenticated user within the platform.
- Enter
https://login.sailthru.com/login/callback?connection=SAML_CONNECTION_NAMEinto the Single sign on URL field - Enter
urn:auth0:sailthru:SAML_CONNECTION_NAMEinto the Audience URI (SP Entity ID) field - In the ATTRIBUTE STATEMENTS (OPTIONAL) section, add the following attributes:
Name Value name user.firstName + " " + user.lastName given_name user.firstName family_name user.lastName
- Click Next.
- On the Feedback page, select "I'm an Okta customer adding an internal app". The section expands and displays more options. Select "This is an internal app that we have created" as the App type.
 Click Finish.
Assign users to the application
- From the Assignments tab, assign users to the application.
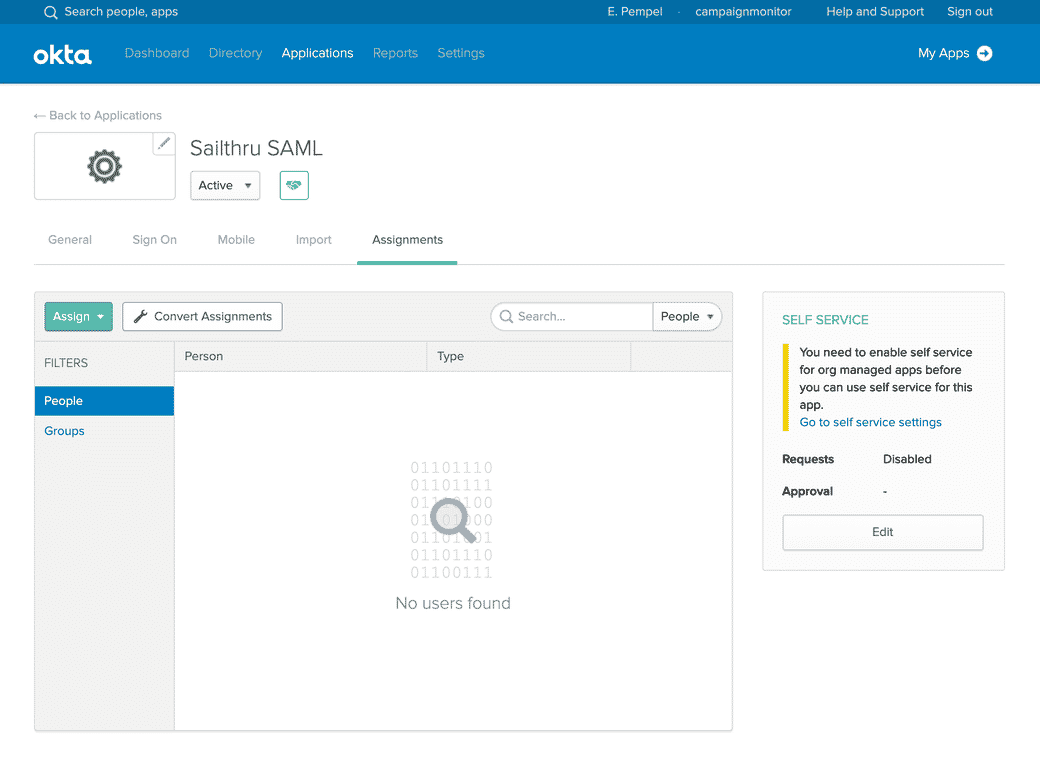
- Click Assign, then select either Assign to People or Assign to Groups.
- Enter the appropriate people and groups that you want to Single Sign-On into your application, and then click Assign for each.
- For any people that you add, verify the user-specific attributes, and then select Save and Go Back.
- Click Done.
Locate configuration information
- Locate the Sign On tab. Click View Setup Instructions.
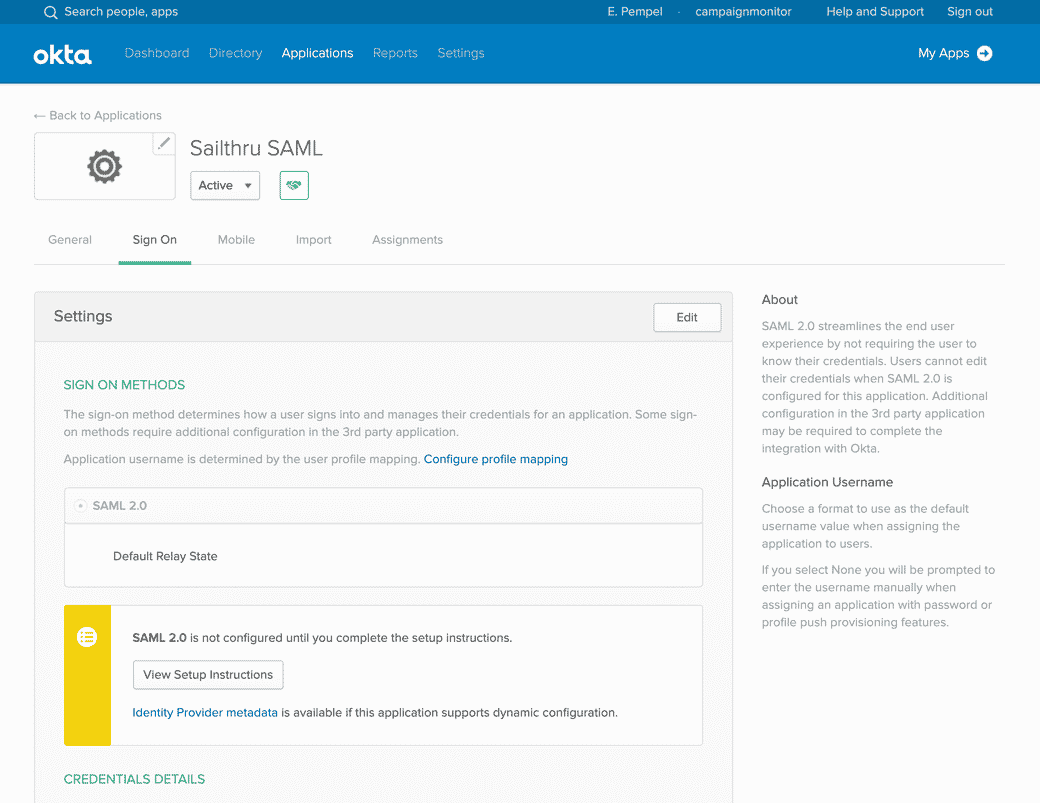
- A new browser tab launches with the information that you need:
- Identity Provider Single Sign-On URL
- Identity Provider Issuer
- X.509 Certificate
Pass configuration details to Marigold Engage by Sailthru
Once you have completed all these steps, please contact Support with the following details- SAML connection name
- Identity Provider Single Sign-On URL
- X.509 Certificate