Push Notifications for iOS
Contents
There are 4 stages to complete in order to setup Push Notifications with Sailthru Mobile:
Enable Push Notification on your App ID and export .p8 Push Certificate
Upload .p8 Push Certificate to Sailthru
Test .p8 Push Certificate
Remove .p12 Push certificates
Enable Push Notification on your App ID and export .p8 Push Certificate
- Login to your Apple Developer account
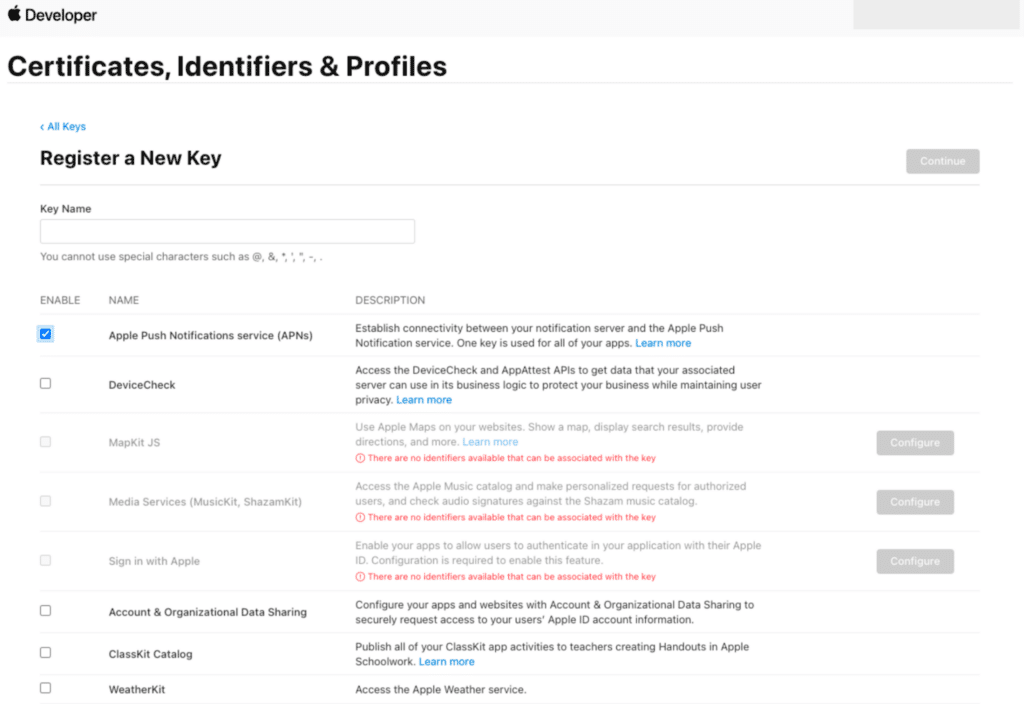
- Register a New Key by going to Certificates > Identifiers & Profiles > Keys, and then click on the blue plus symbol
- Enter a Key Name, check the box to enable "Apple Push Notification service (APNs)", and then click Continue
- Follow the prompts to download your .p8 Push Certificate
Note: You can only download your key once so be sure to save it in a secure location. You can only have two .p8 Push Certificates in your Apple Developer account.
Generating p8 keys

Upload .p8 Push Certificate to Sailthru
- Login to your app on https://mobile.sailthru.com/
- Go to Settings > Developer > Apple iOS
- Fill in the information in the order prescribed below:
- Apple Bundle Identifier - App's unique identifier*
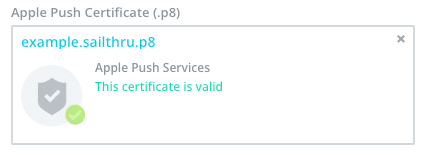
*You can find these IDs in the Keys and App Information sections of your Apple Developer Account - Apple Push Certificate (.p8) - Upload Apple .p8 Push Certificate by drag and drop or click to select
- Apple Bundle Identifier - App's unique identifier*
- Team ID - Unique 10 Character string assigned to your team*
- Key ID - Unique 10 Character identifier for your authentication key*
Note: You must input the Apple Bundle Identifier, Team ID and Key ID before uploading your .p8 Push Certificate.
Remove .p12 Push certificates
- Once you've observed a successful send with your .p8 Push certificates we recommend removing the legacy .p12 Push certificates from your app
- Click on the cross in the top right hand corner of the Apple Push Certificate (Development) and/or Apple Push Certificate (Production)