The Flow Builder
Contents
Create and modify flows from the Flow Builder. Lifecycle Optimizer flows are made up of Steps and Branches. Each step connects to the previous one with a branch.
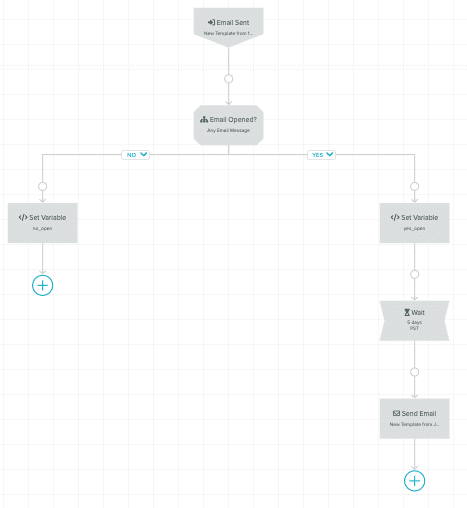
From the Flow List page, select a flow from the list to edit it or select the New Flow button to open the Builder. When you create a new flow, the Builder opens with an unconfigured Entry step on the canvas.

Build a New Flow
- From the Flow List page, select the New Flow button. The Flow Builder will open.
- Select the Flow Name at the top left to change the default name. Edit the name, then press Enter.

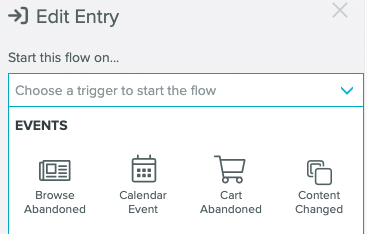
- Select the unconfigured Entry step to open the Edit Entry panel. Select an Entry from the panel. Entries are organized into categories: Events, Email, Mobile, Users, and Predictions (if Predictions are enabled on your account).
- Hover over the Add Step icon
 below the Entry you just set. This opens the step menu.
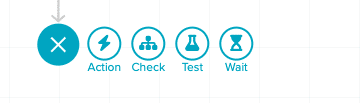
- Select the step you wish to add. Each step type will have different options for configuration.
- For in-depth information on the individual steps available, see the Lifecycle Optimizer Step Glossary.
- For general information on step types, see the Lifecycle Optimizer Steps section.
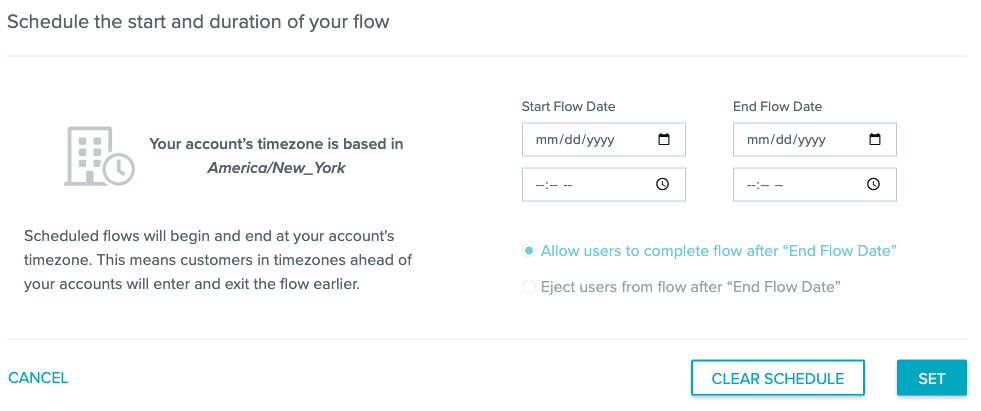
- Once your flow is configured, select Status from the top menu bar. From the Status modal, you can either immediately launch your flow
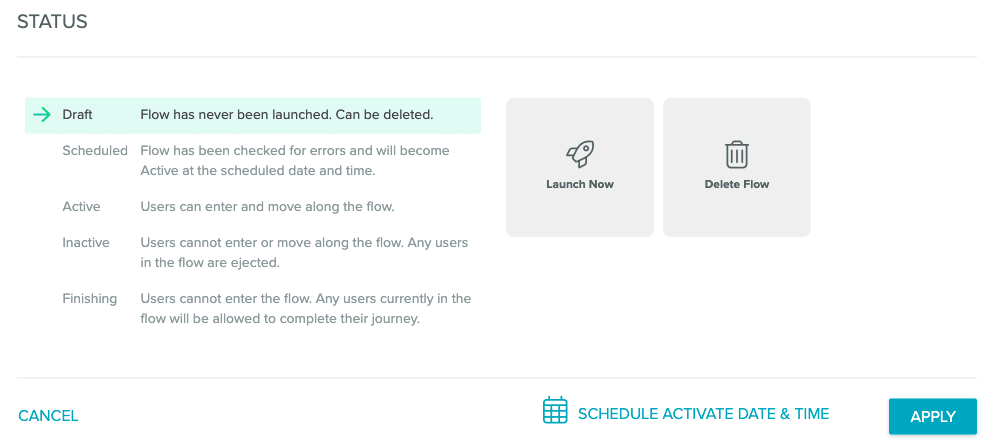
or schedule a date and time for it to launch. You can also set a schedule from the Schedule option in the top menu bar.
- Save your flow.
Merge Branches
Use a Check step to connect branches in complex flows.
- Open an existing Lifecycle Optimizer flow or create a new one.
- In a new flow, select the unconfigured Entry step to open the Edit Entry panel. Select an Entry and configure the settings.
- Hover over the Add Step icon below the Entry you just set. This opens the step menu.
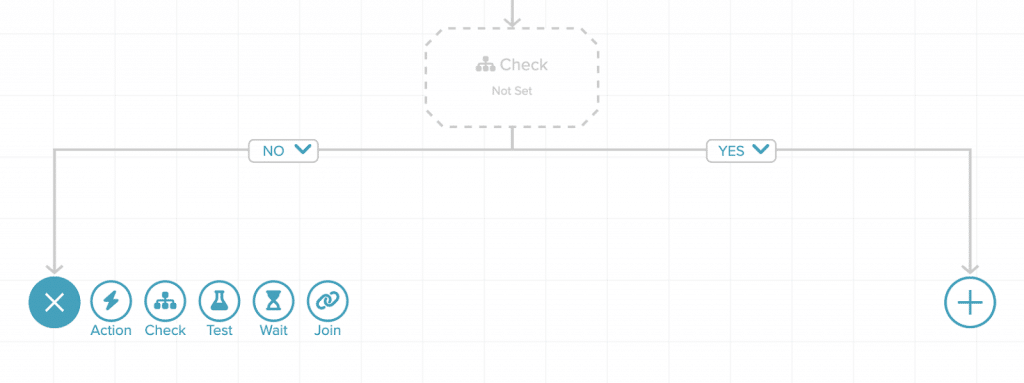
- Add a Check step to your flow and configure the step.
Note: If you wish to insert additional steps into your flow, select the node on the branch between them. The node also opens the Add Step menu.
 - Merging is available after you configure your Check branches. Hover over the icon at the end of the step and select Join.
Note: The Join option will only be available if the step can be merged. - To delete a merged branch, hover over the unjoin
 icon.
icon.
Navigate a Flow
When you have a complex Lifecycle Optimizer flow, you can navigate in one of two ways:
- Drag the flow builder to the step or steps you wish to see.
- Use the map to navigate through steps without scrolling:
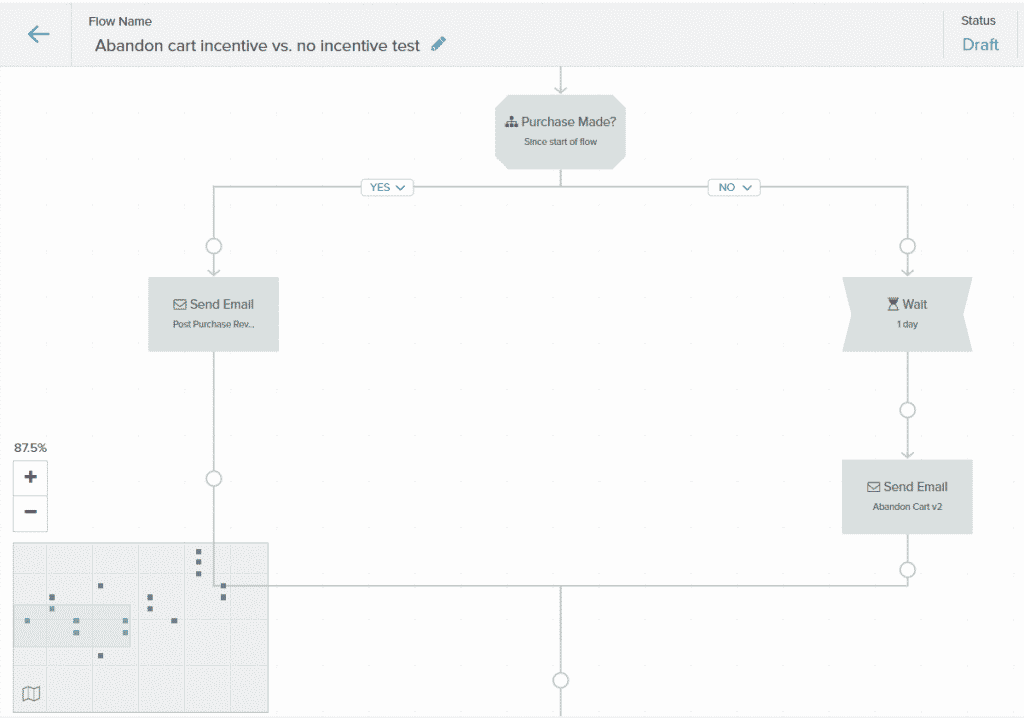
Find the map icon in the top left corner of the flow Builder. Click to open the map. Select one of the shapes to navigate to that section of the flow. The section you're viewing is highlighted with a blue rectangle.
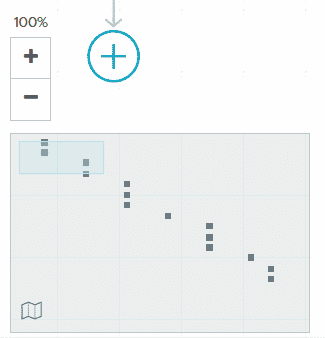
When editing a step, it will show green in the map. Any invalid step will show red, so you don't have to hunt through a complex flow to find it.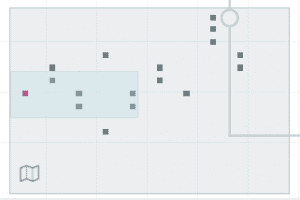
Lifecycle Optimizer Steps
Entry
A user action or other event that starts the flow.
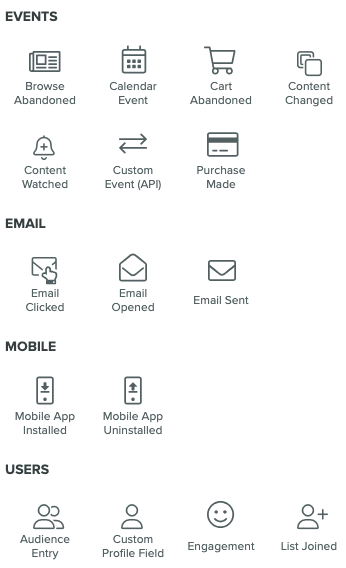
Entries are organized by category: Events, Email, Mobile, Users, and Predictions. Each category includes different actions that can trigger a Lifecycle Optimizer flow.
Select an entry and configure the options in the Edit Entry panel.
For more information on each Entry and the configuration options for each, see Entries in the Lifecycle Optimizer Step Glossary.
Action
The action the flow takes when the prior conditions are met. Those prior conditions could be part of an entry, a wait, a check, or a test.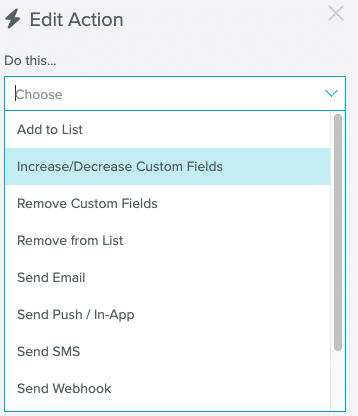
Each Action includes further options for configuration. For more information on each Action and the configuration options for each, see Actions in the Lifecycle Optimizer Step Glossary.
Check
Determine whether to continue the user's progression in a flow, or determine which of two subsequent step options (branches) the user should reach.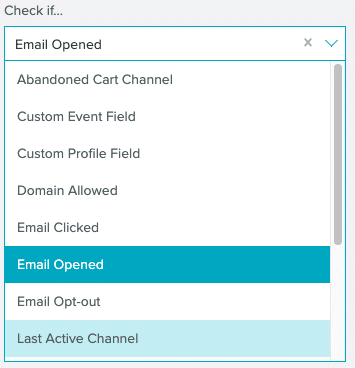
When you add a Check step to a flow, you have the ability to:
- Define two paths: one for users who match the check's criteria and another for those who do not, or
- Define multiple paths, where each will be followed based on the user's custom profile field (a.k.a. user var) matching a particular value
Test
Split the flow into multiple test branches. Decide what percentage of users will randomly enter each test branch and experience the unique set of steps that you add to each branch. All test branches automatically rejoin after any steps you include within them. For more information on Tests, see Tests in the Lifecycle Optimizer Step Glossary.Wait
Holds the user from proceeding in the flow for a specified period of time. A Wait step helps slow a user's progression through the flow, keeping them from receiving too many messages in a short space of time. For more information on Waits, see Waits in the Lifecycle Optimizer Step Glossary.Global Checks
-
Set one goal for your Lifecycle Optimizer flow with Global Checks. As users move through the flow, their behavior is evaluated. When they meet a goal, your flow can take one of two predetermined actions. Global Checks only apply to users within a flow.
To set a global check in Lifecycle Optimizer:
- Open an existing Lifecycle Optimizer flow or create a new one.
- Locate the Global Check icon
 at the top left of the builder page. It will appear gray when a flow does not contain a Global Check.
 - Select the icon to open the Edit Global Check panel on the right side of your screen.
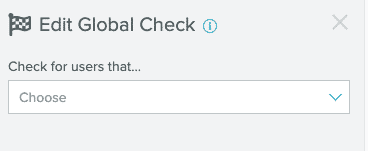
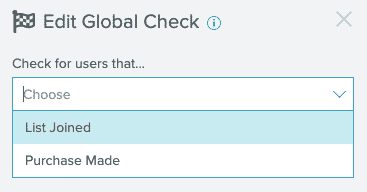
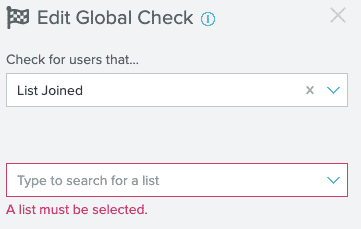
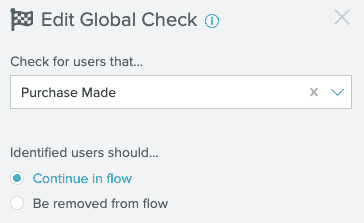
- Select one of the two options in the drop-down menu, List Joined or Purchase Made:
- If you select List Joined, you will need to select the list.
- For either Global Check, you must decide what should happen once a user completes the goal. Identified users can continue in the flow or be removed from it.
- Save your existing flow or complete a new one.
- When you add a Global Check, it will show the type of check and the action for identified users next to the icon on the builder page.

- If a step is left incomplete while editing a Global Check, a warning will appear next to the check name on the builder page.
Existing Smart Strategies or Template Triggers
Be advised: Existing Smart Strategies and Template Triggers will continue to run as normal. To prevent the risks of piggy-backing actions or sends from other triggers or from Smart Strategies tactics, it is recommended that you use new templates for all Lifecycle Optimizer flows. If you copy an existing template for use in Lifecycle Optimizer, be sure to check the "Triggers" tab in the Template Editor and remove any triggers on the new template.Troubleshooting
-
- Why is a user stuck at a Wait step?
- They are waiting at a wait step.
- The metric after the wait step is how many users entered the wait step. It's possible there are some people still waiting.
- The structure of the flow has changed.
- The metric of a newly added step might be lower than a surrounding step.
- They are waiting at a wait step.
- If you are using the Google Chrome browser, Lifecycle Optimizer requires version 50 or higher.
- If you are using multiple tabs and multiple accounts, switching to another account will cause open Lifecycle Optimizer tabs to automatically refresh, to avoid cross-account conflicts.
- Sending a push to a mobile profile through LO can generate multiple sends if a user has multiple apps on their profile.
- Why is a user stuck at a Wait step?
- If you have any other issues using Lifecycle Optimizer, please contact Support.