Content Blocks
Contents
Get your Zephyr functions built for you with Content Blocks. Set your filters, select your algorithms, and the system writes the statement.
Enable Content Blocks
Note: Pageview and purchase tracking must be enabled through the Personalization Engine to use Content Blocks. Content Blocks use algorithms that require time to run against collected user behavior and interest data to recommend optimal content to your users. When the algorithms are first activated, most algorithms will need at least 24 hours to run. Some algorithms, like "Trending (viewed)" and "Trending (purchased)", require 7 days to fully run when first initialized. In order to activate these algorithms, please reach out to your CSM or submit a support ticket.Content Block List
From the Content menu, select Content Blocks. This takes you to the Content Blocks list page. Content Blocks are listed chronologically by date created. Each list entry shows the block name, who updated it, when it was last updated, the creation date, which algorithm was used, and options.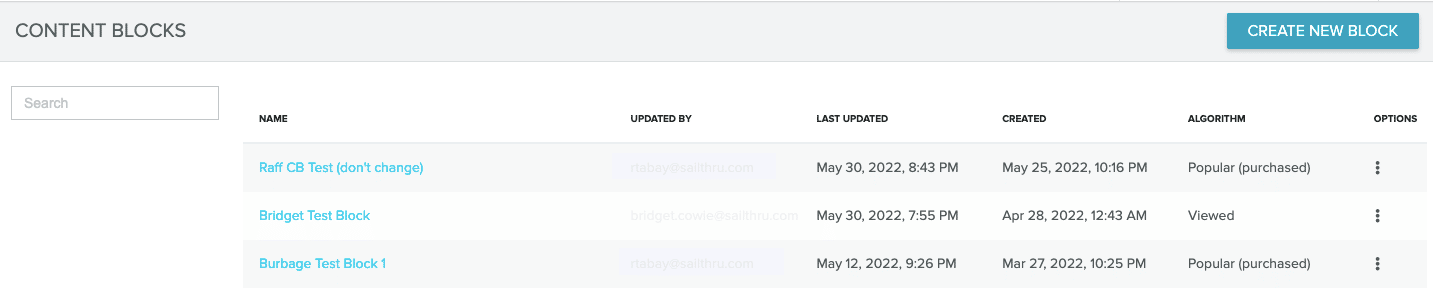 Options
Hover over the three dots in the Options column to open the menu. From the Options menu, you can edit the block, quickly copy the Zephyr, or archive the block. If you have a content block you use frequently, you won't have to go into the block every time you need the Zephyr function.
Options
Hover over the three dots in the Options column to open the menu. From the Options menu, you can edit the block, quickly copy the Zephyr, or archive the block. If you have a content block you use frequently, you won't have to go into the block every time you need the Zephyr function.
Build a Content Block
Follow these steps to create a content block, add personalization and filtering, and get the Zephyr function for your messaging. Note: Content Blocks can be used in a template in combination with personalization algorithms. It is recommended that Content Blocks is used for all recommendations, and that the personalization algorithms are reserved for complex cases not supported by Content Blocks.- From the Content Block list page, select Create New Block. This opens the Content Block Builder.
- Give your block a Name.
- Select the main personalization algorithm you wish to use under Choose How You Personalize Your Content Blocks. Select a secondary algorithm to use as an alternative. The secondary algorithm is a fallback if the first can't find enough content.
- Set filters for your content if you wish to use them. Save your block to see how the filters change your results.
- Check your content preview. If your preview looks how you want it to look, save your work.
- Select the Zephyr function tab.
- Select Copy Zephyr and add the Zephyr statement to your message template.
- To add the statement to an Email Composer template, see Add a Content Block in Email Composer.
- To add the statement in an HTML template, see Add a Content Block in an HTML template.
Add a Content Block in Email Composer
Use a Dynamic Row, Image block, or Prebuilt Row to add a content block. If using an Image block, set the image to Dynamic in the properties panel.- Copy the Zephyr for your content block.
- Navigate to the template you wish to use.
- Select the gear icon in the Email Composer menu bar. When the Email Settings screen loads, select Advanced.
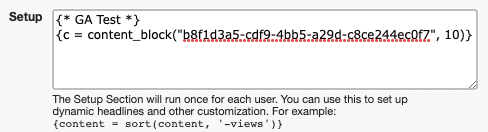
- Paste your content block Zephyr into the Setup box. Select Apply to save the settings.

- If you are using more than one content block, copy and paste all of them into the Setup box.
- Once they're copied over, edit the variable names to reflect that you're using more than one. By default, each content block's variable is
c. You can make them more descriptive (redshirts_block,greenshirts_block) or number them (content_block1,content_block2).
- In your email template, drag a block or row onto the canvas or select an existing one in your template. Note: If you are using more than one content block, select one or more blocks or rows that correspond to the number of content blocks you wish to use.
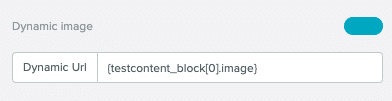
- Select the placeholder image in the template to open the properties panel. Update the variable names for:
- The dynamic image URL:
- The alternate text:

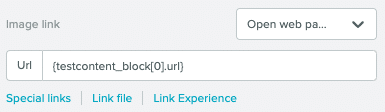
- The Action:
- The dynamic image URL:
- Repeat step 6 for any other content blocks used in your template.
- Save your template.
Add a Content Block in an HTML Template
- Copy the Zephyr for your content block.
- Navigate to the template you wish to use.
- Select the Advanced tab and add your Zephyr statement to the Setup box.
- If you are using more than one content block, copy and paste all of them into the Setup box.
- Once they're copied over, edit the variable names to reflect that you're using more than one. By default, each content block's variable is
c. You can make them more descriptive (redshirts_block,greenshirts_block) or number them (content_block1,content_block2).
- Select the Code tab. Call the content block code where you want it to appear.
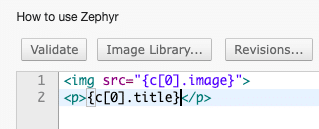
- Repeat step 4 for any remaining content blocks.
- Save your template.
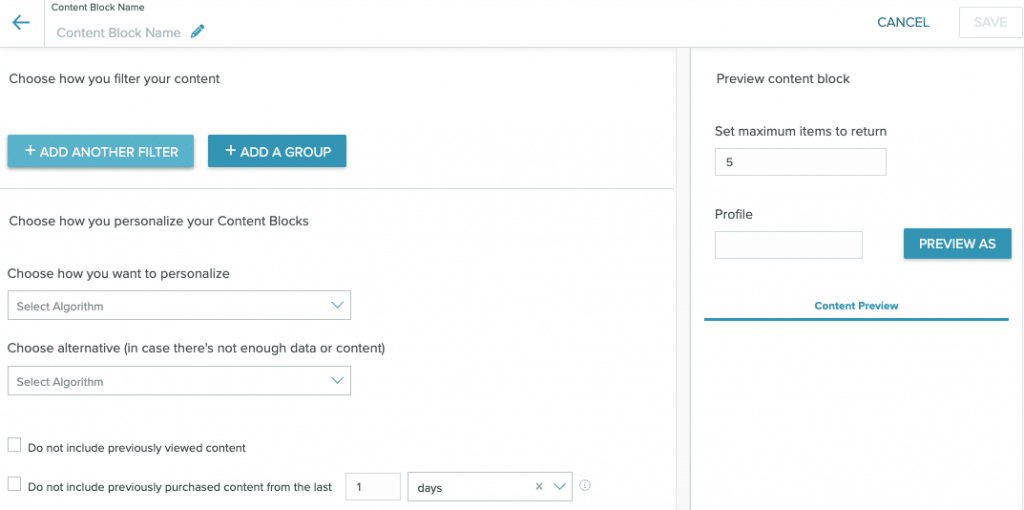
Content Block Builder
Select the Create New Block button to open the content block builder. Give your new content block a Name.Filtering and Personalization
After naming your content block, set filtering and personalization.Filters
Add a single filter or a group of filters to your block. Filters refine the content you're showing to users.
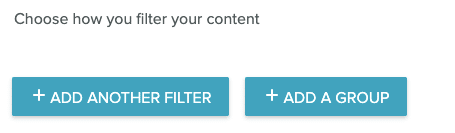
Create complex filtering with groups and subgroups. Select Add a Group and create filter groups like the following image.
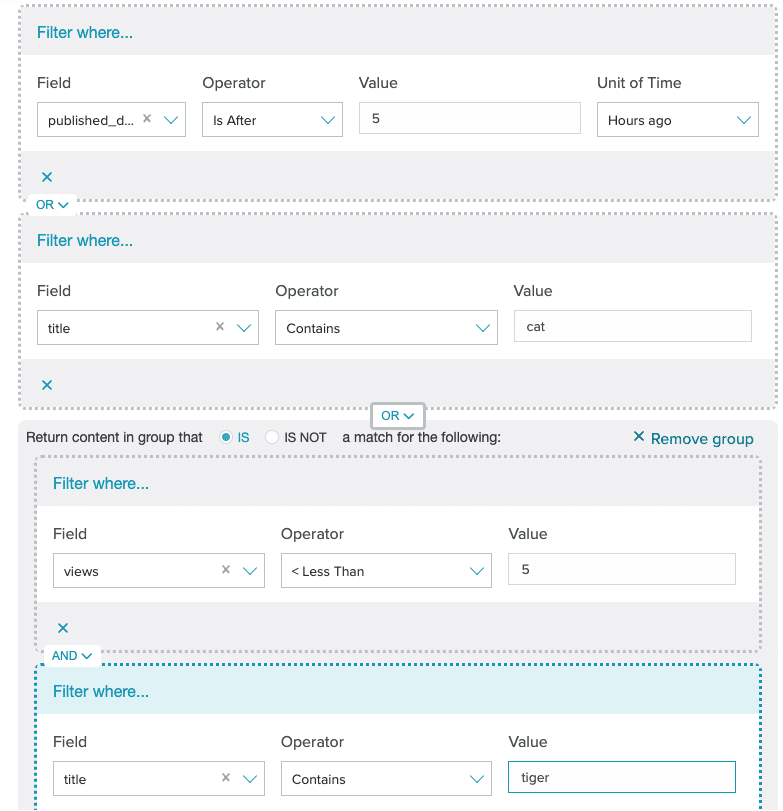
The available filters are the standard content fields.
Personalization
Select a personalization algorithm and an alternative algorithm that governs the content shown to users. You may also exclude previously viewed or purchased content. For more information on each algorithm, see Algorithm Details.
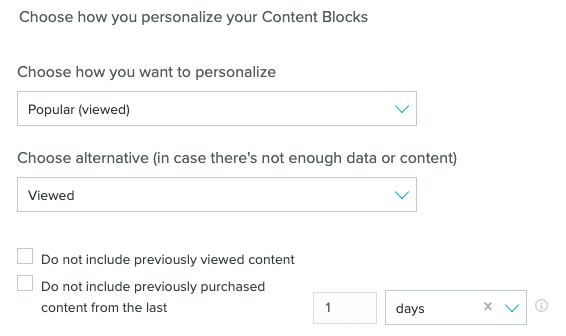
Exclude Content To exclude content, select either Do not include... option.
- Do not include previously viewed content Check the box to exclude previously viewed content from recommendations.
- Do not include previously purchased content
Check the box and select your options to exclude up to the last 30 purchases from recommendations.
Note: The maximum number of previously purchased items that will not be included is 30. If a user profile has purchased more than 30 products based on the selected options, those items could potentially be returned in the content block.Users have the following options to determine how they want to exclude previously purchased content:
- Products purchased
- Days
- Weeks
- Months
- Years
| Name | Description |
| Popular (viewed) | Items in your content library with the most views for all time. |
| Popular (purchased) | Items in your content library with the most purchases for all time. |
| Trending (viewed) | Items that have been viewed most in the last 7 days. |
| Trending (purchased) | Items that have been purchased most in the last 7 days. |
| Viewed | Recommended content based on a user's pageview history using wisdom of the crowd. |
| Purchased | Recommended items based on a user's purchase history. |