Push and In-App Templates
Contents
Build custom templates in the Push / In-App Template Editor to deliver curated messaging.
Watch the video below for a step-by-step walkthrough of how to create In-App Messages and Push Notifications and use them in your Lifecycle Optimizer flows.The Template Editor
Create Push Notification and In-App Messages in the template editor. From the Messaging menu, select Templates. On the Templates List Page, hover over the New Template button and select PUSH / IN-APP.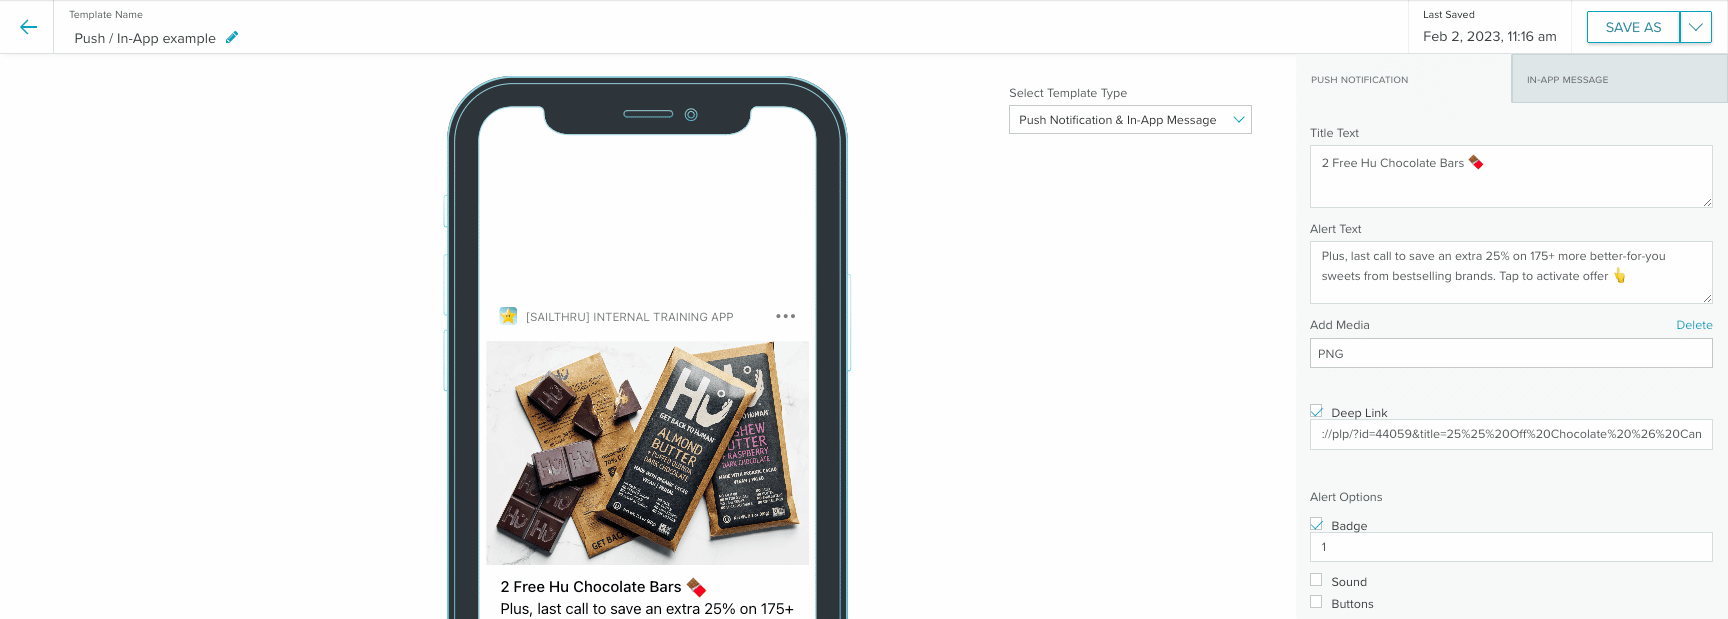
By default, the editor loads both the Push Notification and the In-App template editor. Toggle between them using the dropdown menu in the Preview screen.
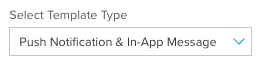
Note: Toggling between the template types clears anything you have added to the unselected template type. For example, if you add text to both template types and then switch to Push Notification only, the In-App template is cleared. Both Push Notifications and In-App messages allow for added media and deep linking. You can create a template that uses both message types at the same time or just one type at a time. For both types of messages, the editor shows a preview of the message on your selected device and in your selected location.
Preview your messaging on the following devices:
- iPhone X
- iPhone XS Max
- Galaxy S8
- Galaxy S10
- Lock (collapsed)
- Lock (expanded)
- In-App Fullscreen
Push Notifications
The Push Notification template editor includes two text boxes, one for the Title Text and one for the Alert Text, an Add Media option, Deep Linking, custom Alert Options, and Custom Key/Value pairs.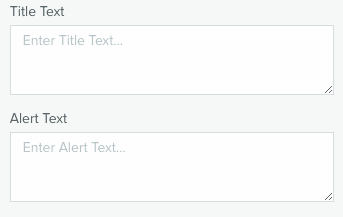
Add message text in the Title and Alert text boxes.
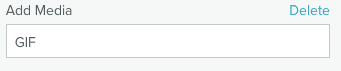
Media

Drag and drop a media file into the box or click to select from your images. Once a media file is added, the Add Media box shows what type of file it is.
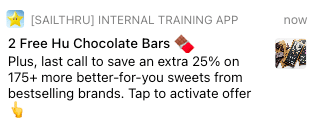
A preview shows in the Device Preview screen.
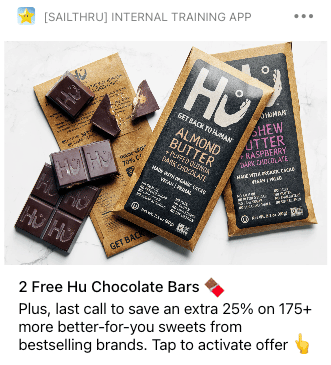
If you add media to a Push notification, you'll see a thumbnail in the collapsed lock screen preview and the full view in the expanded lock screen preview.
Deep Linking
Launch your app and open to a specific page when your user taps a link.- Select the Deep Link checkbox to open the URL textbox.
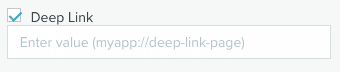
- Paste the link value for a specific page in your app into the textbox.
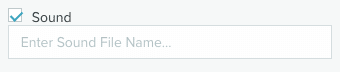
Alert Options
Add custom badge numbers and alert sounds. Badge Select the Badge option and enter the custom badge number in the textbox. The badge shows as a small number on the app icon, indicating a message.
Sound Select the Sound option and enter the sound file name in the textbox, if your app contains custom sound files.
Custom Key/Value Pairs
Send custom data to your application inside a push notification.- Select Add to open the Key and Value textboxes.
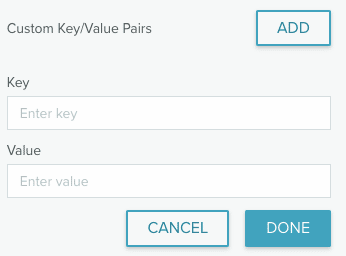
- Enter your values and select Done.
In-App Messages
The In-App Message template editor includes two text boxes, one for the Title Text and one for the Description Text, an Add Media option, and Deep Linking.
Expiry Time Frame
By default, an in-app message will disappear as soon as a user reads it. Enter your expiry time frame, from 1 to 365 days and the specific time at which the message should expire on the final day. 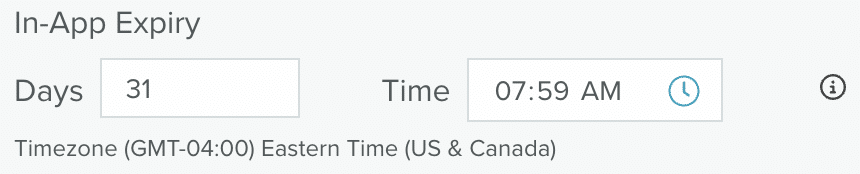
If you're using a Message Stream to act as a personalized inbox for In-App messages, when the message expires it disappears from a user's Message Stream.
Media
Drag and drop a media file into the box or click to select from your images. Once a media file is added, the Add Media box shows what type of file it is.
A preview shows in the Preview screen.
Deep Linking
Launch your app and open to a specific page when your user taps a link.- Select the Deep Link checkbox to open the URL textbox.
- Paste the link value for a specific page in your app into the textbox.
Custom Key/Value Pairs
Add custom key/value pairs to In-App messages.- From the In-App Message tab, select Edit Here from the Custom Key/Value Pairs section.

The link opens the Mobile Message Setup page in a new tab.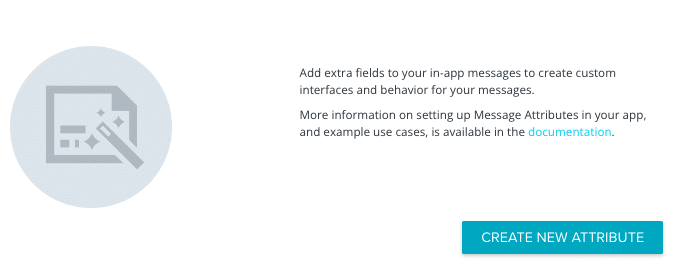
- Under Message Attributes, select Create New Attribute to open the Create Custom Attributes modal.
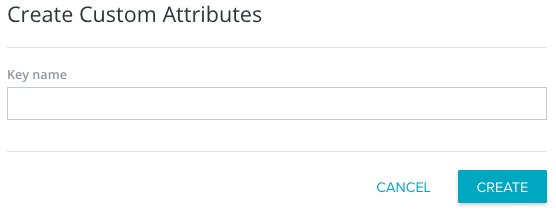
- Enter a key name in the textbox and select Create.
- Return to the template editor and save your work if you've entered text for the Title or Description.
- Refresh the template editor page.
- Under the Custom Key/Value section, select the key you wish to use, enter a value in the textbox, and select Done.
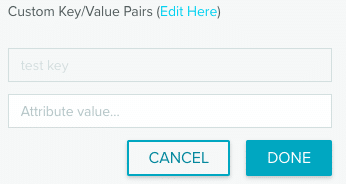
- Save the template.
Use a Template in a Lifecycle Optimizer Flow
- Open an existing Lifecycle Optimizer flow or create a new one.
- Select the entry criteria.
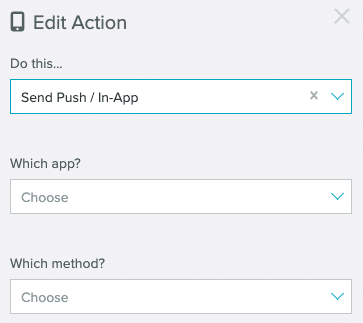
- Add an Action. Select Send Push / In-App from the list of actions.
- From the Edit Action panel, select the App and the Mobile Template method.
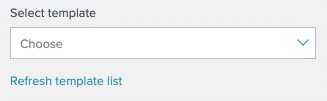
- Select your template from the Select template dropdown menu.
- The selected template's Title and Alert/Description text displays, in addition to the Expiry time frame if the template contains an In-App message.
Preview the template by selecting Edit/view template. This opens the template composer in a new tab.
If you make any changes to the template, re-select it to see the updates reflected in the text preview and Expiry time frame.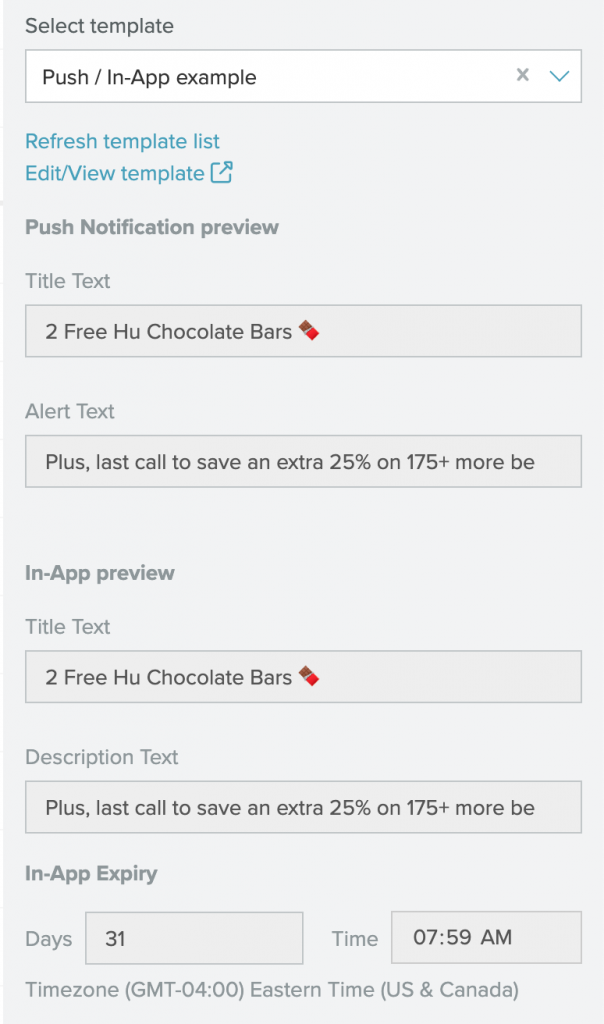
- Save the flow.