Template Settings
Contents
Configure settings for your templates in the Settings editor. Open the Settings Editor by selecting the gear icon ![]() next to the Save button.
next to the Save button.
General
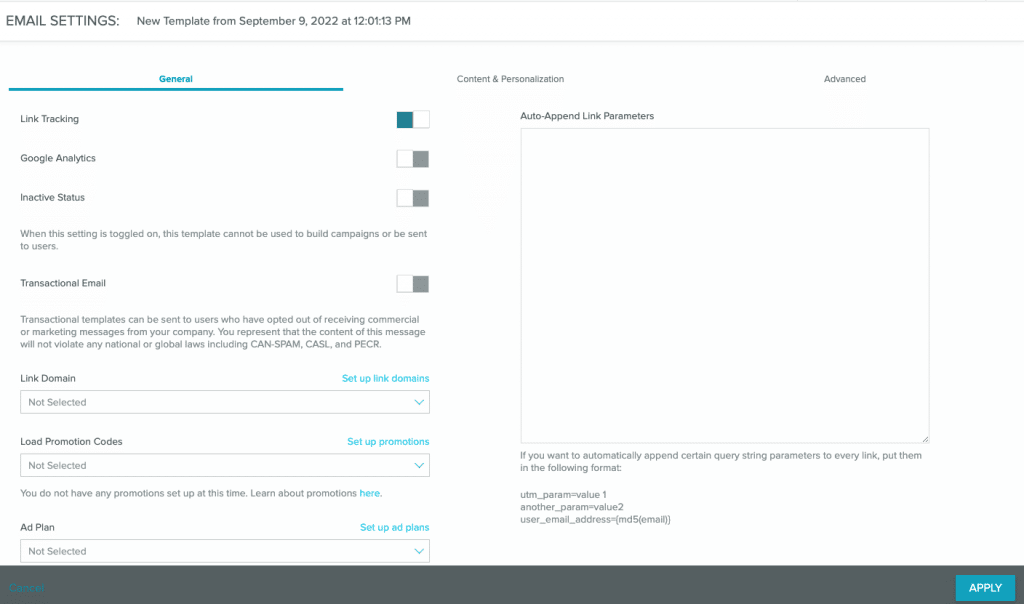
Customize global template settings from the General tab.Link Tracking
Note: Link tracking must be turned on for Sailthru to track link clicks. Turn on Link Tracking to track link clicks from your emails and attribute those clicks back to unique users.Google Analytics
Turn this option on to identify traffic coming from your emails in Google Analytics. This automatically appends five utm parameters to your email links for tracking purposes:- utm_campaign: will automatically be the name of the campaign as it appears in Sailthru.
- utm_medium: will automatically be "email".
- utm_source: will automatically be "Sailthru".
- utm_term: will automatically be the name of the sending list as it appears in Sailthru.
- utm_content: if you are sending an AB Split or AB Winner or Auto Winner Campaign, this utm parameter will be added to your links. For segment A, the value will be "A", for B, "B" and "Final" for the Final version of the AB Winner/Auto Winner test.
Transactional Email
Mark your template as a Transactional message.Link Domain
Select a link domain from the drop-down menu. Set the domain in your My Account section if you want Sailthru to rewrite the links in your email to point at your subdomain, for example, link.test.com.Load Promotion Codes
Select a promotion from the drop-down menu to associate single-use codes with your template. Ad Plan Set the ad plan you wish to use with your template.Auto Append Link Parameters
To change the utm_medium parameter or to add new utm parameters for Google Analytics tracking, use the Auto Append Link Parameters field. Write the new or current parameter with its value. For example,utm_medium=MorningEmail
Note: You must save your template to confirm the changes. If you do not save your template, the team permissions will not be applied.
Content & Personalization
Easily select a Data Feed and apply a Personalization Type in the Content & Personalization tab: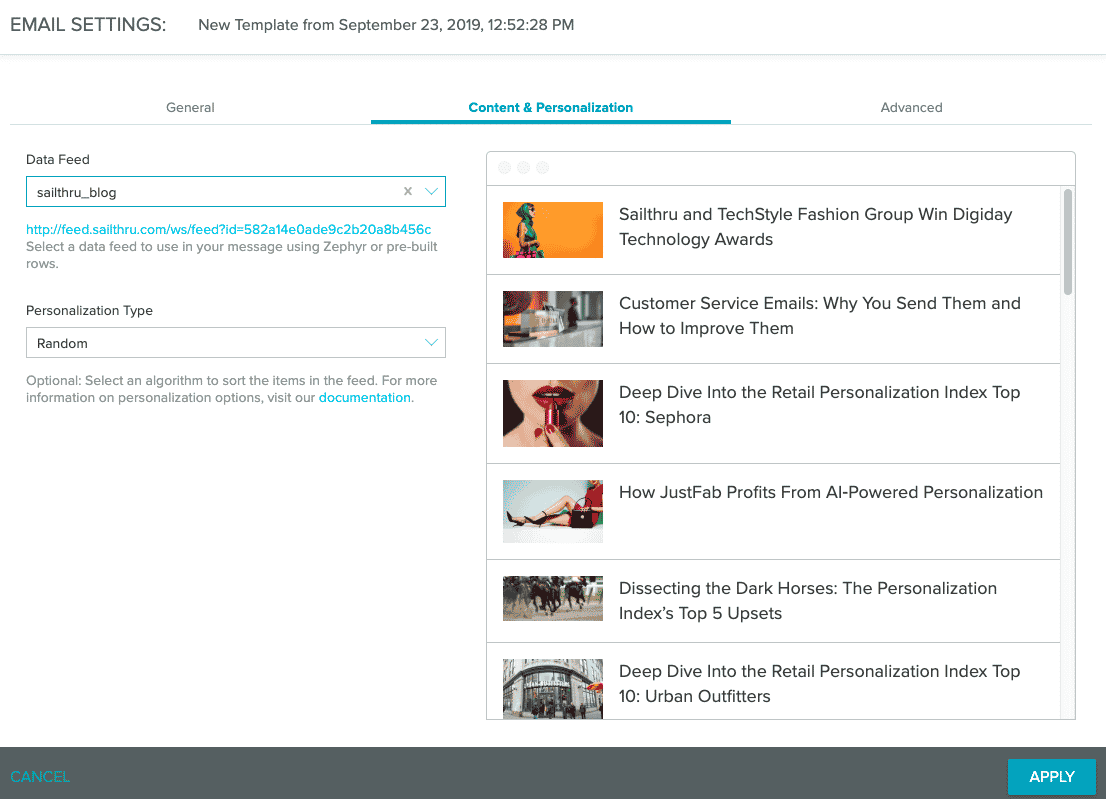
Data Feed
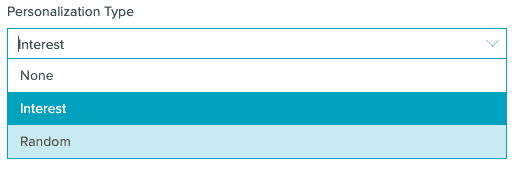
Select an existing data feed to dynamically populate variables from your site at send time. When you select a data feed, the items will populate in the window to the right. When you select a Personalization Type, the items will reorder.Personalization Type Select None, Interest, or Random to personalize content for users.