A/B Auto Winner Campaigns
Contents
AB Auto Winner campaigns allow you to set two to four test segments and send one final segment automatically, matching the most effective test segment.
Note: This feature must be activated on your account. Please contact your Customer Success Manager with your requirements to request its enablement. While you can test multiple settings for each campaign segment (e.g. subject line), it is a best practice to minimize the number of varying settings for each. If you have a large audience, it may be possible to test multiple variations across several segment, as each segment can be larger and more statistically significant. The final segment is usually configured as the greatest percentage of your recipients, as compared to the test segments. It automatically receives the winning test segment's campaign configuration once the test segments have been sent.AB Auto Winner (and AB Winner) tests are commonly used for subject line testing or other "quick win" tests where you are quickly optimizing based on the test results. For AB Auto Winner, you will configure what metrics will determine the winner:
- Total Opens
- Clicks
- Pageviews - Recommended for publishers (requires Personalization Engine onsite JavaScript tag implementation)
- Purchases (requires Purchase API implementation)
- Revenue (requires Purchase API implementation)
For more information on Purchase API, see Advanced API section in the For Developers documentation pages.
Getting Started
To create a new campaign:
- Go to Messaging > Campaigns.
- Click Create New from the Campaigns page.
- Enter a Campaign Name. You can also rename the campaign later by clicking its name at the top of the campaign builder.
- Click AB Test, then select the AB Auto Winner campaign type
NOTE: For more information on creating a new campaign, see the Campaign Overview page.
For AB Test campaigns, you'll have the option to select the type of test for your campaign.
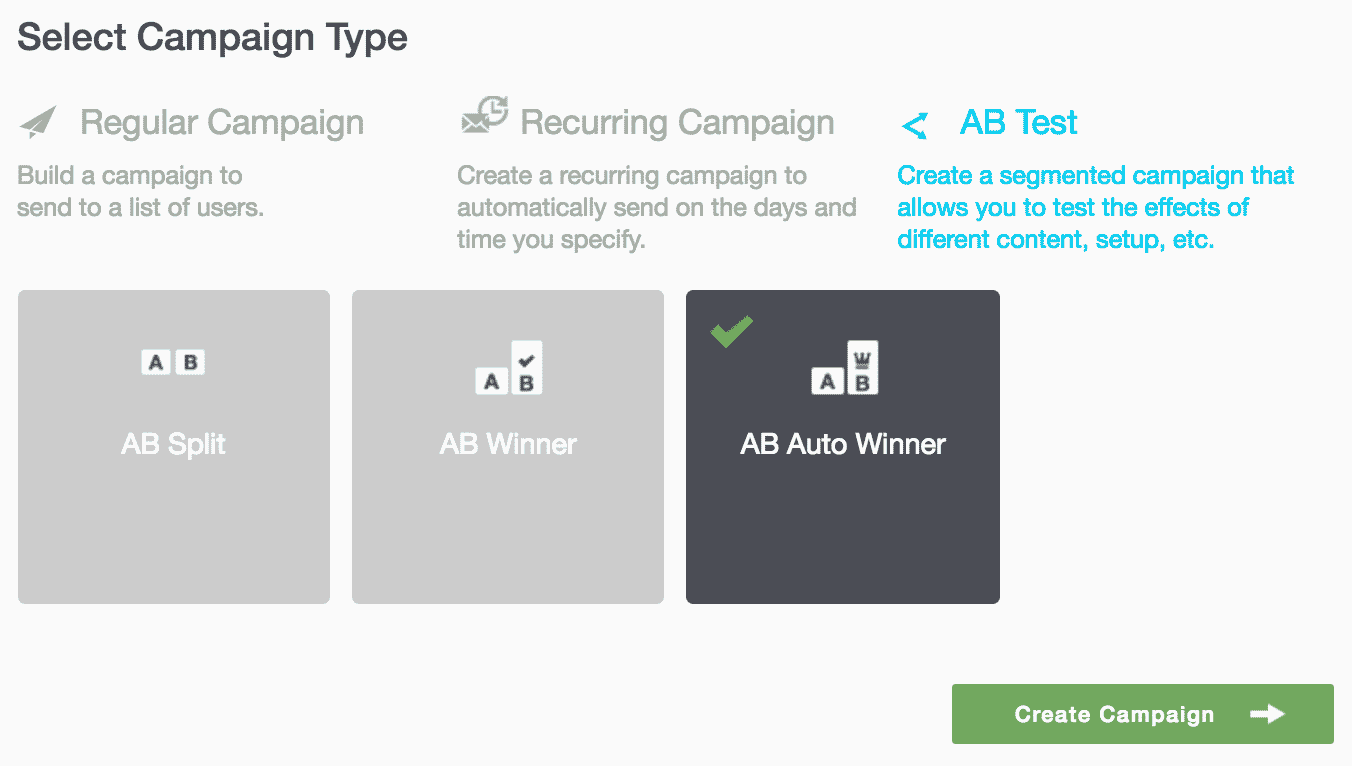
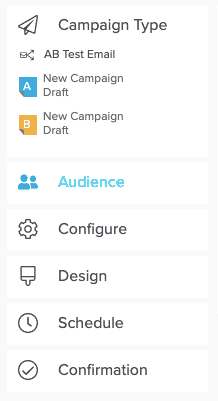
After creating your new campaign and clicking AB Test, then AB Auto Winner, you'll see the menu on the left in the platform which will guide you through next steps. You can always move from section to section if you need to add information in a different order.
NOTE: AB Auto Winner campaigns display the segments above the menu, including a final segment indicated by the check mark. When you add a segment, it will appear with the segment letter and name of campaign.
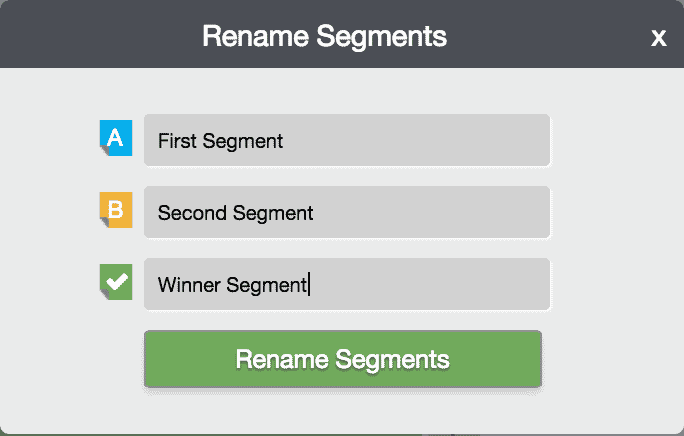
Click the campaign name near the top of the page to customize the name of the campaign segments.
Audience
You will choose the audience for your email by setting a Your Target Audience and, optionally, Your Suppressed Audience. You can have multiple suppression lists if needed to exclude subsets of Your Target Audience. Please reach out to your Customer Success Manager to enable this feature.
To read more about how to create, manage, grow, and track lists, see the Lists Creation section of the Audience Overview documentation pages.
Selecting Your Lists
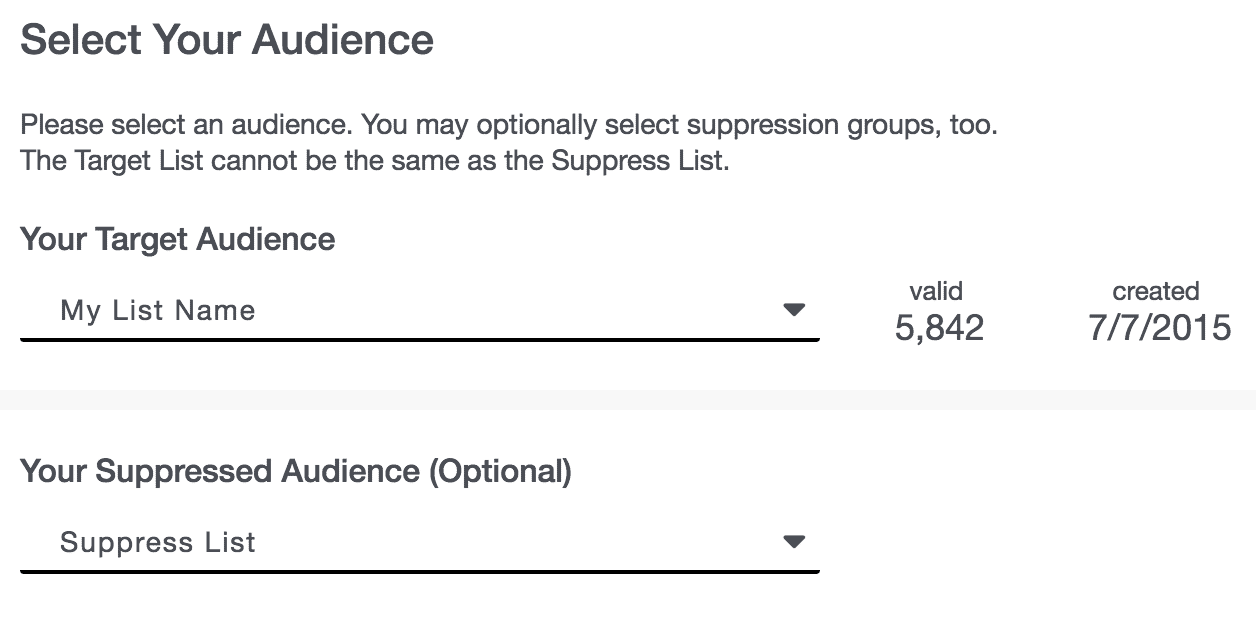
On the Audience page, set who will receive your email via Your Target Audience drop down.
Once you choose Your Target Audience, you will have the option to exclude recipients via the Your Suppressed Audience drop down.
The number of valid emails refers to the number of valid emails on a list, minus hard bounces or optouts. See the User Levels Engagement page for more information. If you're using a Natural List, Created will show the date the Natural List was created.
Configure
In this section of the platform, you'll enter the foundational information for your email, including the Template; basic information such as the From Name, Email Subject and Reply-To Email; and choose the Data Feed and/or Ad Plan, if you're using one. This is also where you will set up your AB segments and add tests for any of the basic information.
Build From a Template
On the Configure page, choose your Template if you have not already done so.
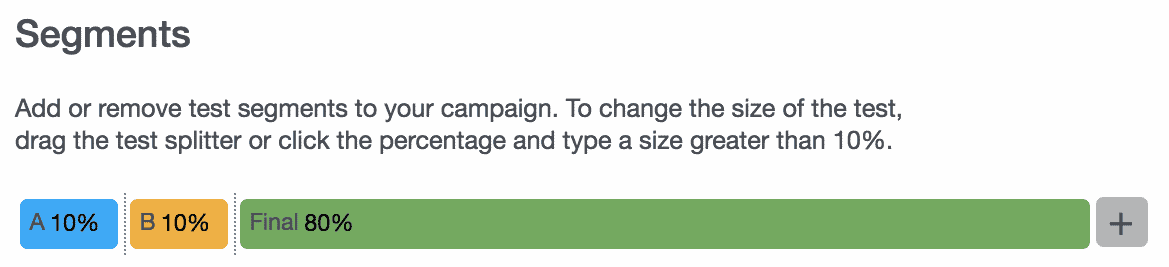
Add Segments
Under Segment, click the gray plus sign to add additional test segments. You can have up to four test segments in AB Auto Winner campaigns and you can also modify the audience percentages for each as well as the percentage for the final segment. The minimum percentage is 1%.
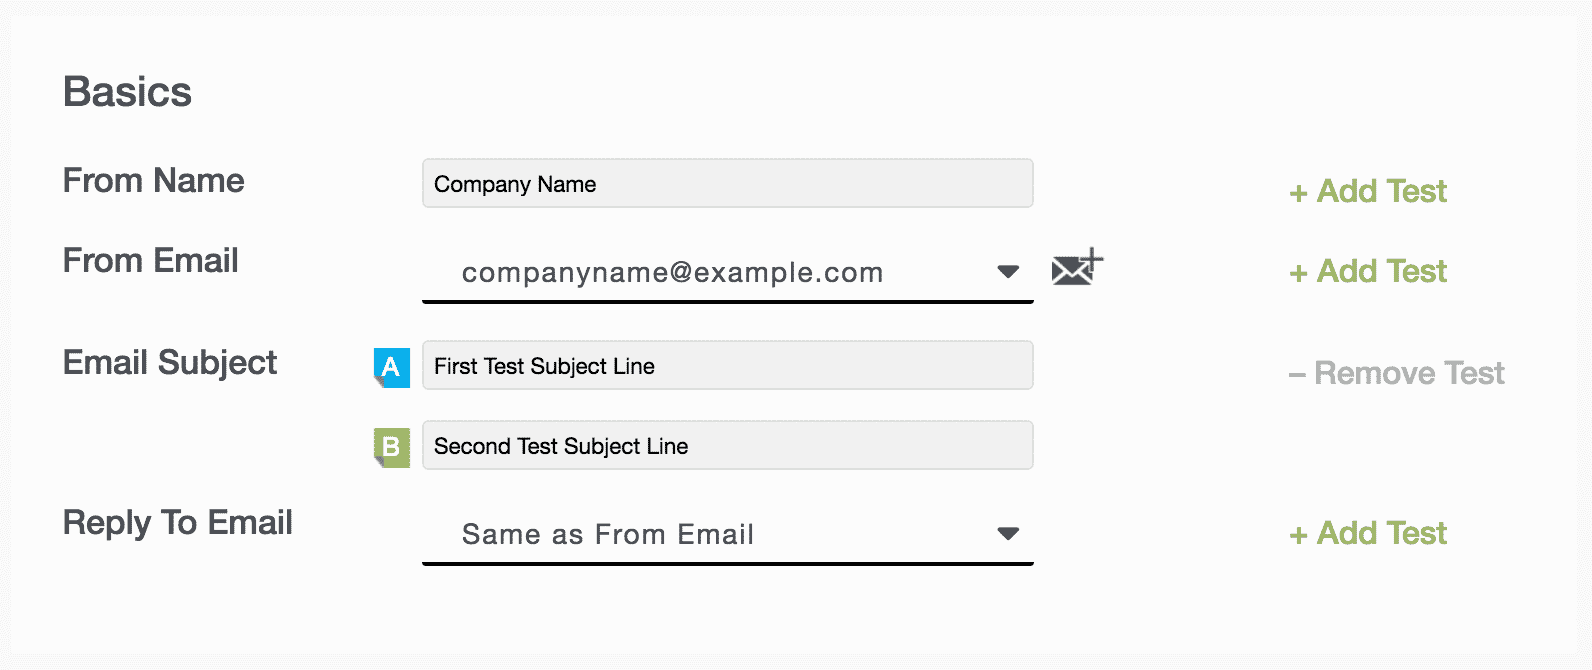
Add the Basics
Tests may be added to any of the Basics, including:
- The From Name and From Email that will display for recipients.
- Email Subject for the email.
- Reply-To Email to which recipients can respond.
Once you add a test, you'll see additional fields for that item which you can edit. For example, in the image below, two different Email Subjects have been entered.
NOTE: Clicking the envelope and plus symbol icon allows you to add a verified email that you have already added for verification.
Add a Data Feed, Promotion, or Ad Plan (optional)
You also have the choice here to include a Data Feed in your email, with or without a test. Data Feeds are used to supply content to not only emails, but website and other online content. The system uses the following feed types, which should contain your product or content URLs:
- Content Feeds are supplied by the Personalization Engine product, which gathers users' interests based on website activity.
- You provide URL Data Feeds, which may be generated by your content management system. It is recommended that you add these to your feeds page so that the system can cache them and make them easy to access within your Template or campaign. JSON format is recommended.
- Merged Feeds contain multiple Content and/or URL Data Feeds, which is merged for you into a single feed.
See the Data Feeds Overview documentation page for more information, and note that your template must be coded to support the display of data from a feed (see Code a Template Using a Data Feed).
To insert a unique, single-use promotion code in each message, configure a Promotion, then select the name of this promotion from the drop-down. Promotion codes will be included in your A/B test sends, however, differentiating Promotions across A/B test variants is not supported.
See the Ad Targeter Setup documentation page for more information on the Ad Plan feature.
Design
The Design page is where you will modify or update content that appears from the Template you have chosen for your campaign. You can create a campaign from scratch, but it is a best practice to start with a Template.When using a Template, you can still manually edit your code for each campaign send, as needed.
Design Your Email Content
On the Design page, you will see a side-by-side code editor. You can modify the HTML from your chosen Template as needed and use the preview window to view and test your content. Click Test Send to quickly send a test email. You will then be prompted to enter the test email address.
NOTE: When using the Test Send button, the optout link will not render in the test email.
Code from your Template will be shown in the HTML viewer and as you make changes to the code on the left-hand side, you'll see updates on the right. The Design page allows you to preview your email before making it live.
For AB campaigns, you also have the option to add a test for content creative and copy.
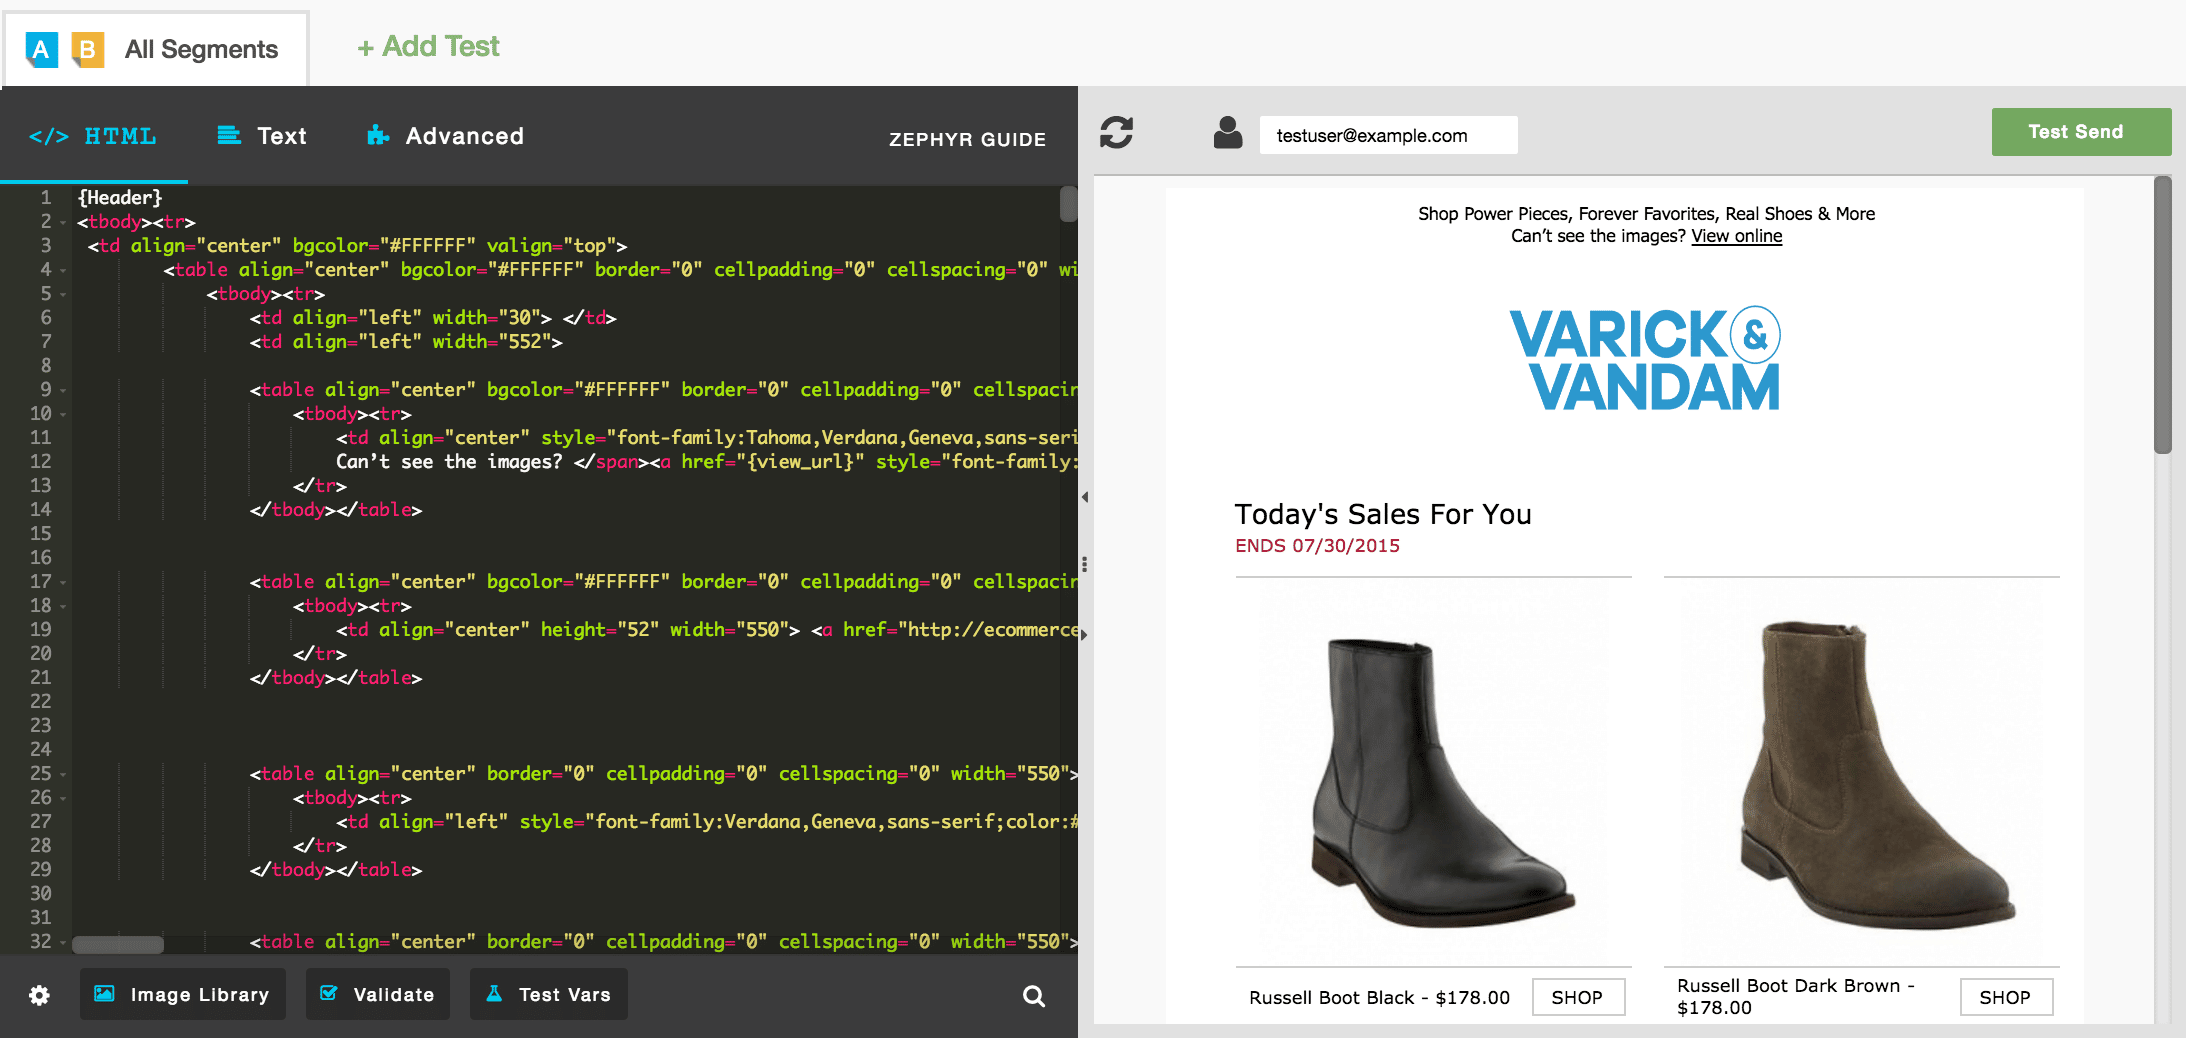
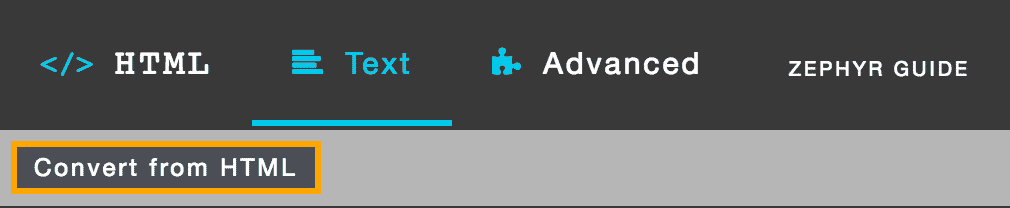
On the HTML viewer, click Text and then to convert the preview to the text version of your email.
Also, above the HTML viewer are your Advanced options:
- The Zephyr Setup section will run once for every recipient of the email send, enabling dynamic headlines and content.

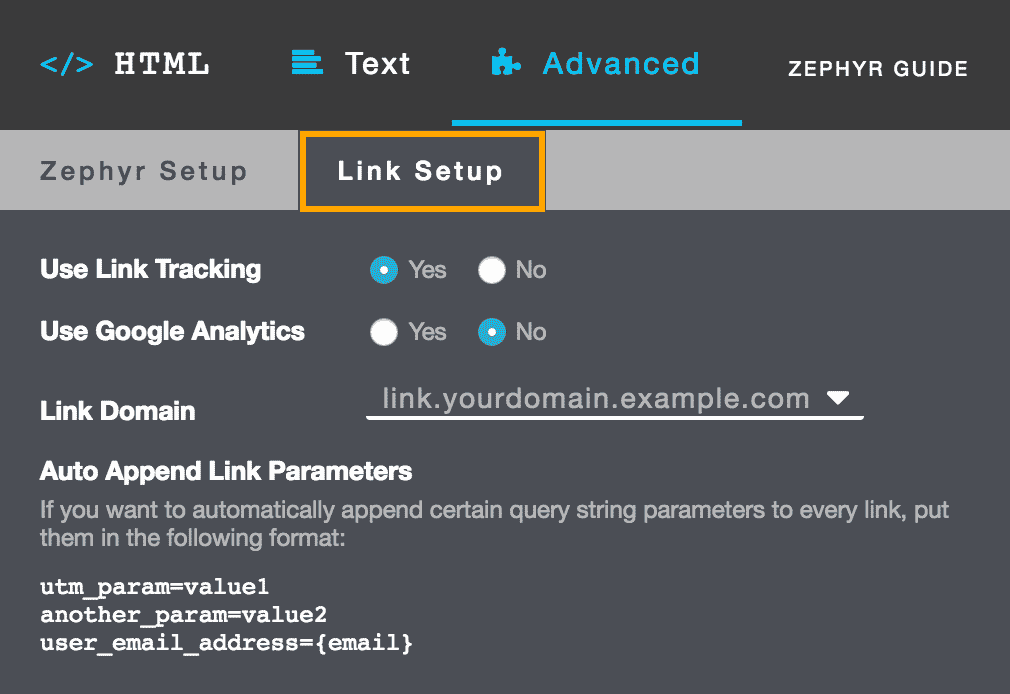
- Link Setup allows you to indicate whether you'll be tracking links and/or using Google Analytics to measure what happens on your site after a user opens and clicks within your email.
Using Zephyr
For all AB Tests, you can use HTML to create static data, and Zephyr for dynamic information. Zephyr is a coding language used in email subject lines and campaign Templates to increase customization. For example, Zephyr is used to incorporate data feeds to populate the Template with your latest content and to call variables associated with user's profiles, such as their geolocation to ensure relevancy for each recipient of the email.
See the For Developers documentations pages for more information on using Zephyr for email campaigns. You can also click Zephyr Guide from the Design page in the platform to access the Zephyr Syntax Overview documentation.

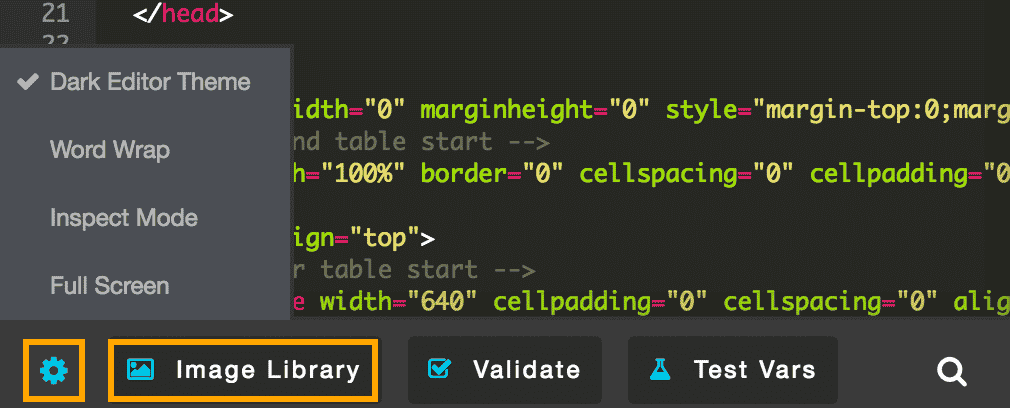
Viewer Options and Image Library
You can adjust your viewing options by clicking the cog icon at the bottom of the HTML viewer. This is also where the image library is located. Images you upload are available to you for all emails you design. When deleted from an email, they remain in the library for use in other emails.
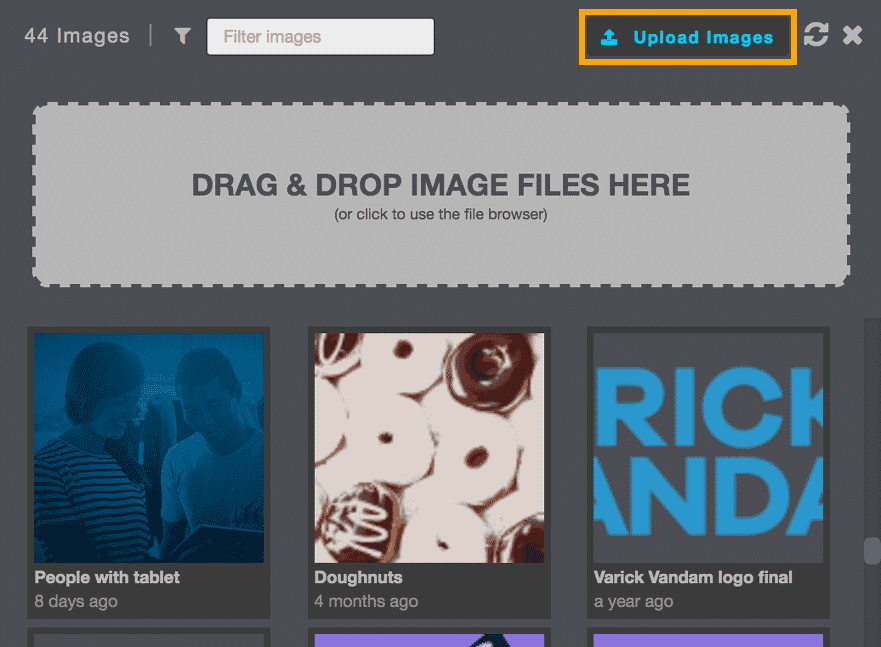
You can easily bulk upload images by dragging and dropping from desktop or folder into the Image Library.
Schedule
When and how your email will send is critical in getting a response from your audience. There are multiple options that let you control the send date and time. You can add a test to adjust the send time across your test segments. The final segment must have a send time that is within 24 hours of the test(s) send time.
Scheduling Your Campaign
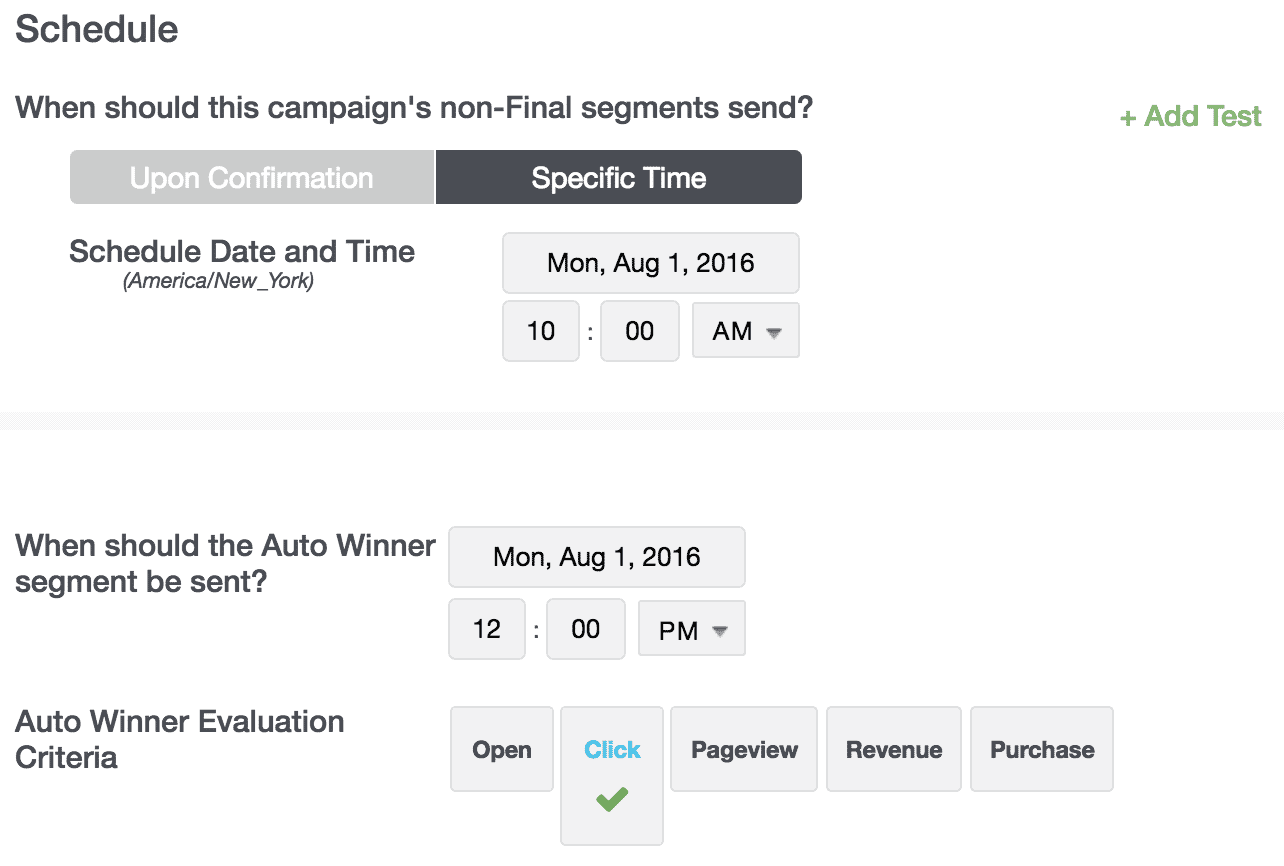
On the Schedule page, set up all options around how and when your email will be sent. If you choose to send On Confirmation your email will send once you click Schedule on the confirmation page. You can also set a Specific Time, which allows you to schedule an exact time and date. A test may be added to your Specific Time to send a second segment at a different time.
NOTES:
-
- Your final segment must be sent within 24 hours of your test segments send time.
- Personalized Send Time (PST) is not available for A/B Autowinner Campaigns.
Selecting Winner Criteria
For AB Auto Winner campaigns, you will select the criteria to determine which segment version will be automatically sent to the final segment. The choice includes one of the following:
-
-
- Total Opens
- Clicks (calculated as the click to open rate)
- Pageviews, especially if you are a publisher
- Purchases (requires purchase API to be installed)
- Revenue (requires purchase API to be installed)
-
In this example, the segment with the greatest click to open rate will be sent to the final segment.
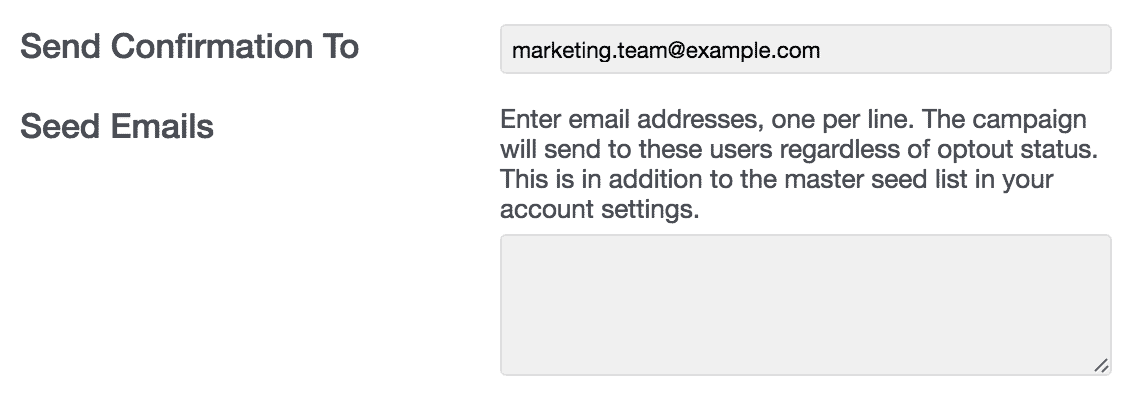
Confirmation and Seed Emails
Enter the Confirmation Email for the individual(s) who should receive an email when the campaign completes sending, including a confirmation of completion and total emails sent. To enter multiple confirmation email addresses, separate using a comma.
Enter the Seed Emails to which the email should be sent. Note that this will send to the email address regardless of opt-in status.
Confirmation
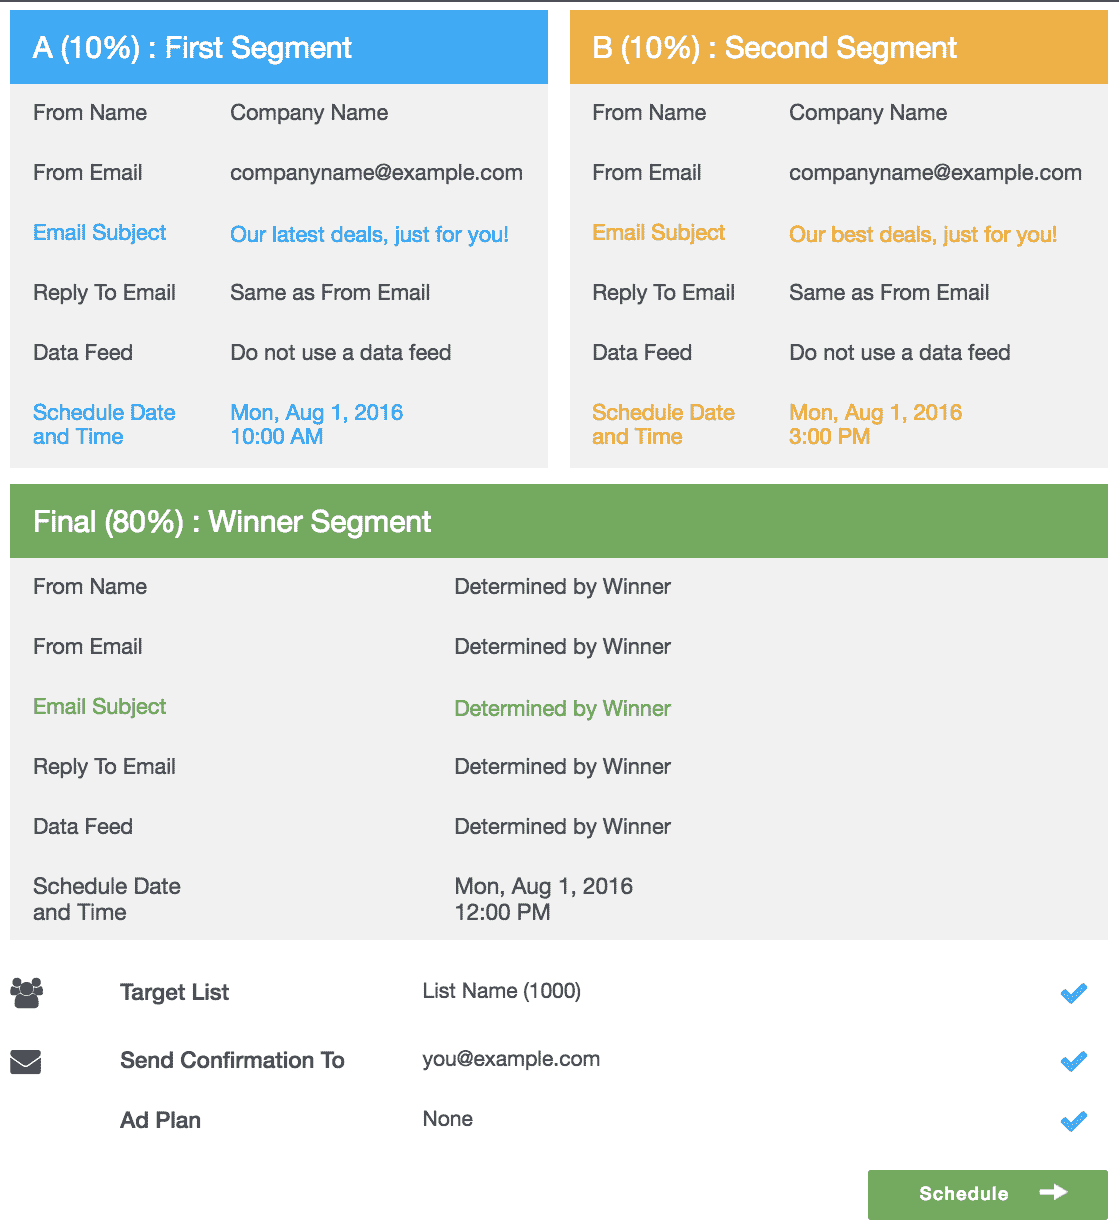
The Confirmation section provides you with an opportunity to review a summary of the settings you've chosen for your campaign.
For AB Tests, the confirmation page will provide information for each segment. For AB Auto Winner (and AB Winner) campaigns, the final segment is also shown.
Note that the information for the Final segment is shown as "Determined by Winner" as the campaign has not yet been sent.
The tests are highlighted in color for each segment and the percentage for each segment is noted in the title.
TIP: Make it best practice to review all of your campaign details presented on this page prior to clicking Schedule. Try reading this page from the bottom up, or printing to review on paper. Changing the order or method in which you've previously reviewed information can help you to find errors or items that need updating.
If you have scheduled your campaign to send On Confirmation, a pop up will appear to confirm and give you the option to schedule for a later date.
You can always return to edit any section of your campaign prior to the send time.
NOTE: When creating an AB Test, note that each segment -- including final segments for AB Winner or AB Auto Winner campaigns -- will be viewable as separate campaigns on your Campaign page.
The example below shows the three campaigns generated by an AB Auto Winner campaign with two test segments.
![Campaigns 38 - Listed Campaigns [A] [B] [Final]](https://getstarted.sailthru.com/wp-content/uploads/2016/08/Campaigns-38-Listed-Campaigns-A-B-Final.png)