Build a Thank You/Confirmation Page
To present a thank-you to a user who has signed up, or any other type of confirmation, create a hosted page of type “Other”. These are static pages that contain no interactive functionality. If you wish to include any checkboxes or radio buttons, create a User Management page instead.
Notes:- When rendering a hosted page within an iframe, we recommend that the hosted page domain has the same domain as the website in order to avoid clickjacking. Verify your hosted page domain in the application (Settings > Setup > Domains). If you’d like to restrict using other websites that do not belong to your domain from rendering hosted pages in an iframe please contact Support.
- A static page may not contain input or form buttons.
Create a New Page
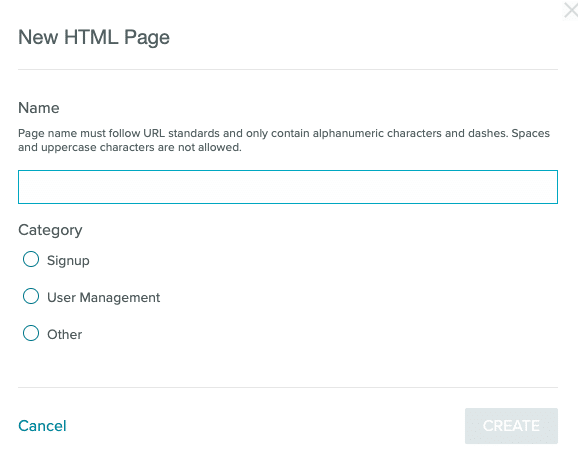
- In the Hosted Pages interface, click New Page.
- The Name of the new page will be part of the URL, so name it something user-friendly. For Category, select “Other.”
- Inside the page editor, click into the Code tab and add your HTML and CSS.
- At the top of the page editor, click Save.
Redirect to Page when Hosted Form is Submitted
- Open the Signup or User Management page that you wish to redirect to the Other page when the user submits the form.
- On the Actions tab, select the name of your Other page from the Redirect dropdown menu.
- On the Actions tab, under Keep this page private?, select Yes or No. (If Yes is selected, an additional, unique hash is added to the URL and required to access the page. This prevents an end user from simply changing the email address in the URL to access another user’s page.)
- Click Save.