User Profile Importer
Contents
Streamline list imports with the User Profile Importer. Map the columns in a CSV file to profile keys or custom variables.
Import Profiles
Select User Profile Importer from the User menu in my.sailthru to import profiles. Note: The imported file cannot be larger than 1GB.1. Select a File
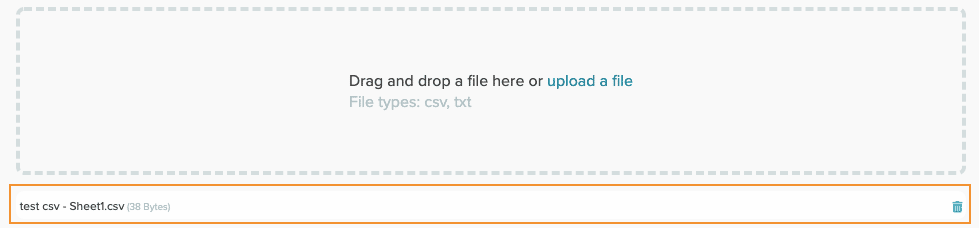
Select a file and the import location.- Drag and drop your csv or txt file or select upload a file.
- Your file, once selected, shows under the import area. If you wish to change files, you can delete the file and select a new one.
- Select the import location for your profiles.
- Add them to new list: a text box opens for a new list name.
- Add them to existing list: select an existing list from the dropdown menu.
- No lists, just add them to the Bucket: the profiles will not be added to any specific list.
- Select Next.
2. Match CSV Columns
Map the columns in your file to existing fields, create a new field, or skip a column.File Containing a profile key
If your file contains column headers, one that matches a provided field will be selected as the profile key. If any of your column names are similar, for example Email and Email Status as in the following image, you'll see an error message.
- Select the correct mapping for each column in your file. Use an existing field or select Custom field to create a new one. In the preceding image, Email Status should be a Custom field, not an Email field.
- Once your fields are mapped, select Continue.
File without a profile key
If your file doesn't include column headers, you'll see a No profile key provided error.- Locate the field you wish to use as your profile key.
- Choose one of the options from the Select Field dropdown menu. In the following image, the Custom field should be Email.
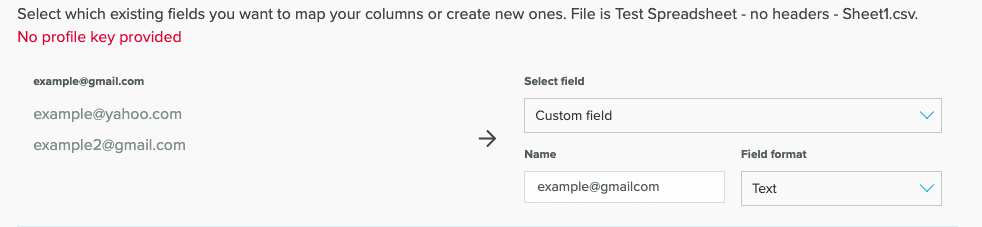
- Select the correct mapping for the other fields in your file.
- Once your fields are mapped, select Continue.
3. Review and Complete
Review all the import information.- Check the field mapping to make sure it's correct.
- SMS consent acknowledgement:
- By checking this box, you acknowledge that SMS recipients have given explicit consent to be messaged.
- Explicit consent must be obtained before sending SMS messaging.
- Select Save and Import. When your profiles are uploaded, you'll see a success message. If there is an error, you'll receive an error message and a link to a downloadable error report.
